
Repurpose. Renew. Really FUN!
Back in February, we were visiting my in-laws in northern Utah. My daughter had been growing like a weed since the school year began, so we were on the hunt for some longer pants. While she searched through the clothing racks, I had another mission in mind.
I had been thinking about creating something for a dear friend and former colleague of mine, Brandie. She had previously told me she liked cool colors, but nothing too bright. So while my daughter looked for pants, I wandered over to the home goods section to see what treasures I might find.
Whenever I make it to a thrift store, I ALWAYS browse the blankets and home goods aisles. You just never know what hidden gems are waiting there. Most used clothing eventually ends up in a landfill, and I love the idea of giving something old and unwanted a new life—transforming it into something beautiful that can be loved and used again in a completely different way.
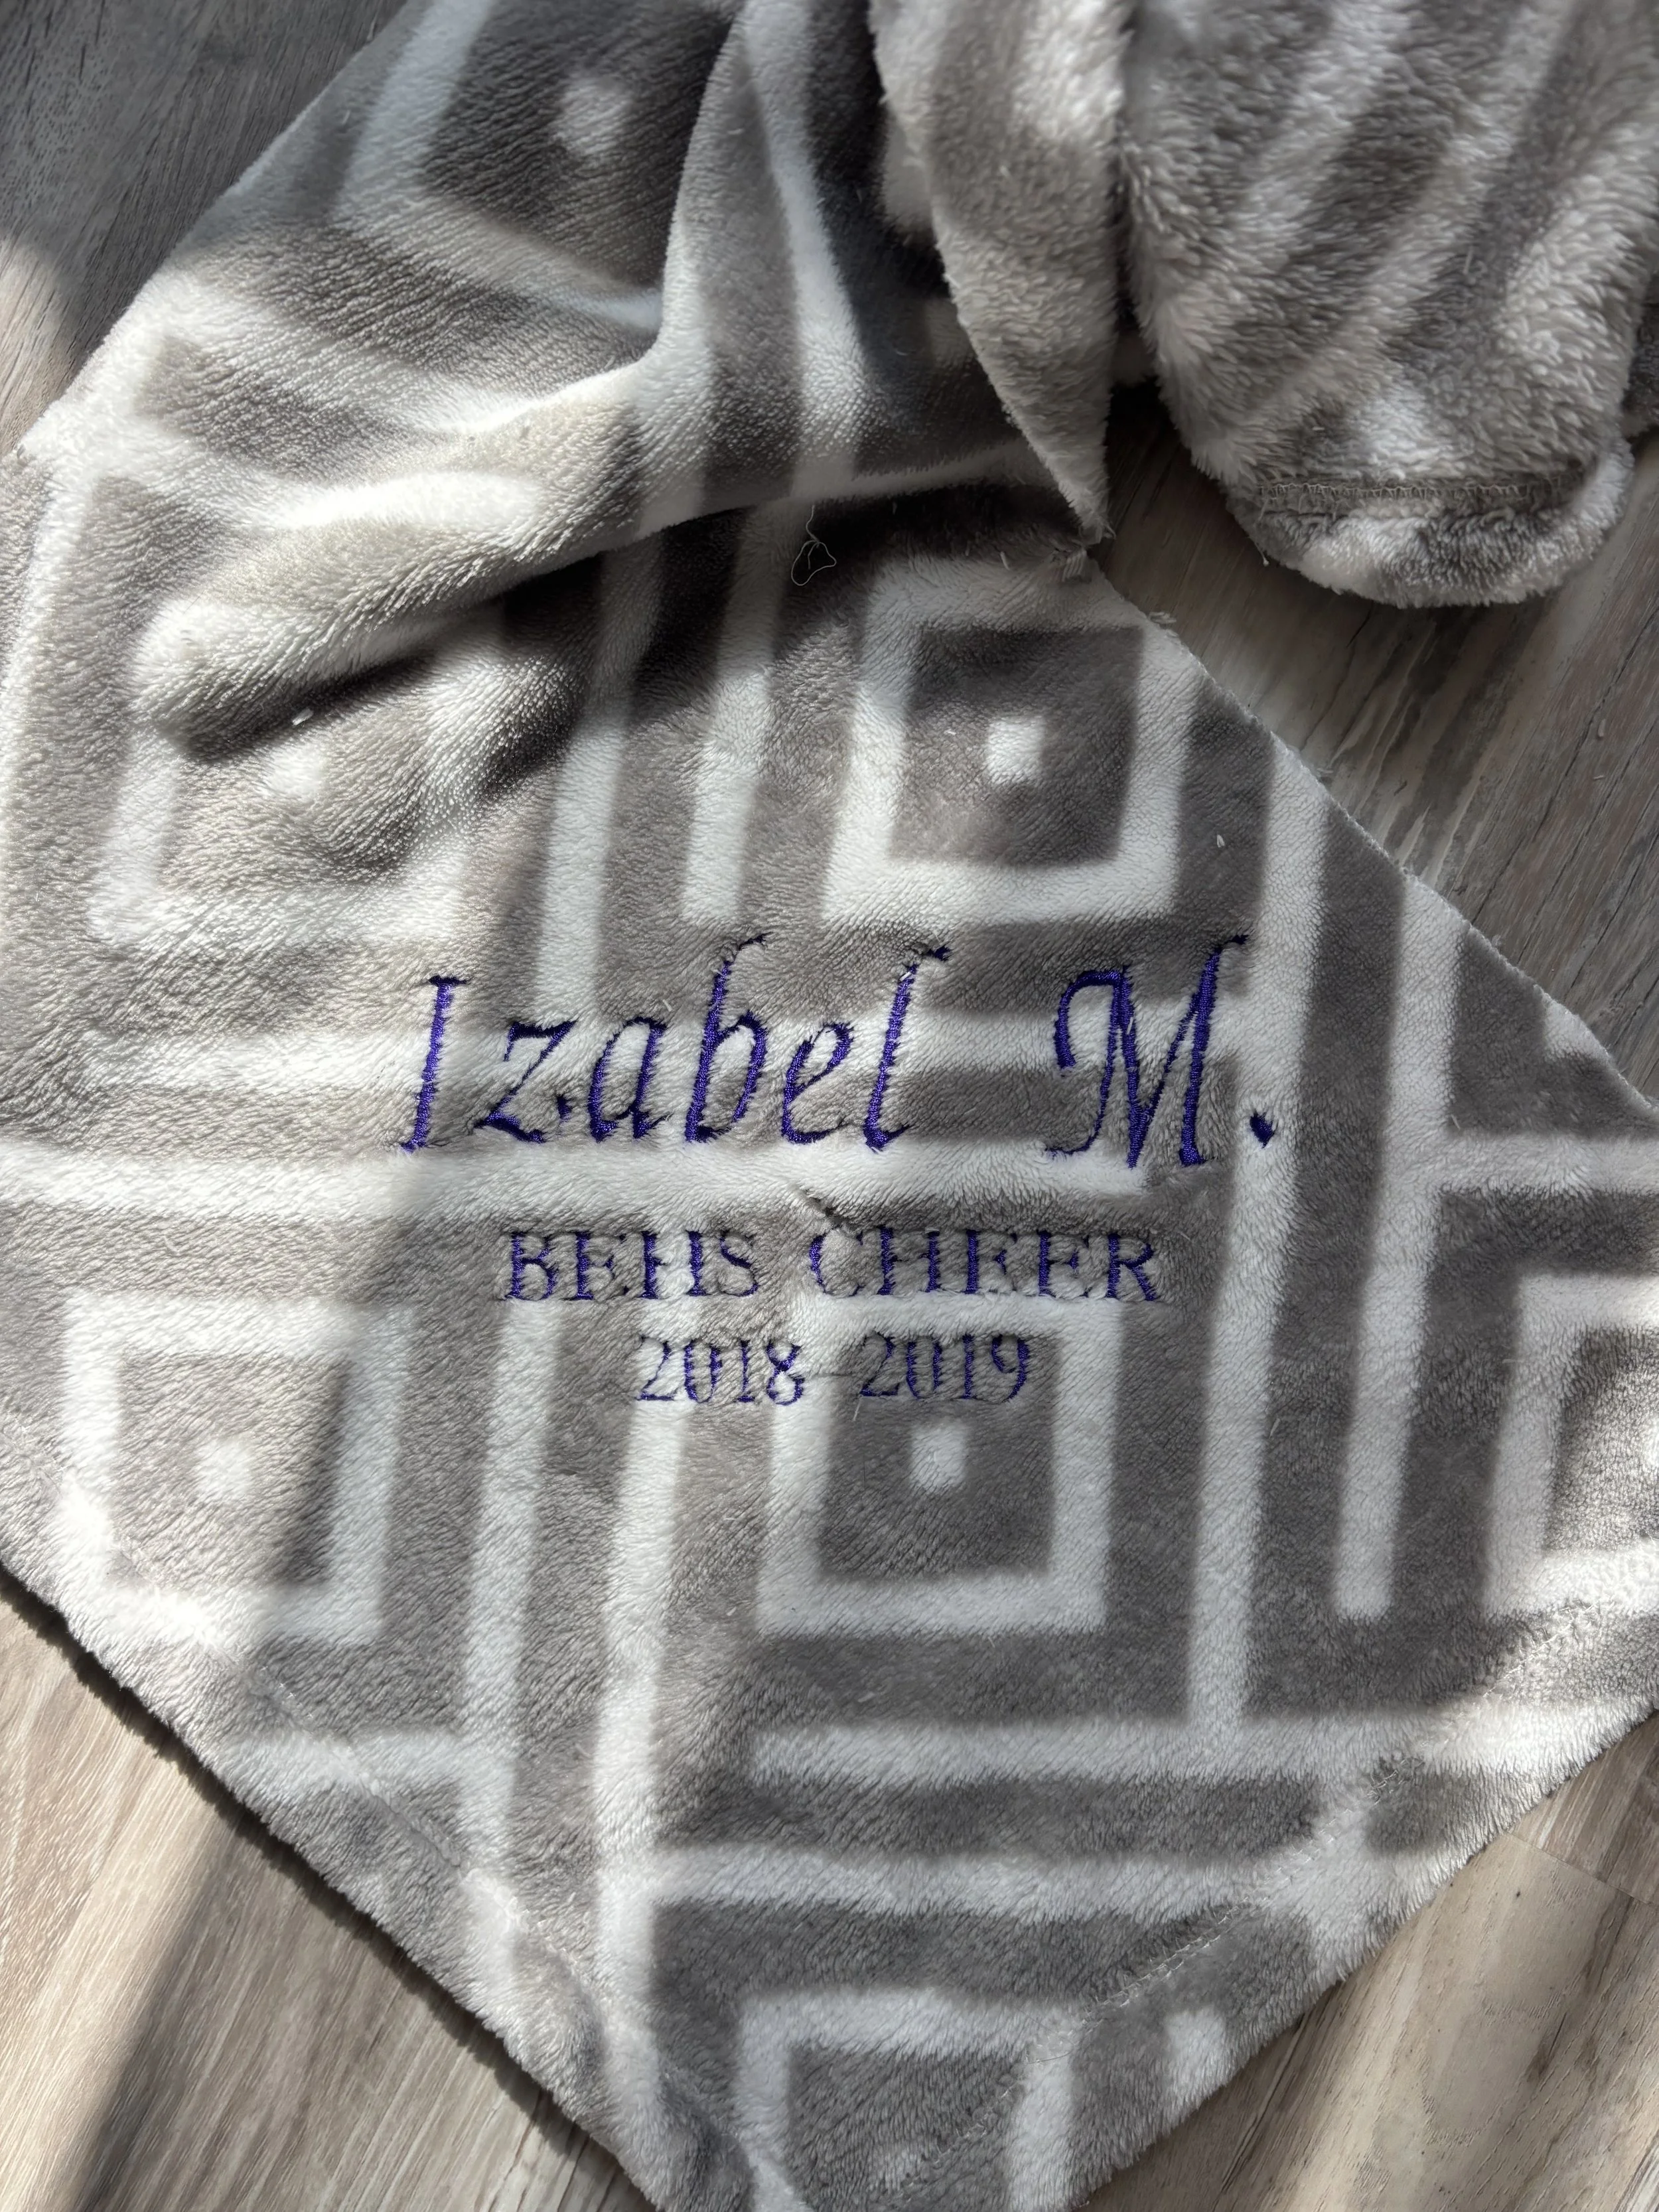
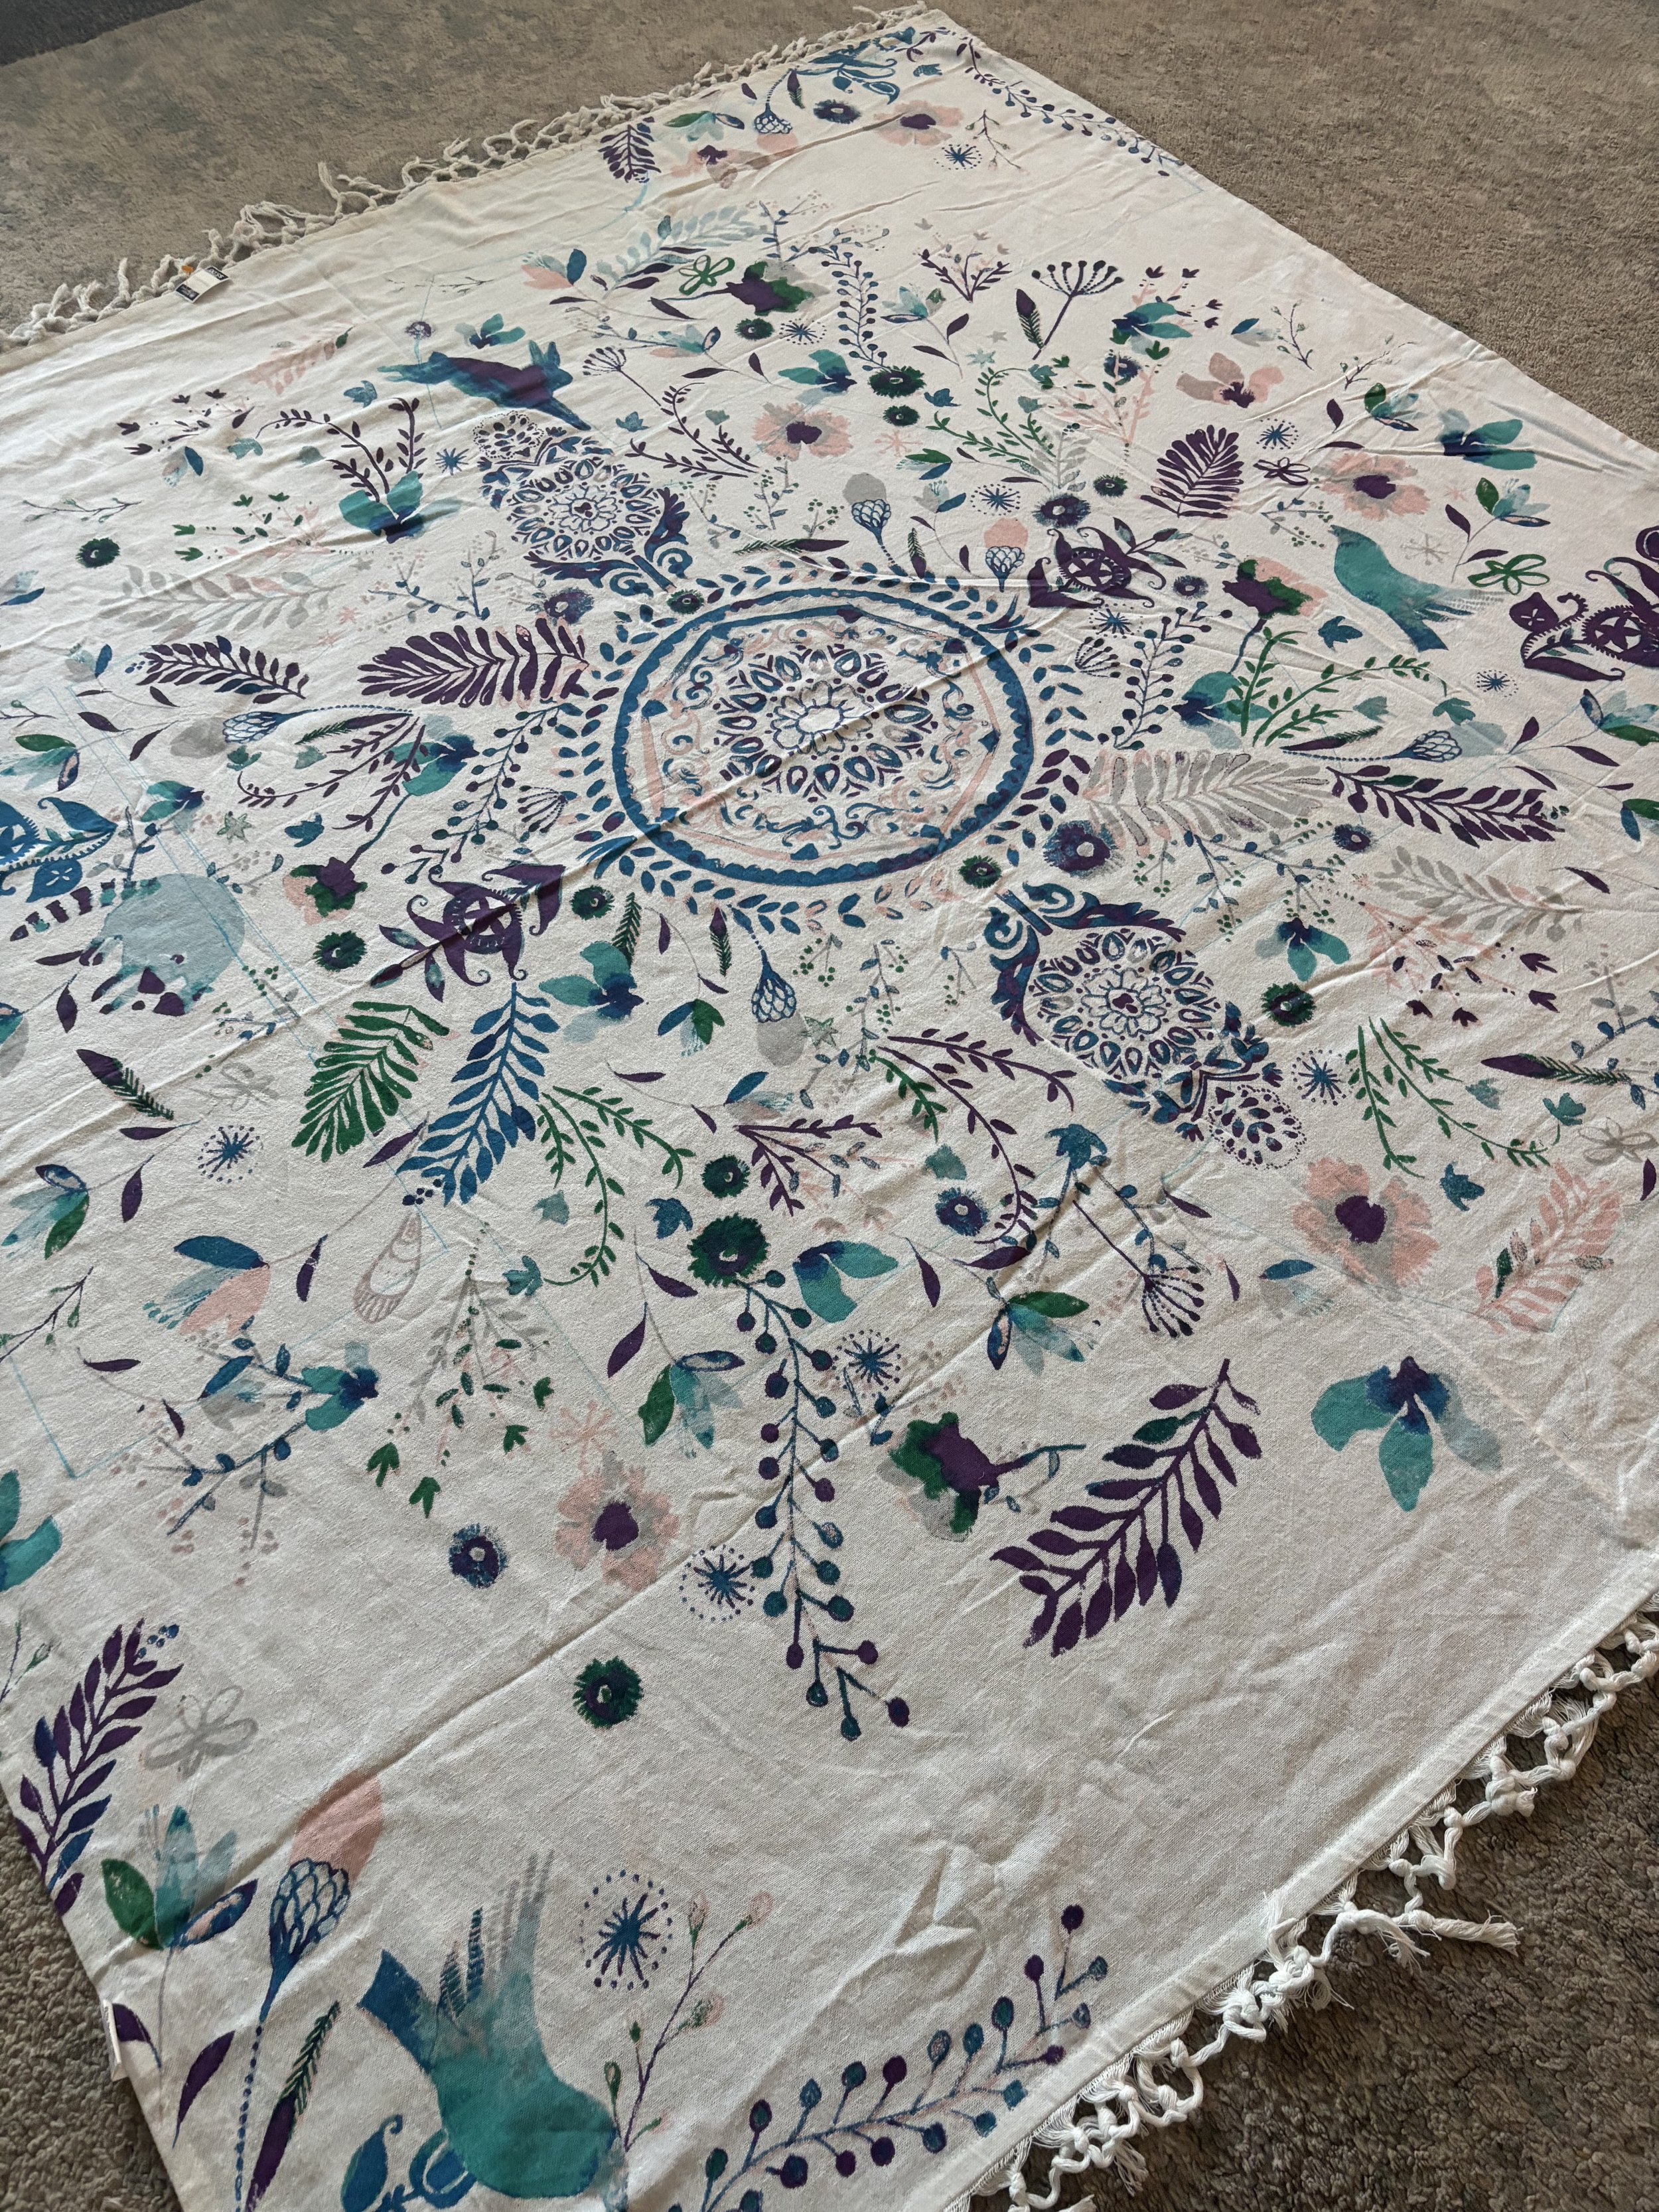
As I browsed, I came across a beautiful dream catcher wall hanging and a retired micro-fleece blanket from some high school cheerleader. And I got to thinking, what if I turned these into a quilted jacket for Brandie? It would be perfect—especially since she does NOT like the cold.
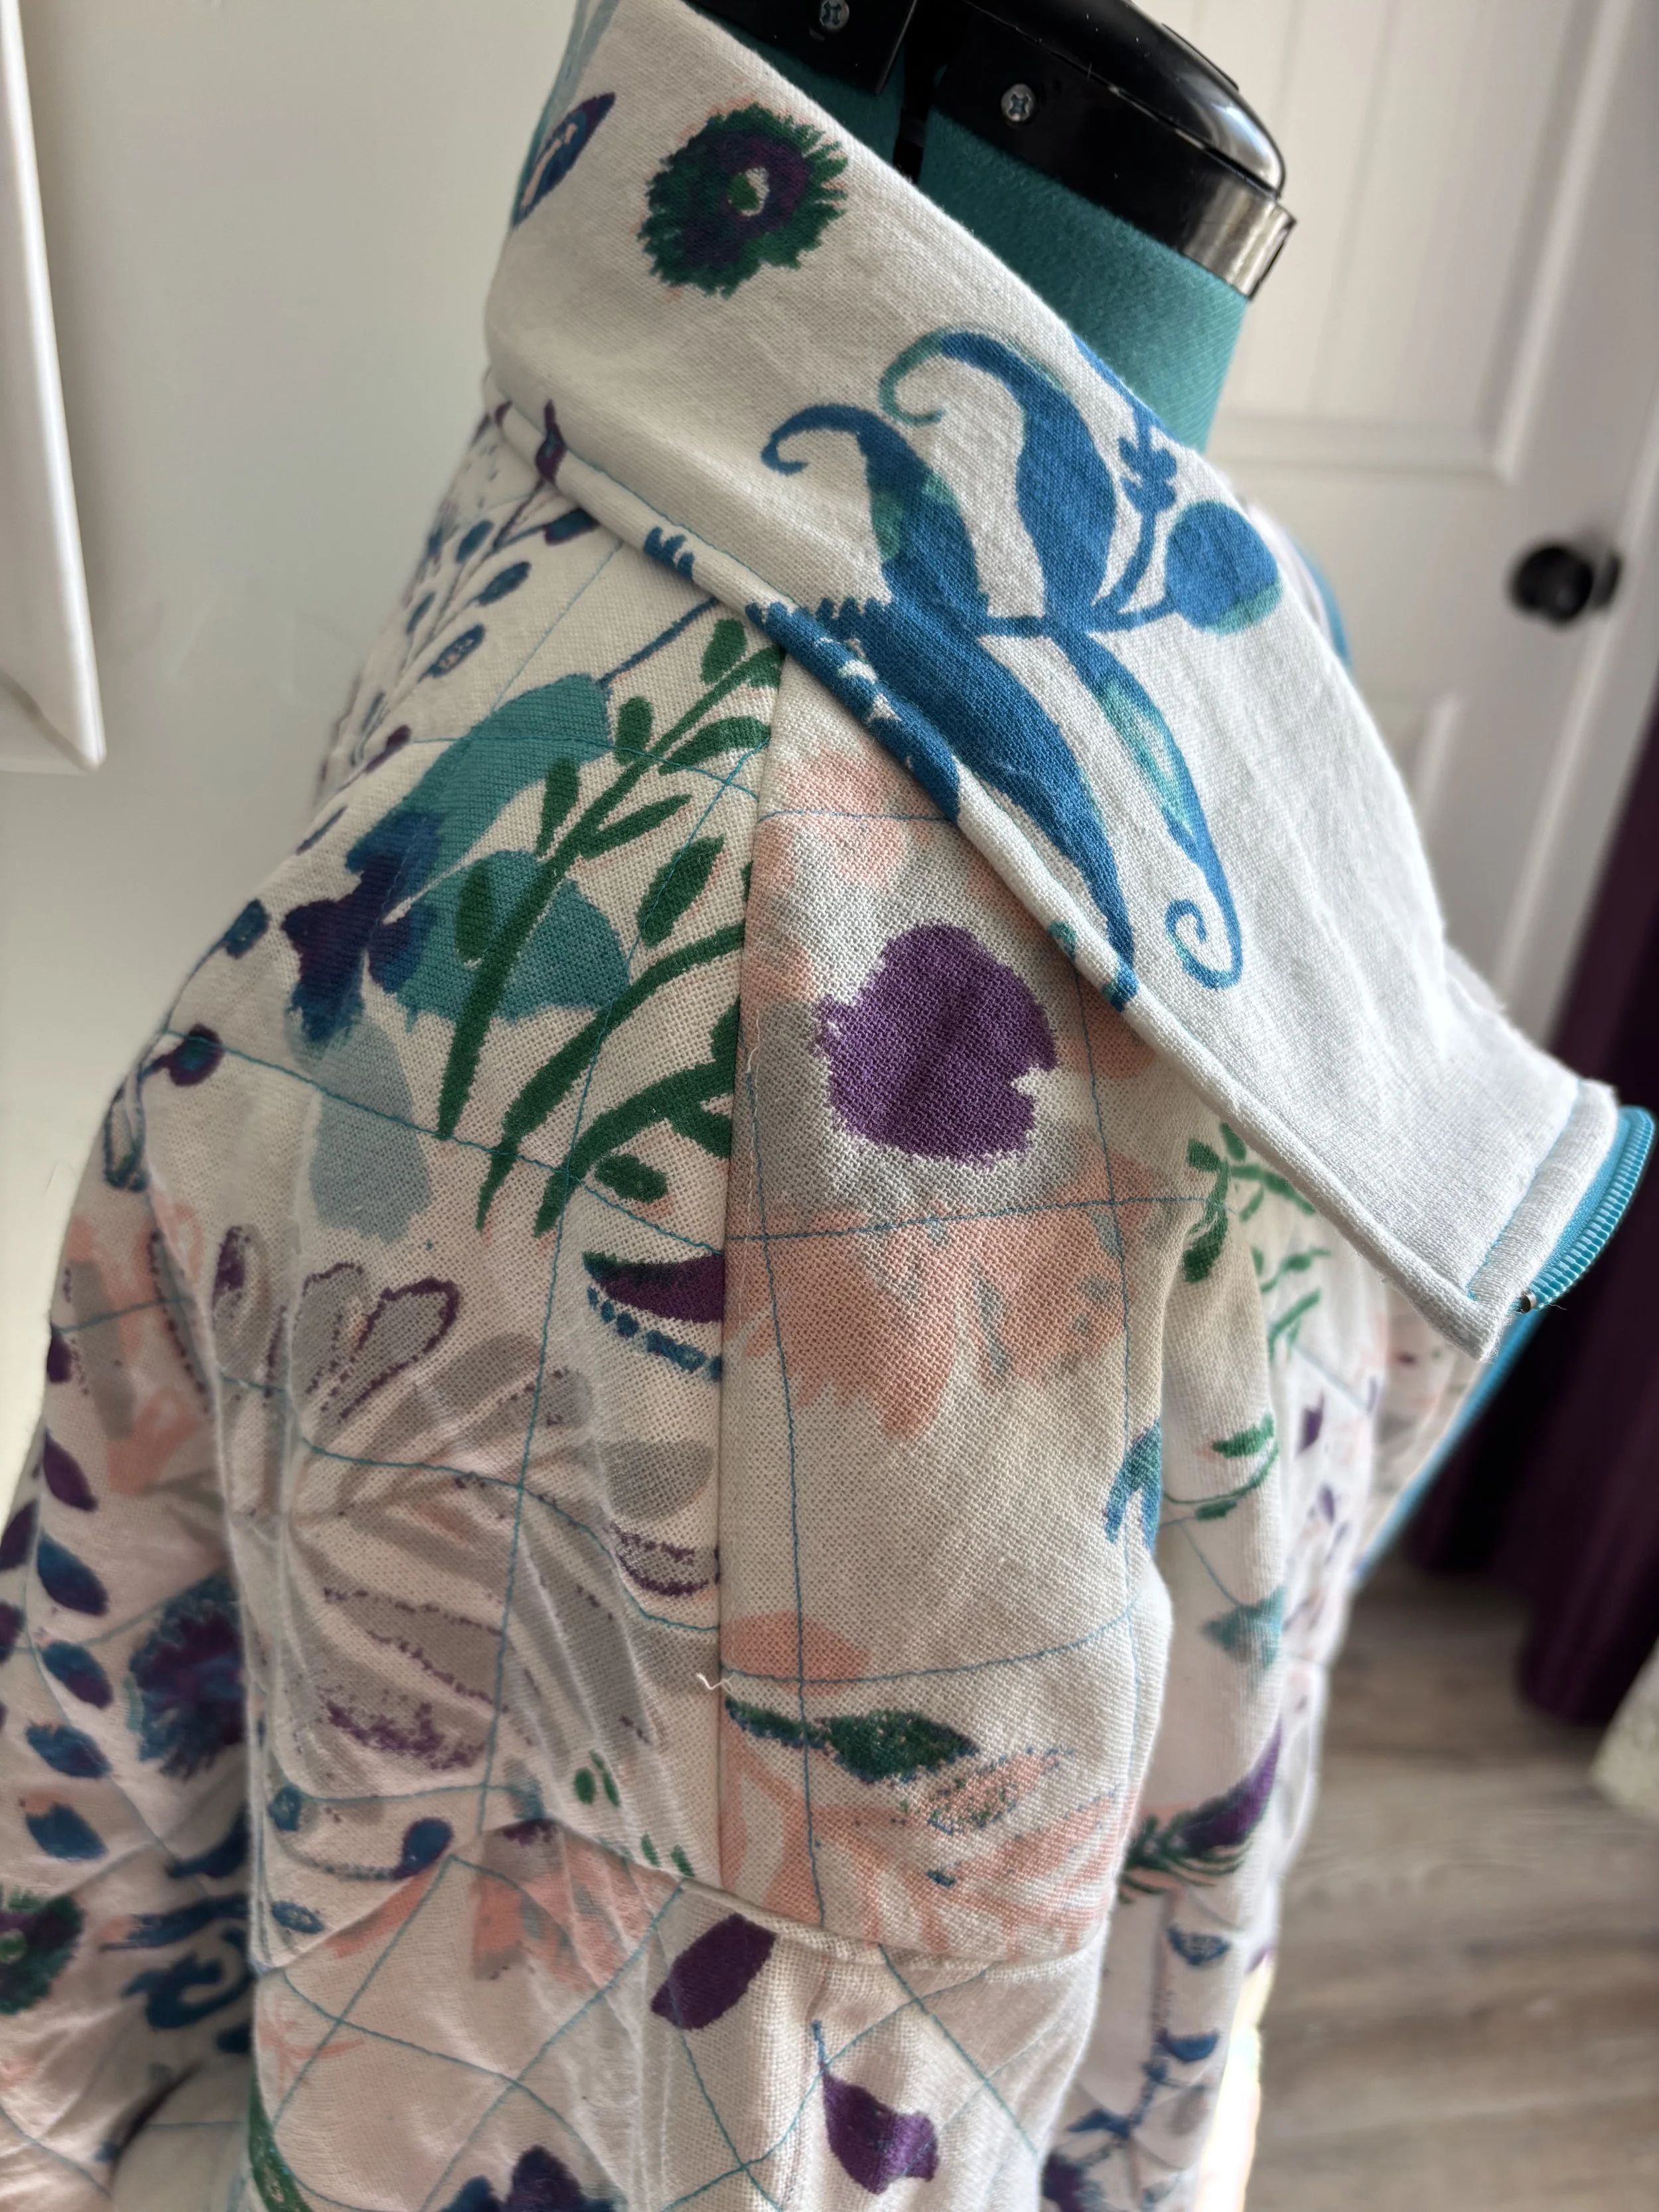
I centered the dream catcher design on the back and front panels. I used the cozy fleece blanket as the lining. But as I cut out the larger pattern pieces, I quickly realized there wasn't enough material left for the sleeves. Time to pivot.
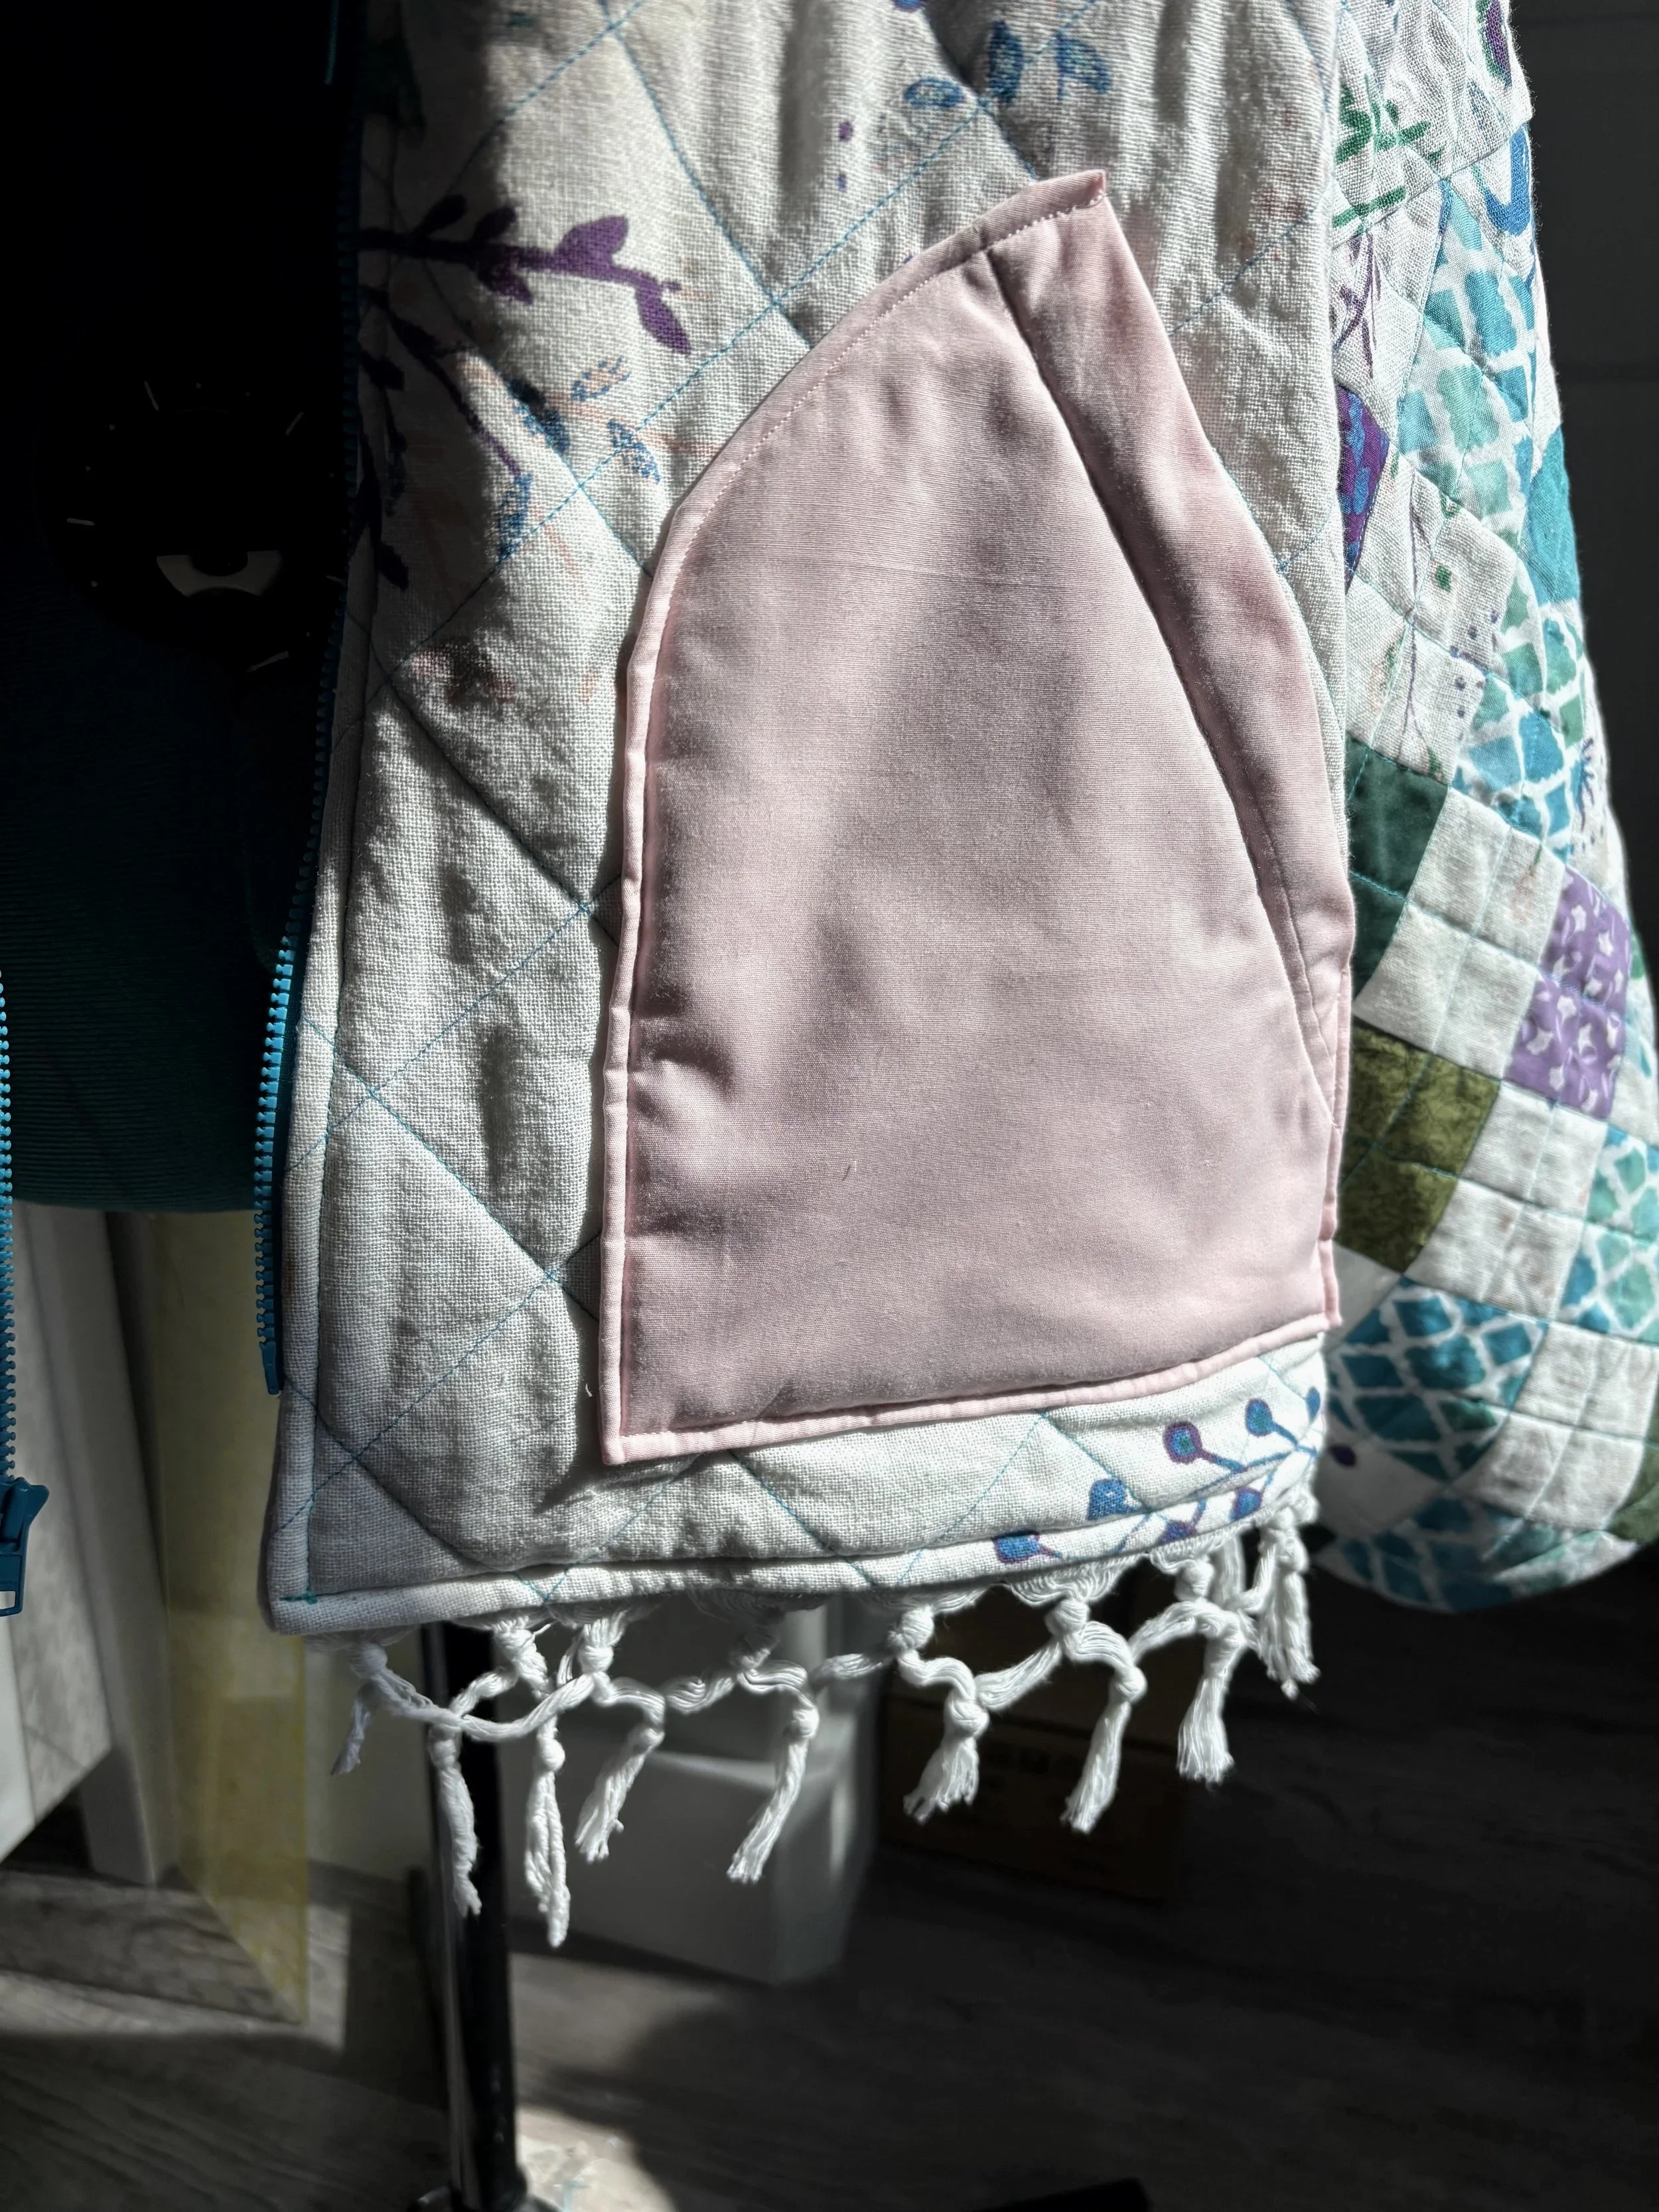
I pulled fabrics from my stash in similar colors and combined them with pieces from the remaining wall hanging to create patchwork sleeves. A soft pink from the stash became the pockets, adding just the right touch. And I carefully saved the end tassels from the wall hanging, hoping I could incorporate them along the bottom of the jacket as a finishing detail.
Little by little, the idea that had started in a thrift store was beginning to take shape.
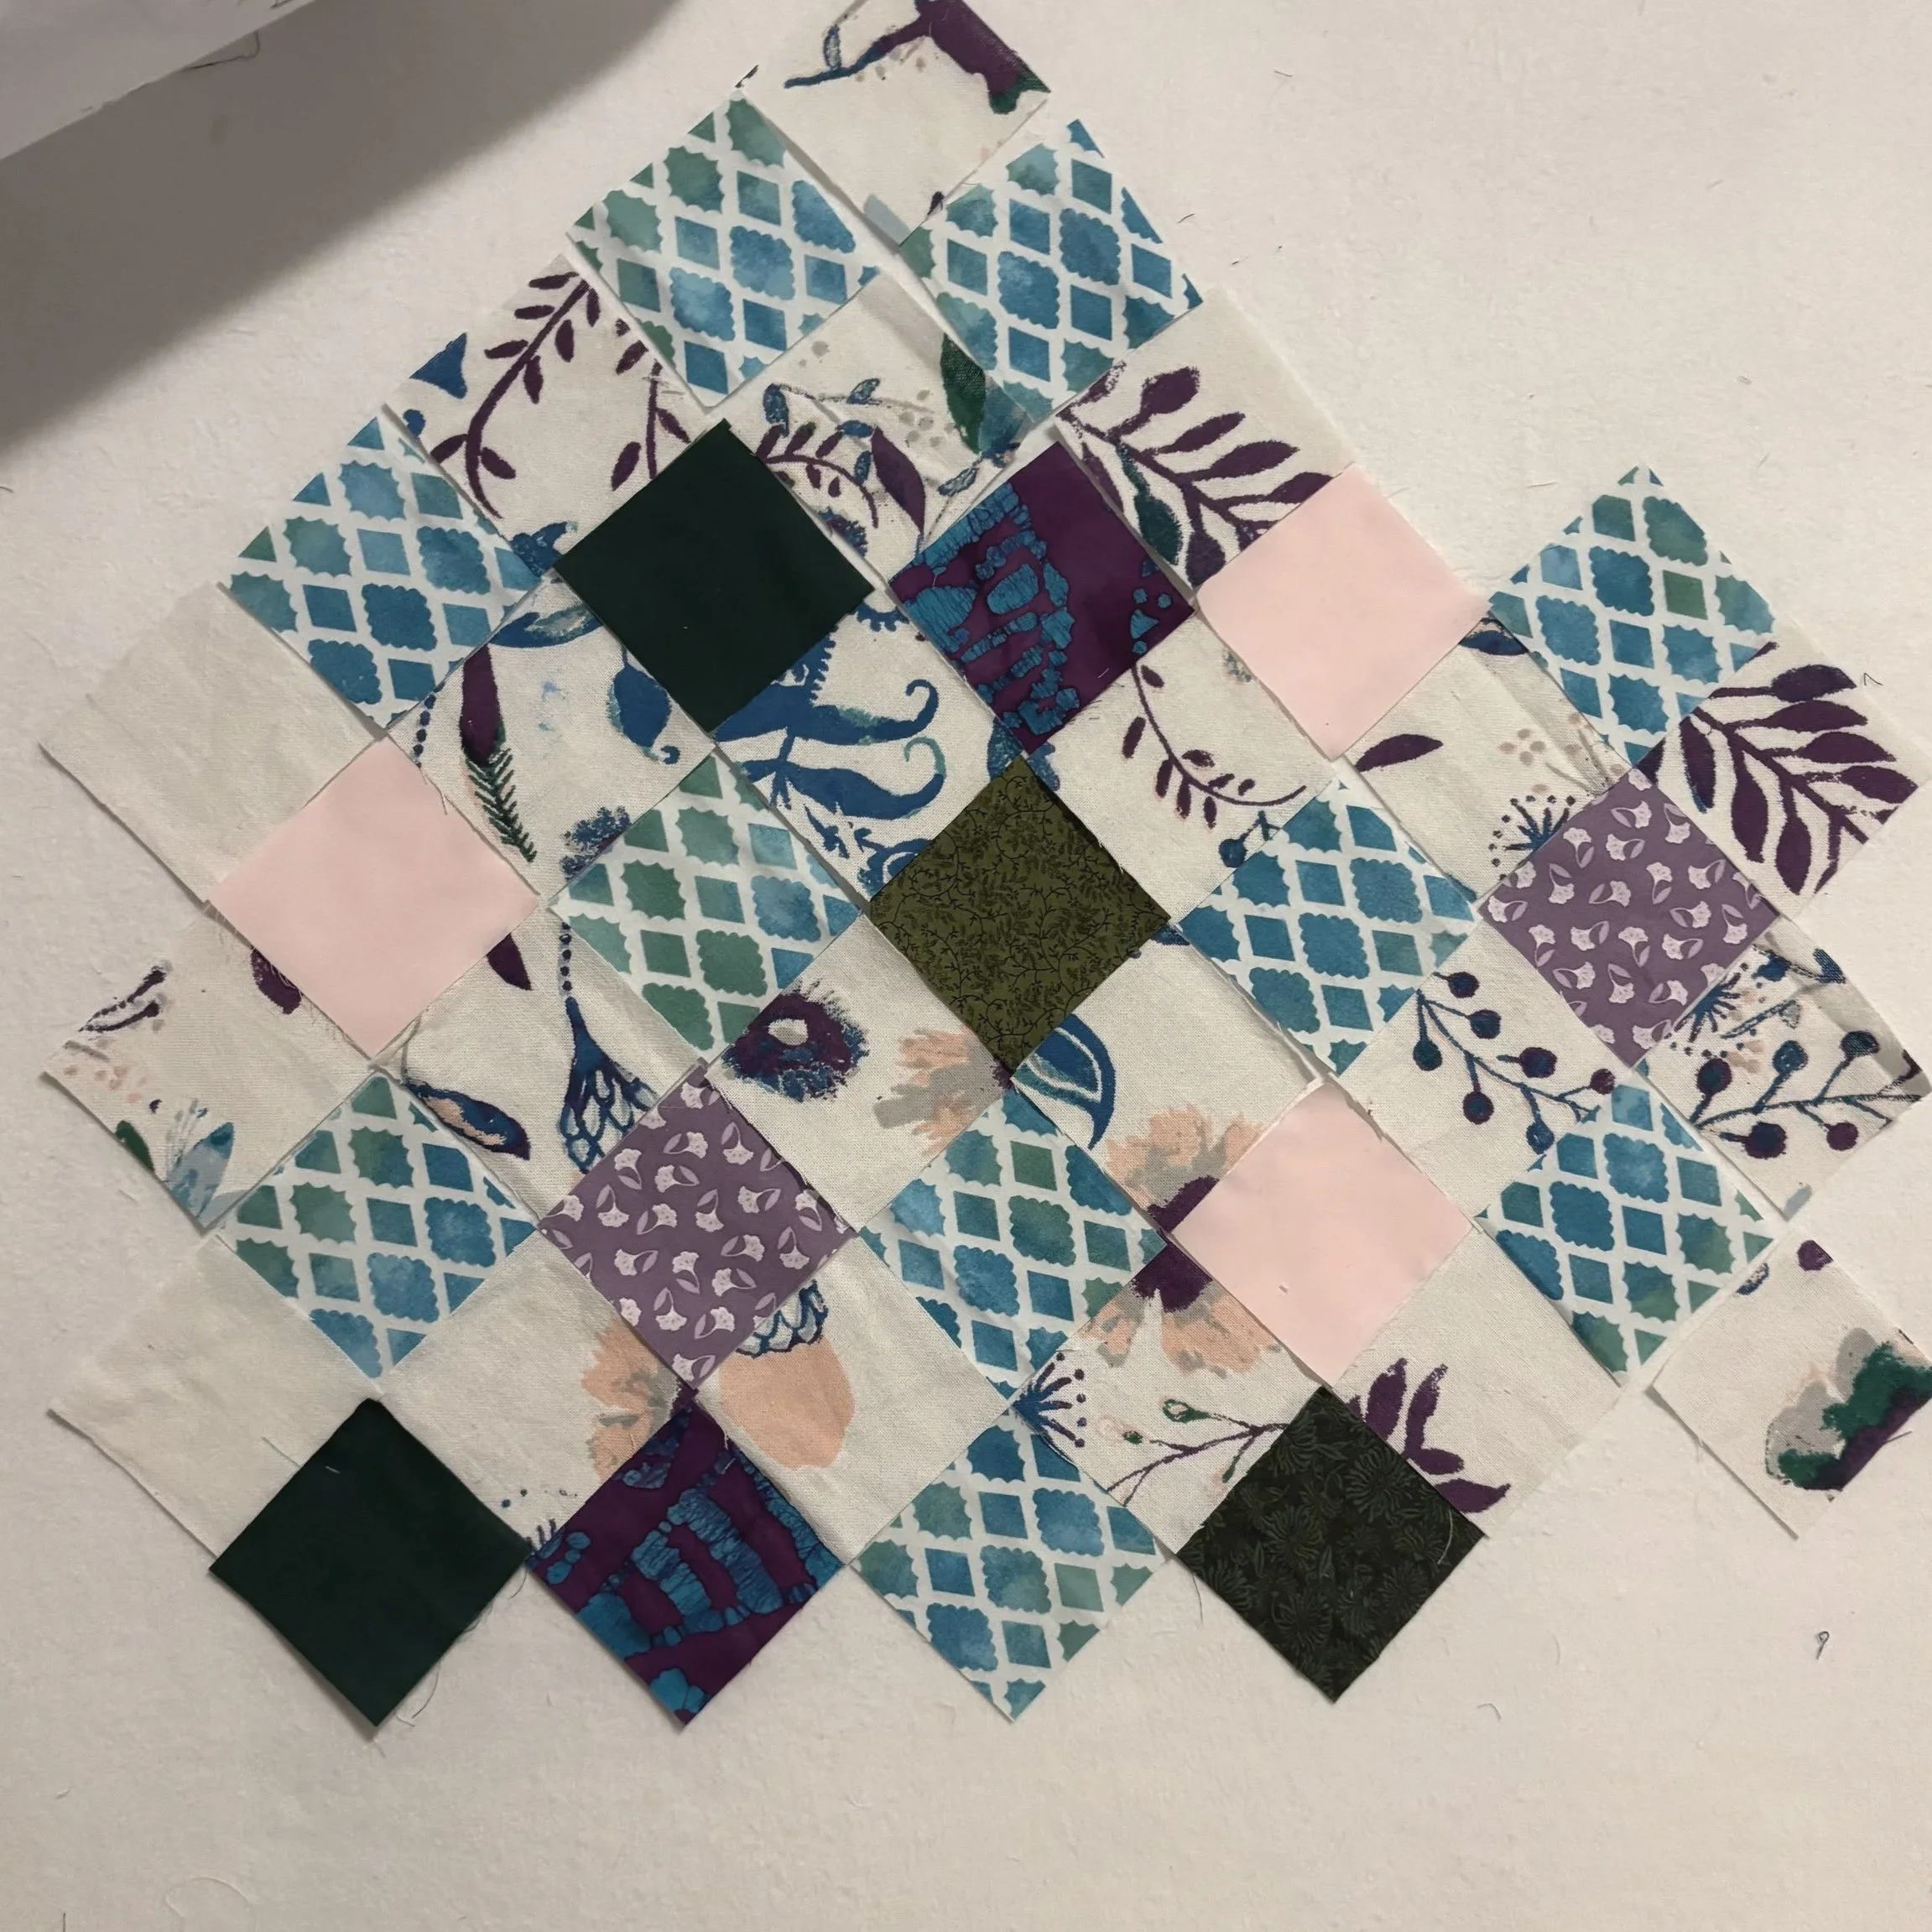
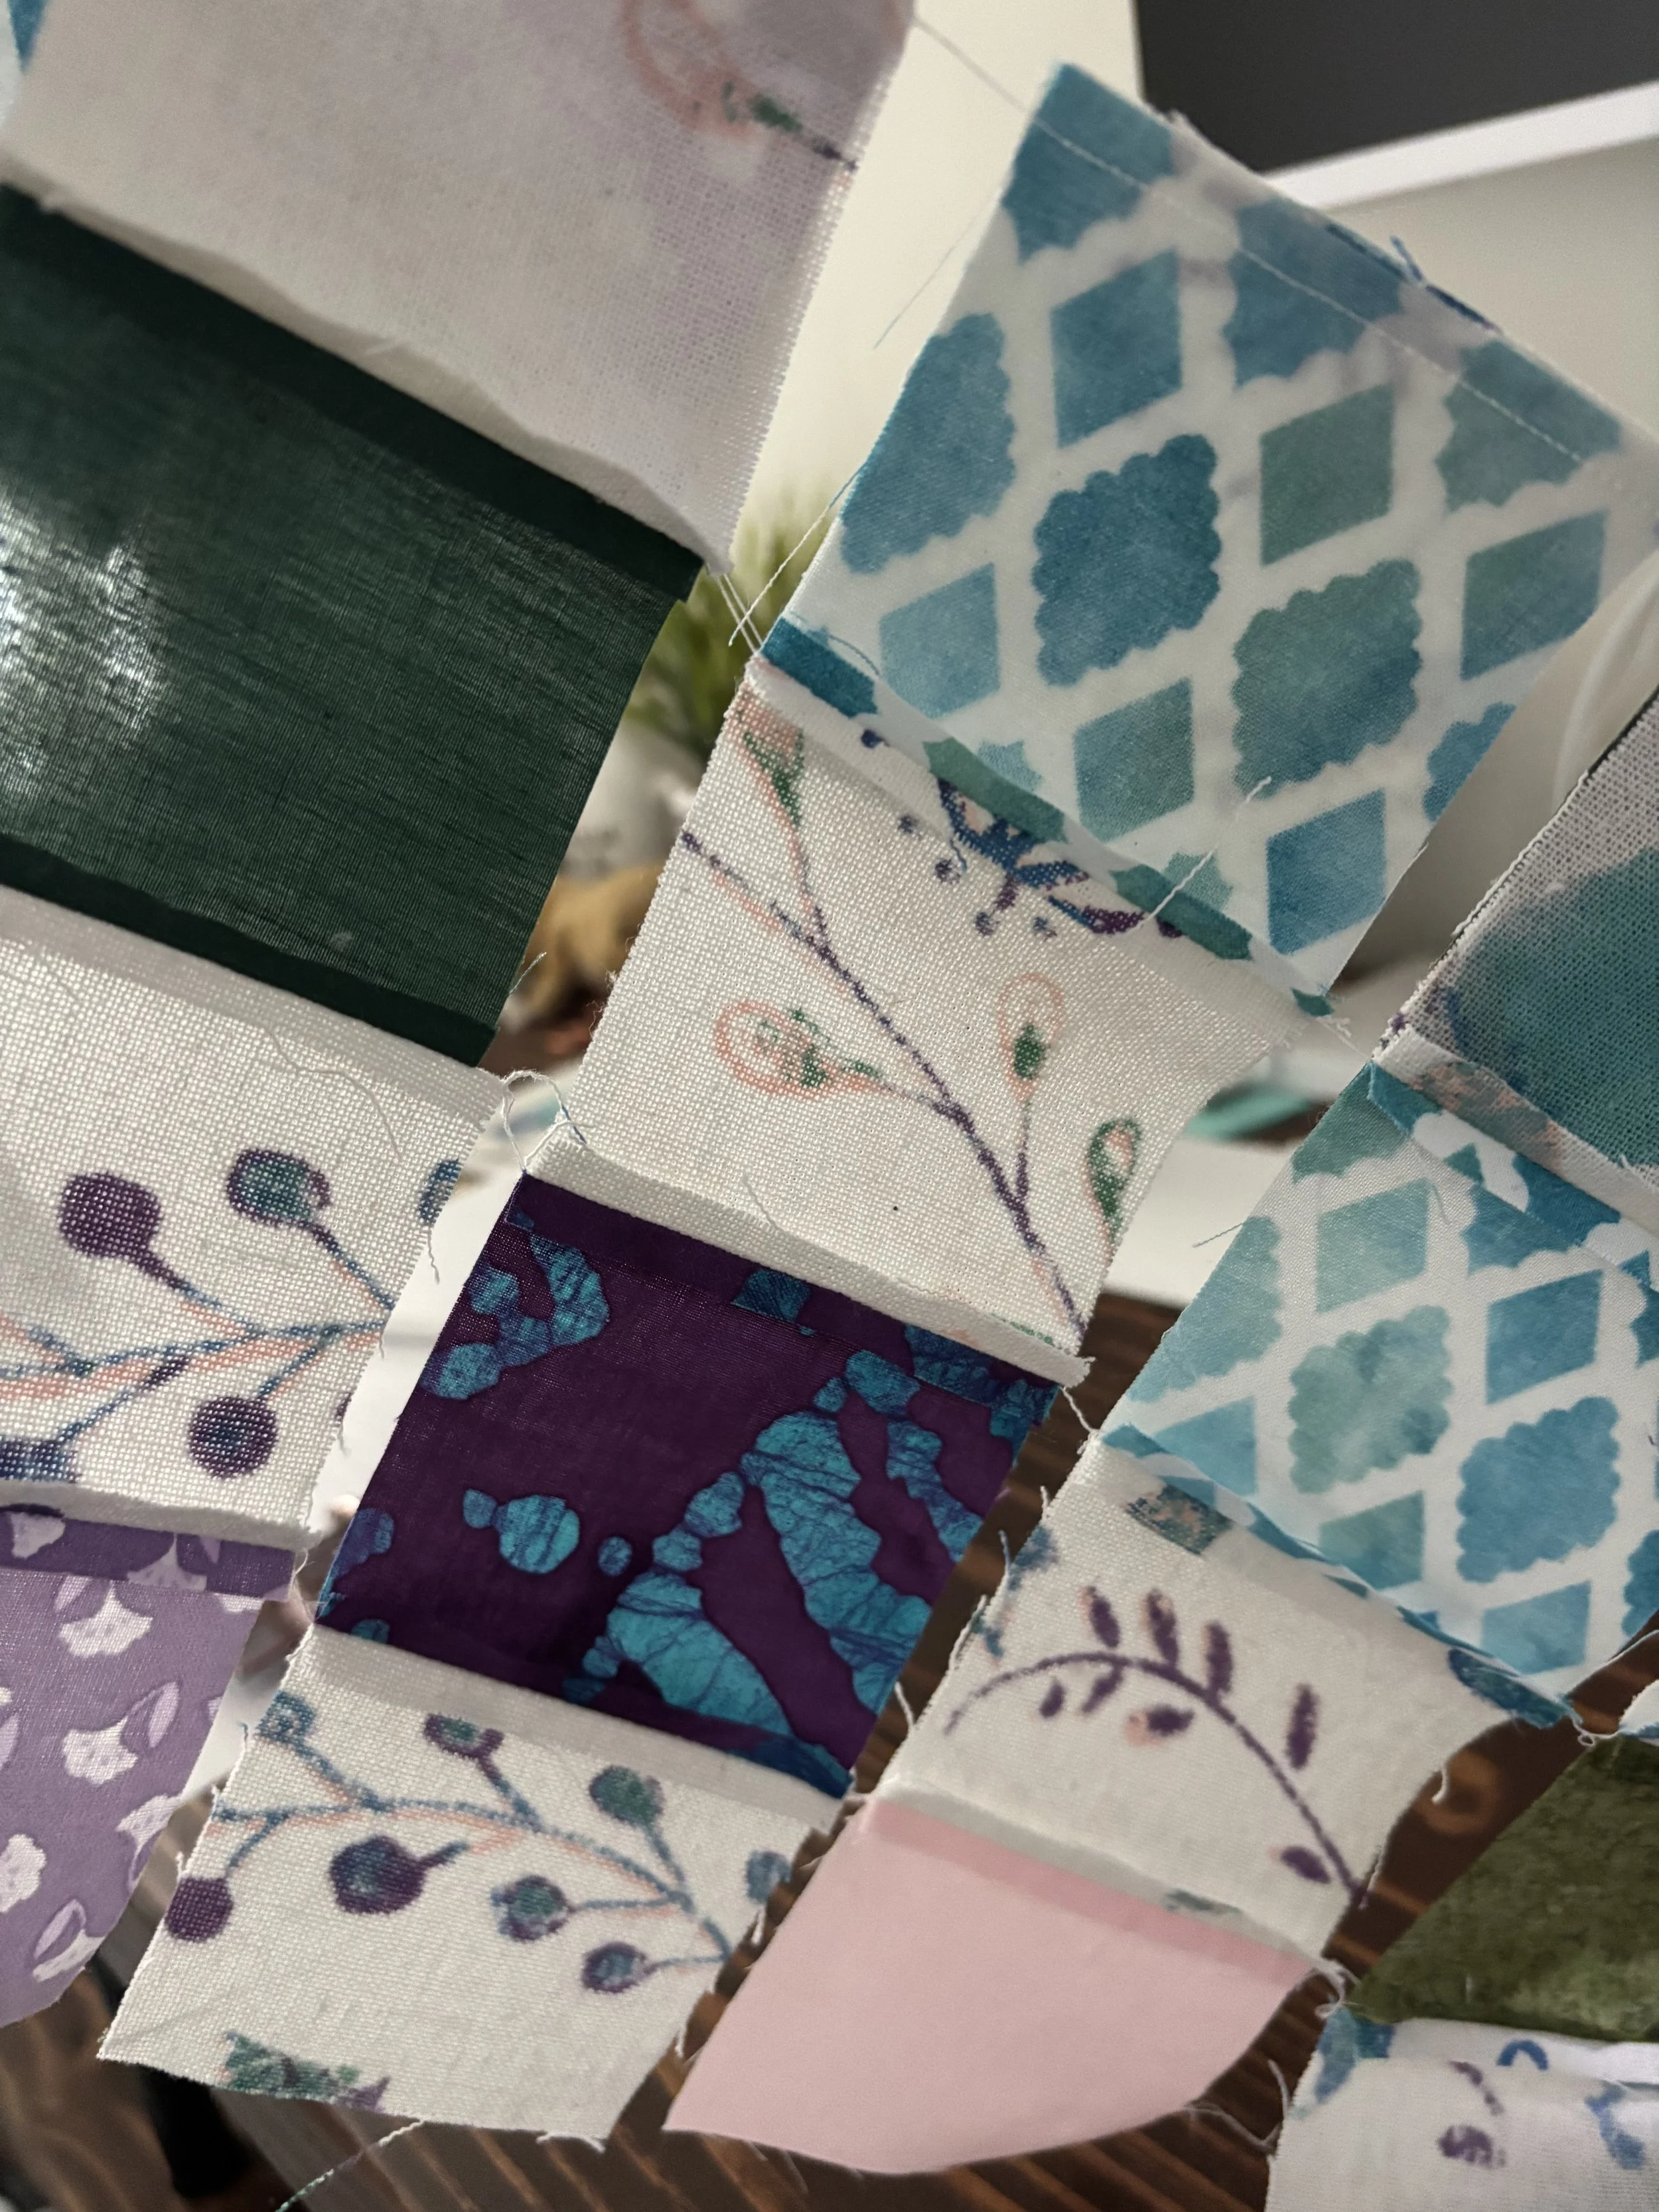
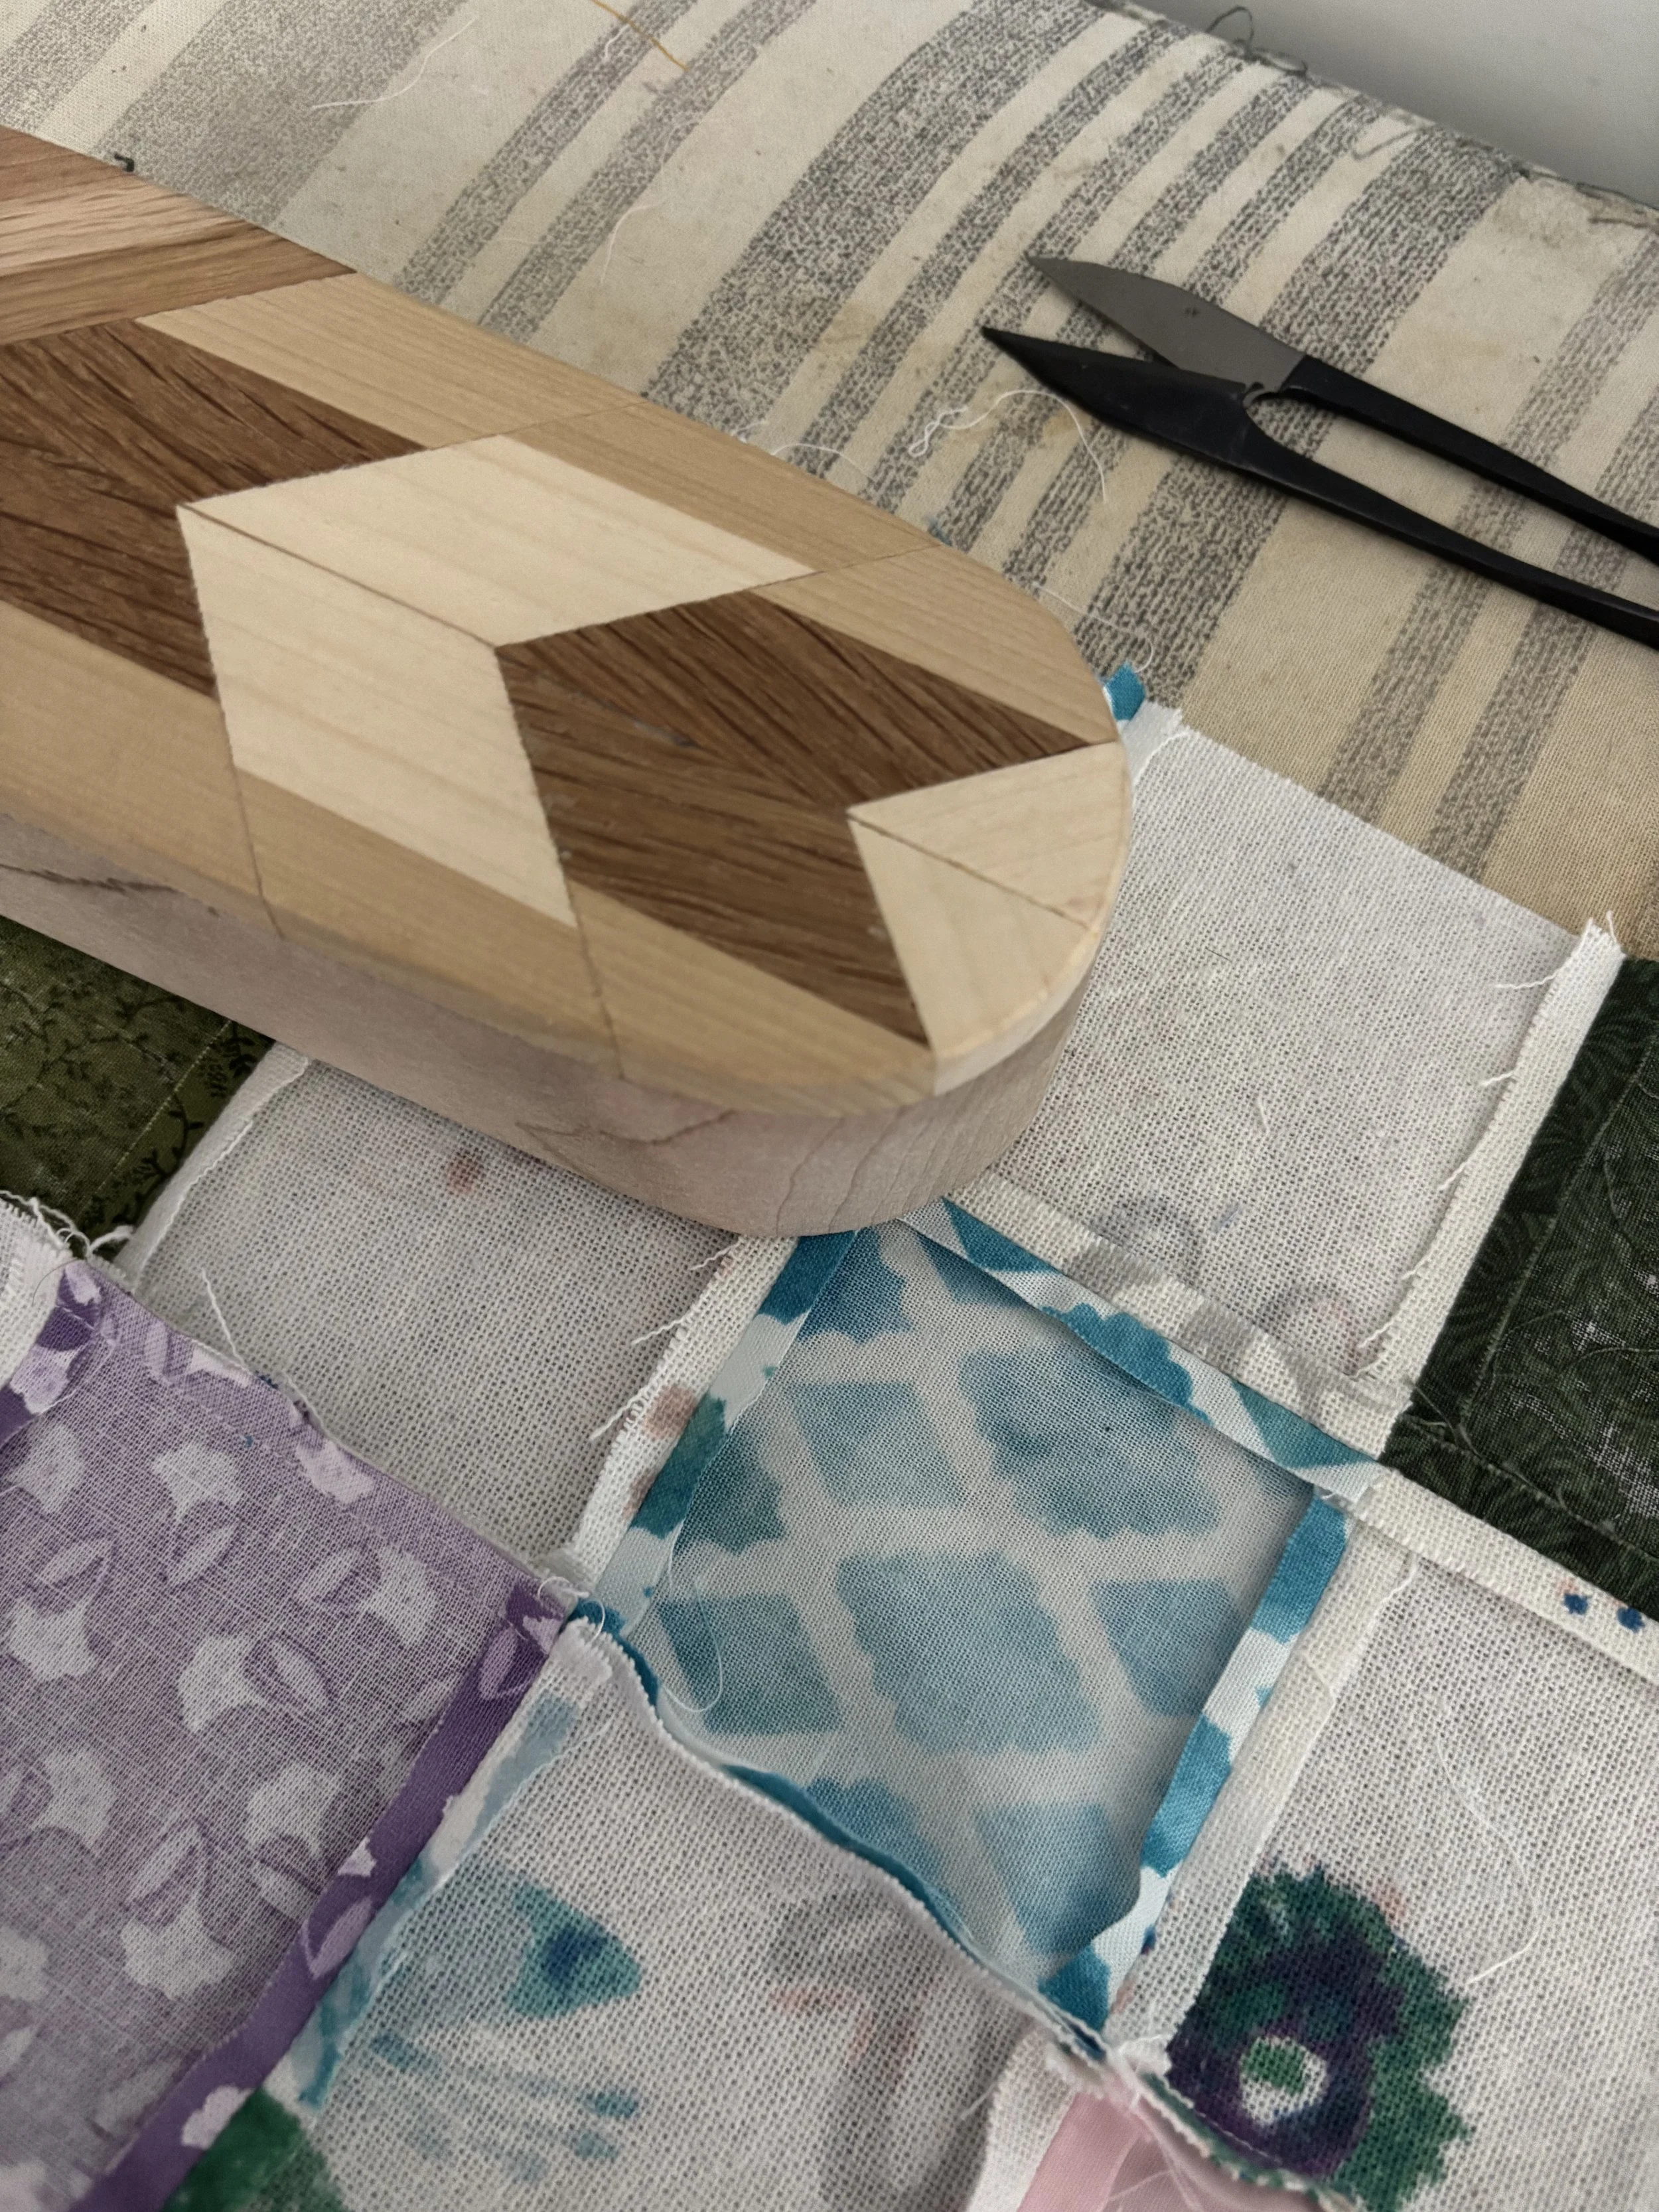
I laid out each sleeve on my design wall, leaning into the colors found in the original dream catcher wall hanging. Web-piecing was such a game changer here. I sewed each row together first, pressing the seams open as I went. Then I joined the columns together, again pressing the seams open. If you've never tried web-piecing, be sure to check out the blog post linked below—it really is such a helpful skill!
Once the patchwork was complete, I laid the sleeve pattern pieces on top to see how everything would fit. I decided I didn't want the patchwork extending all the way up the sleeve. But what to do? Looking through the leftover pieces of the wall hanging, I decided to use them at the top of each sleeve. I was hoping—really hoping—I had enough material left. It was close, but thankfully there was just enough!
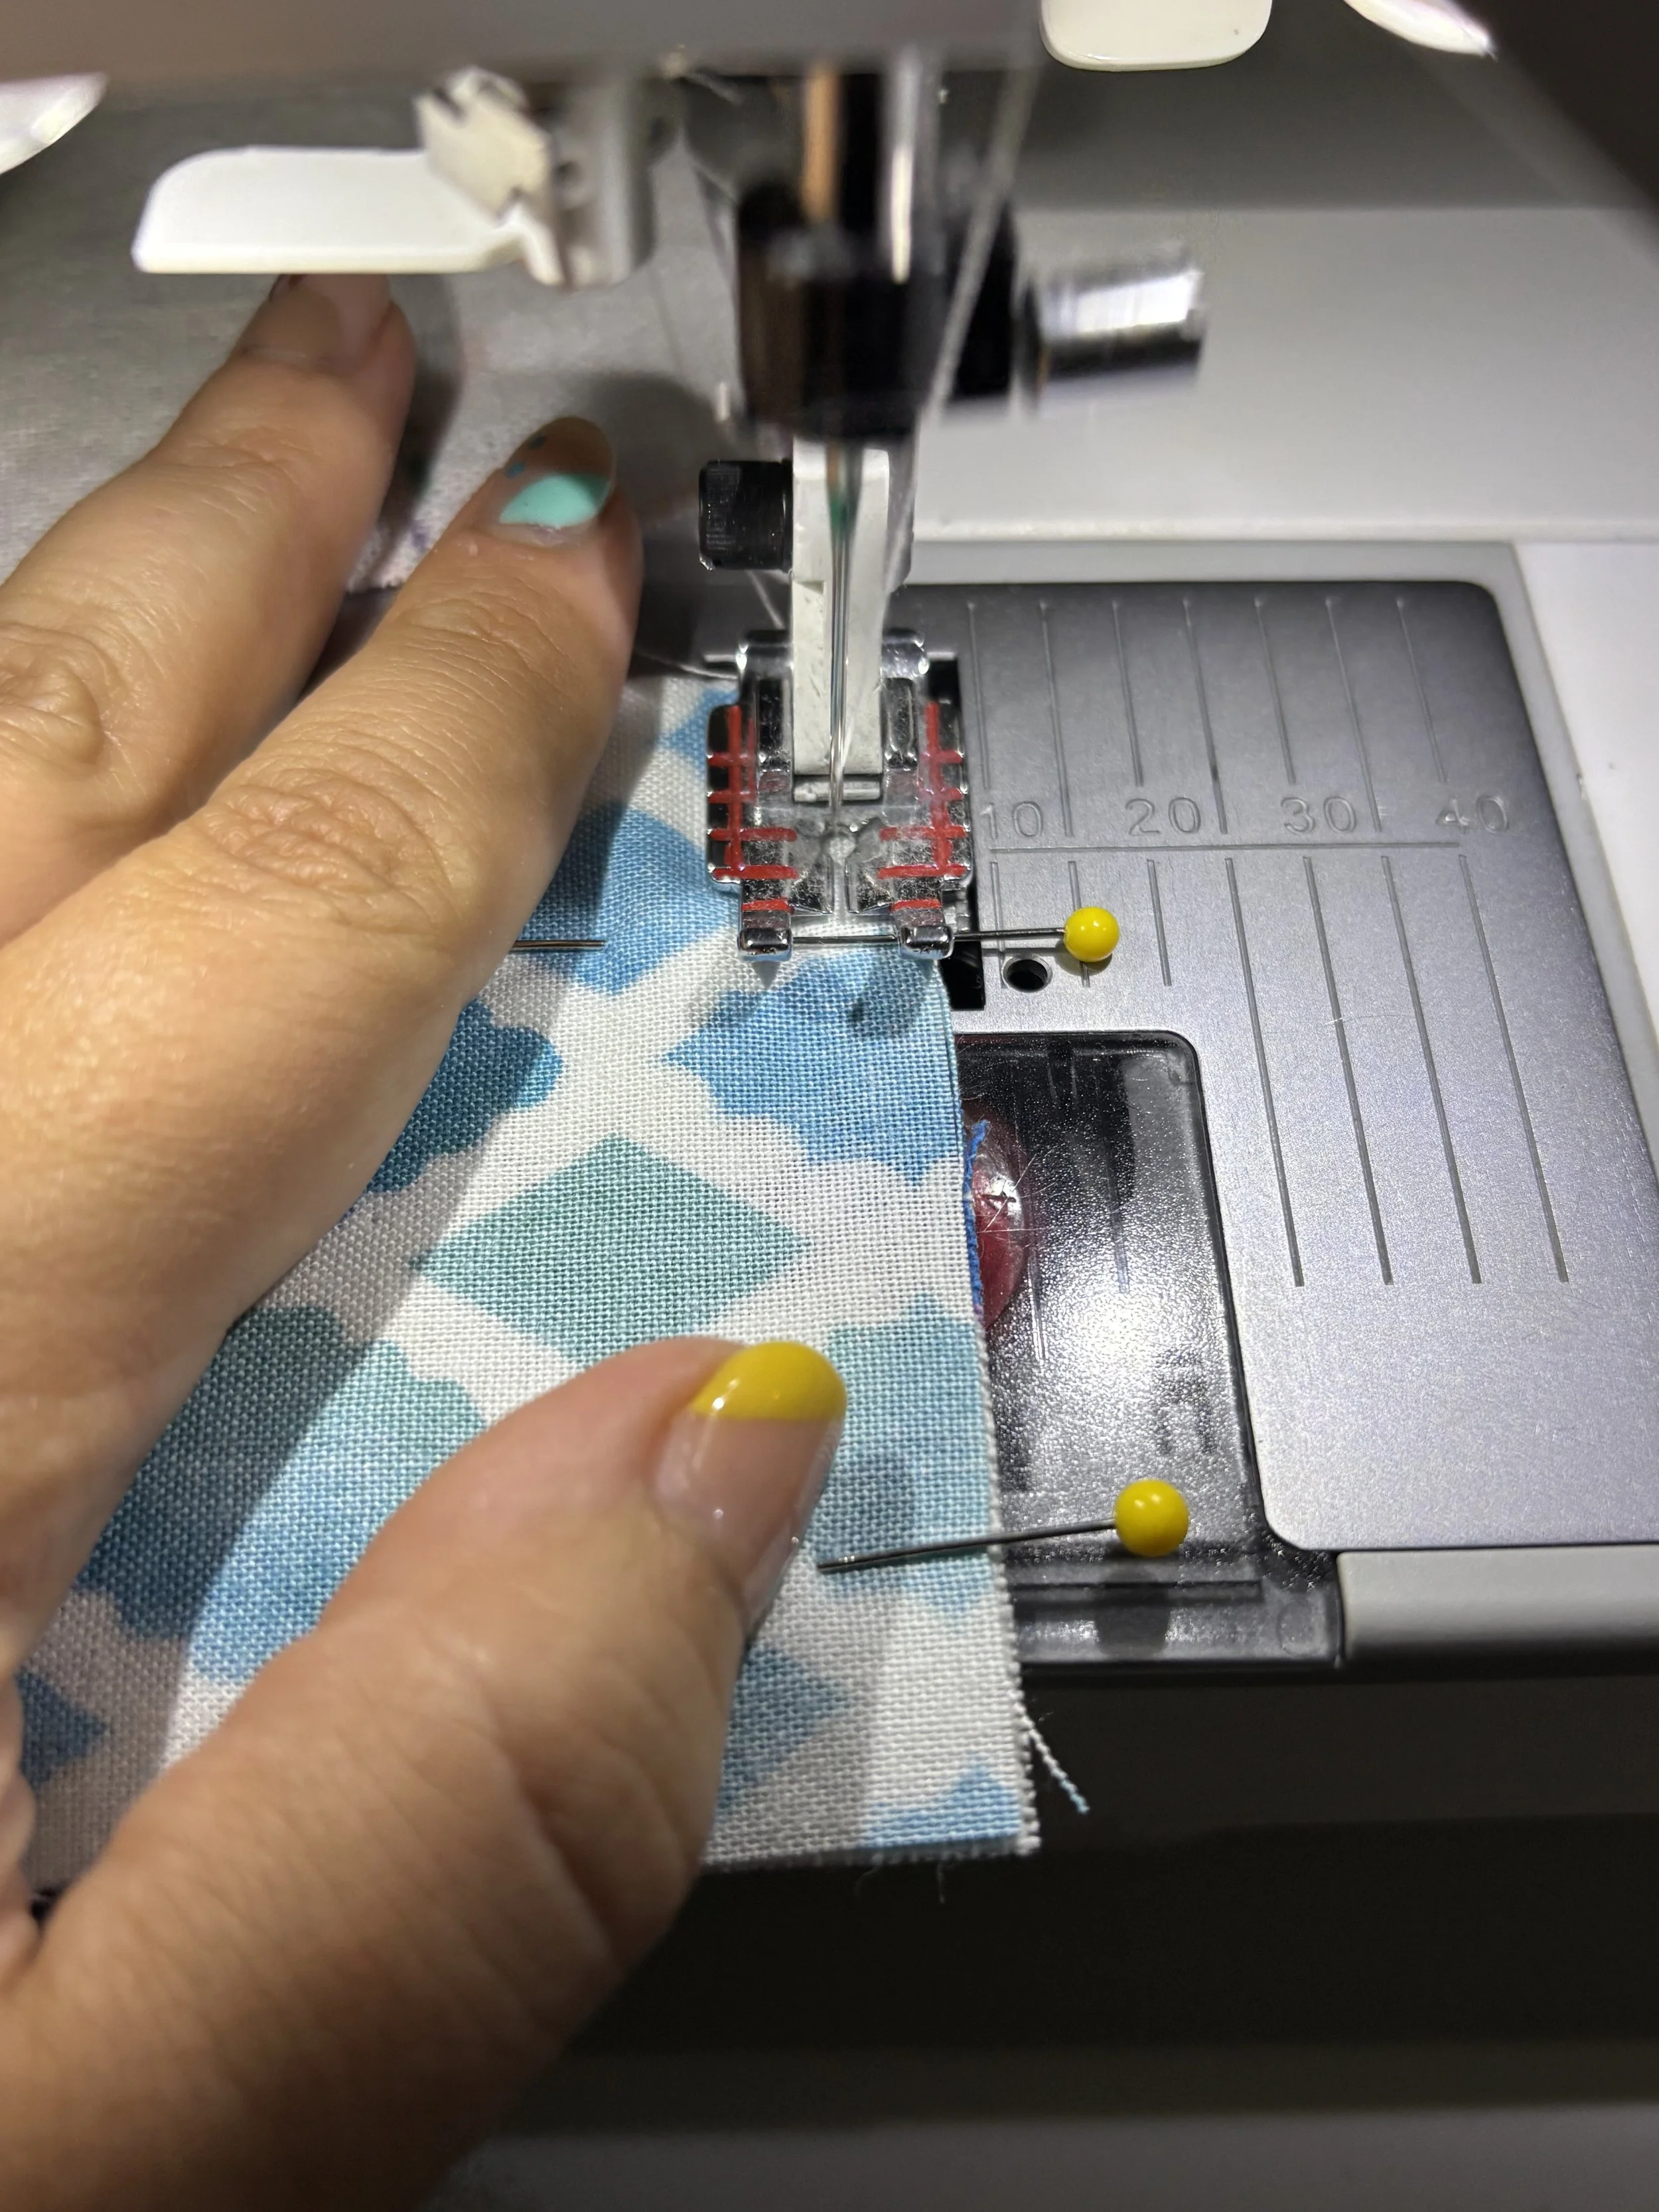
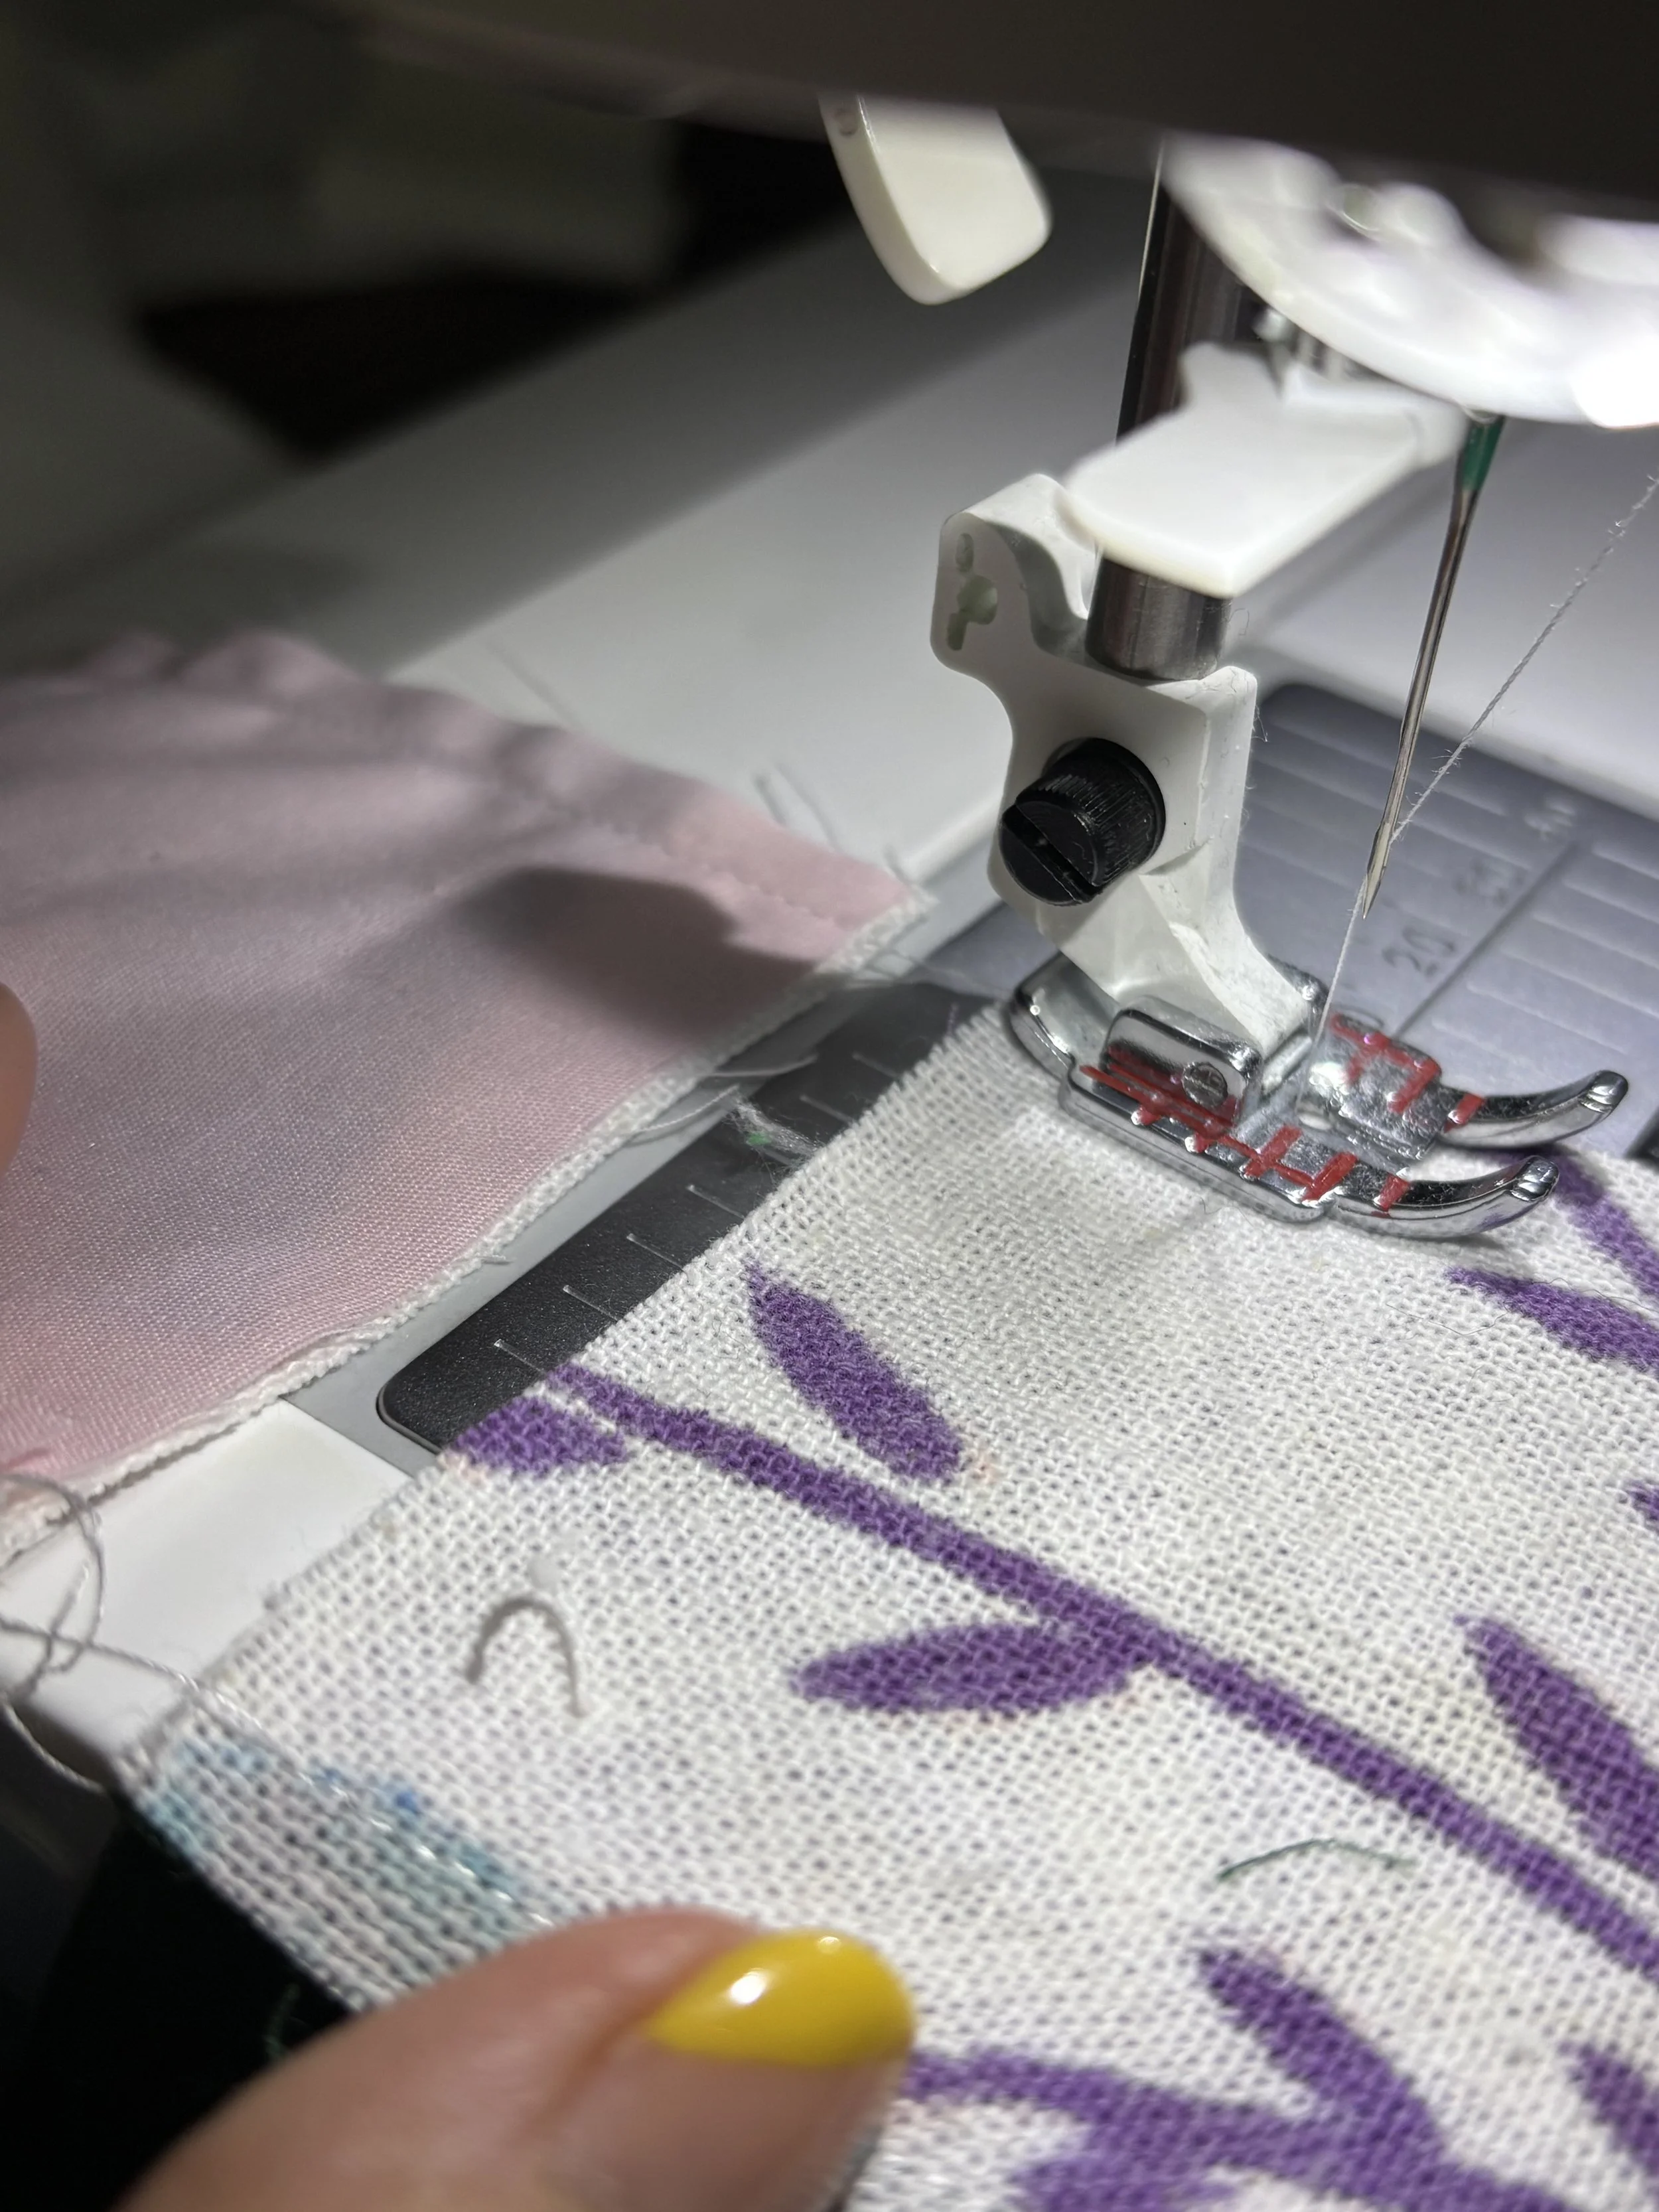
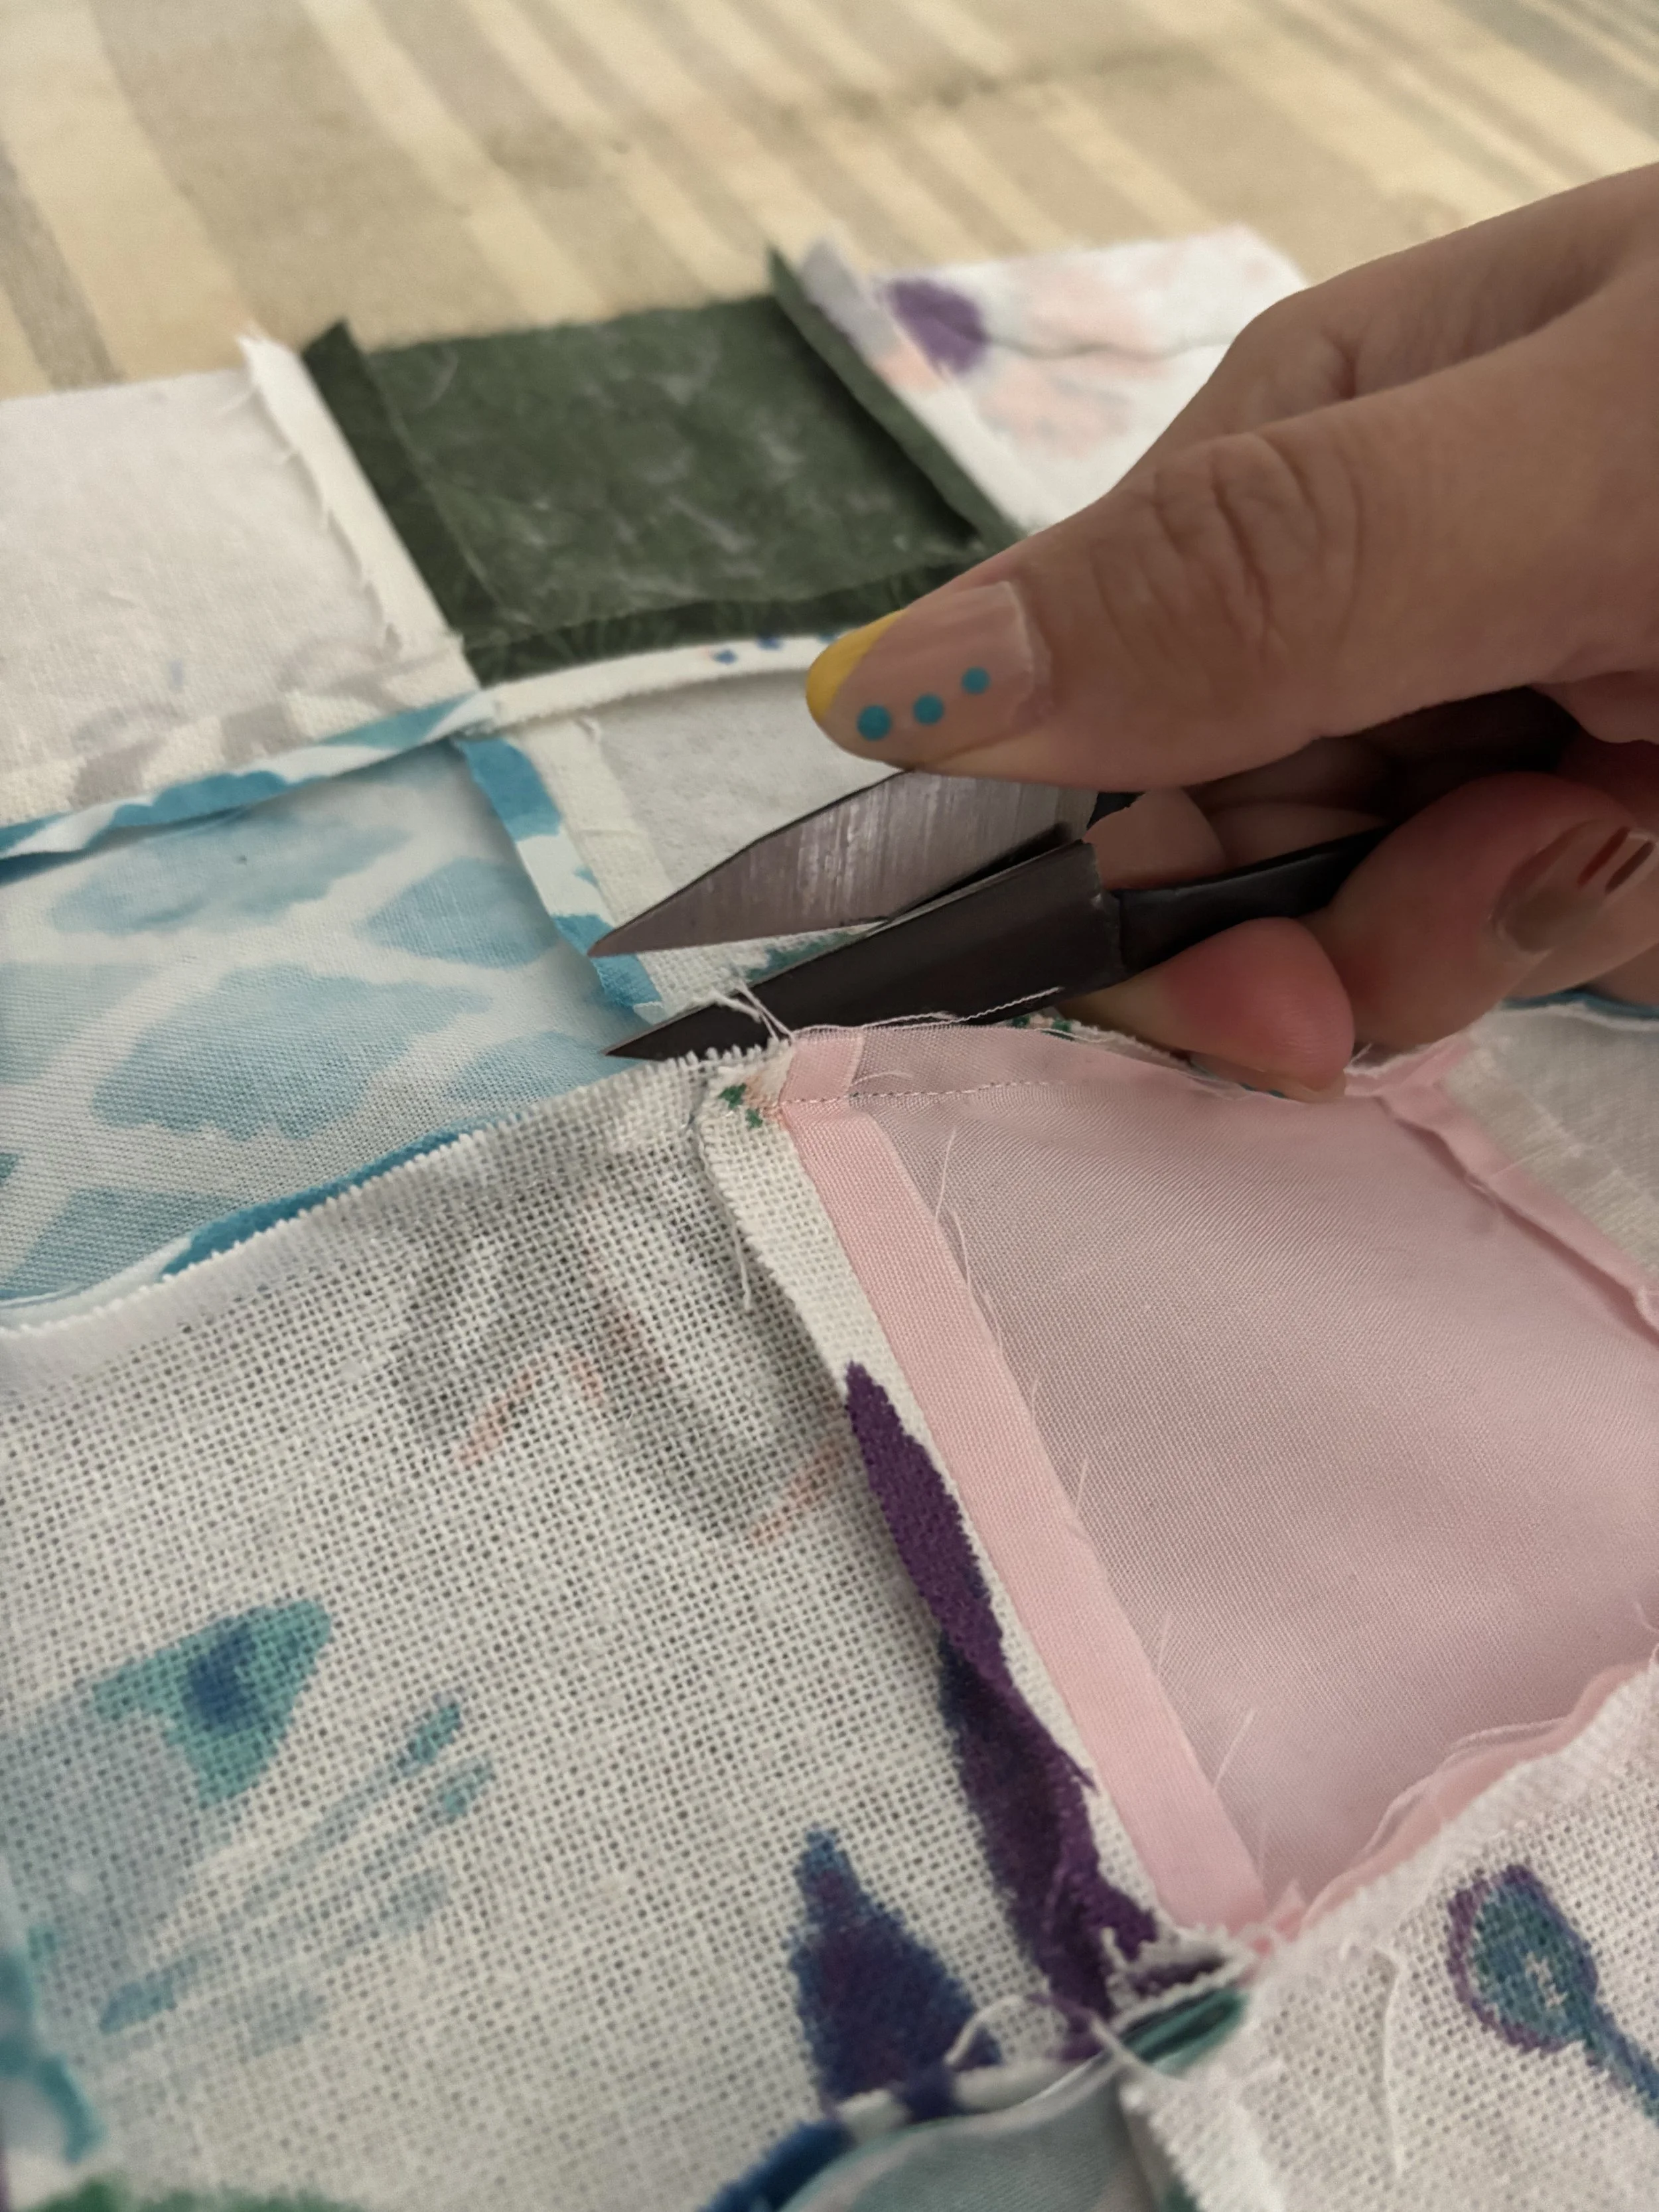
With the sleeves assembled, it was time to quilt. Using Stella, my sewing machine, I quilted the each of the sleeves, front and back panels with a simple crosshatch design. I brought in some soft gray flannel to carry the same cozy feel from the lining of the front and back panels. Once everything was quilted, it was finally time to put all the pieces together.
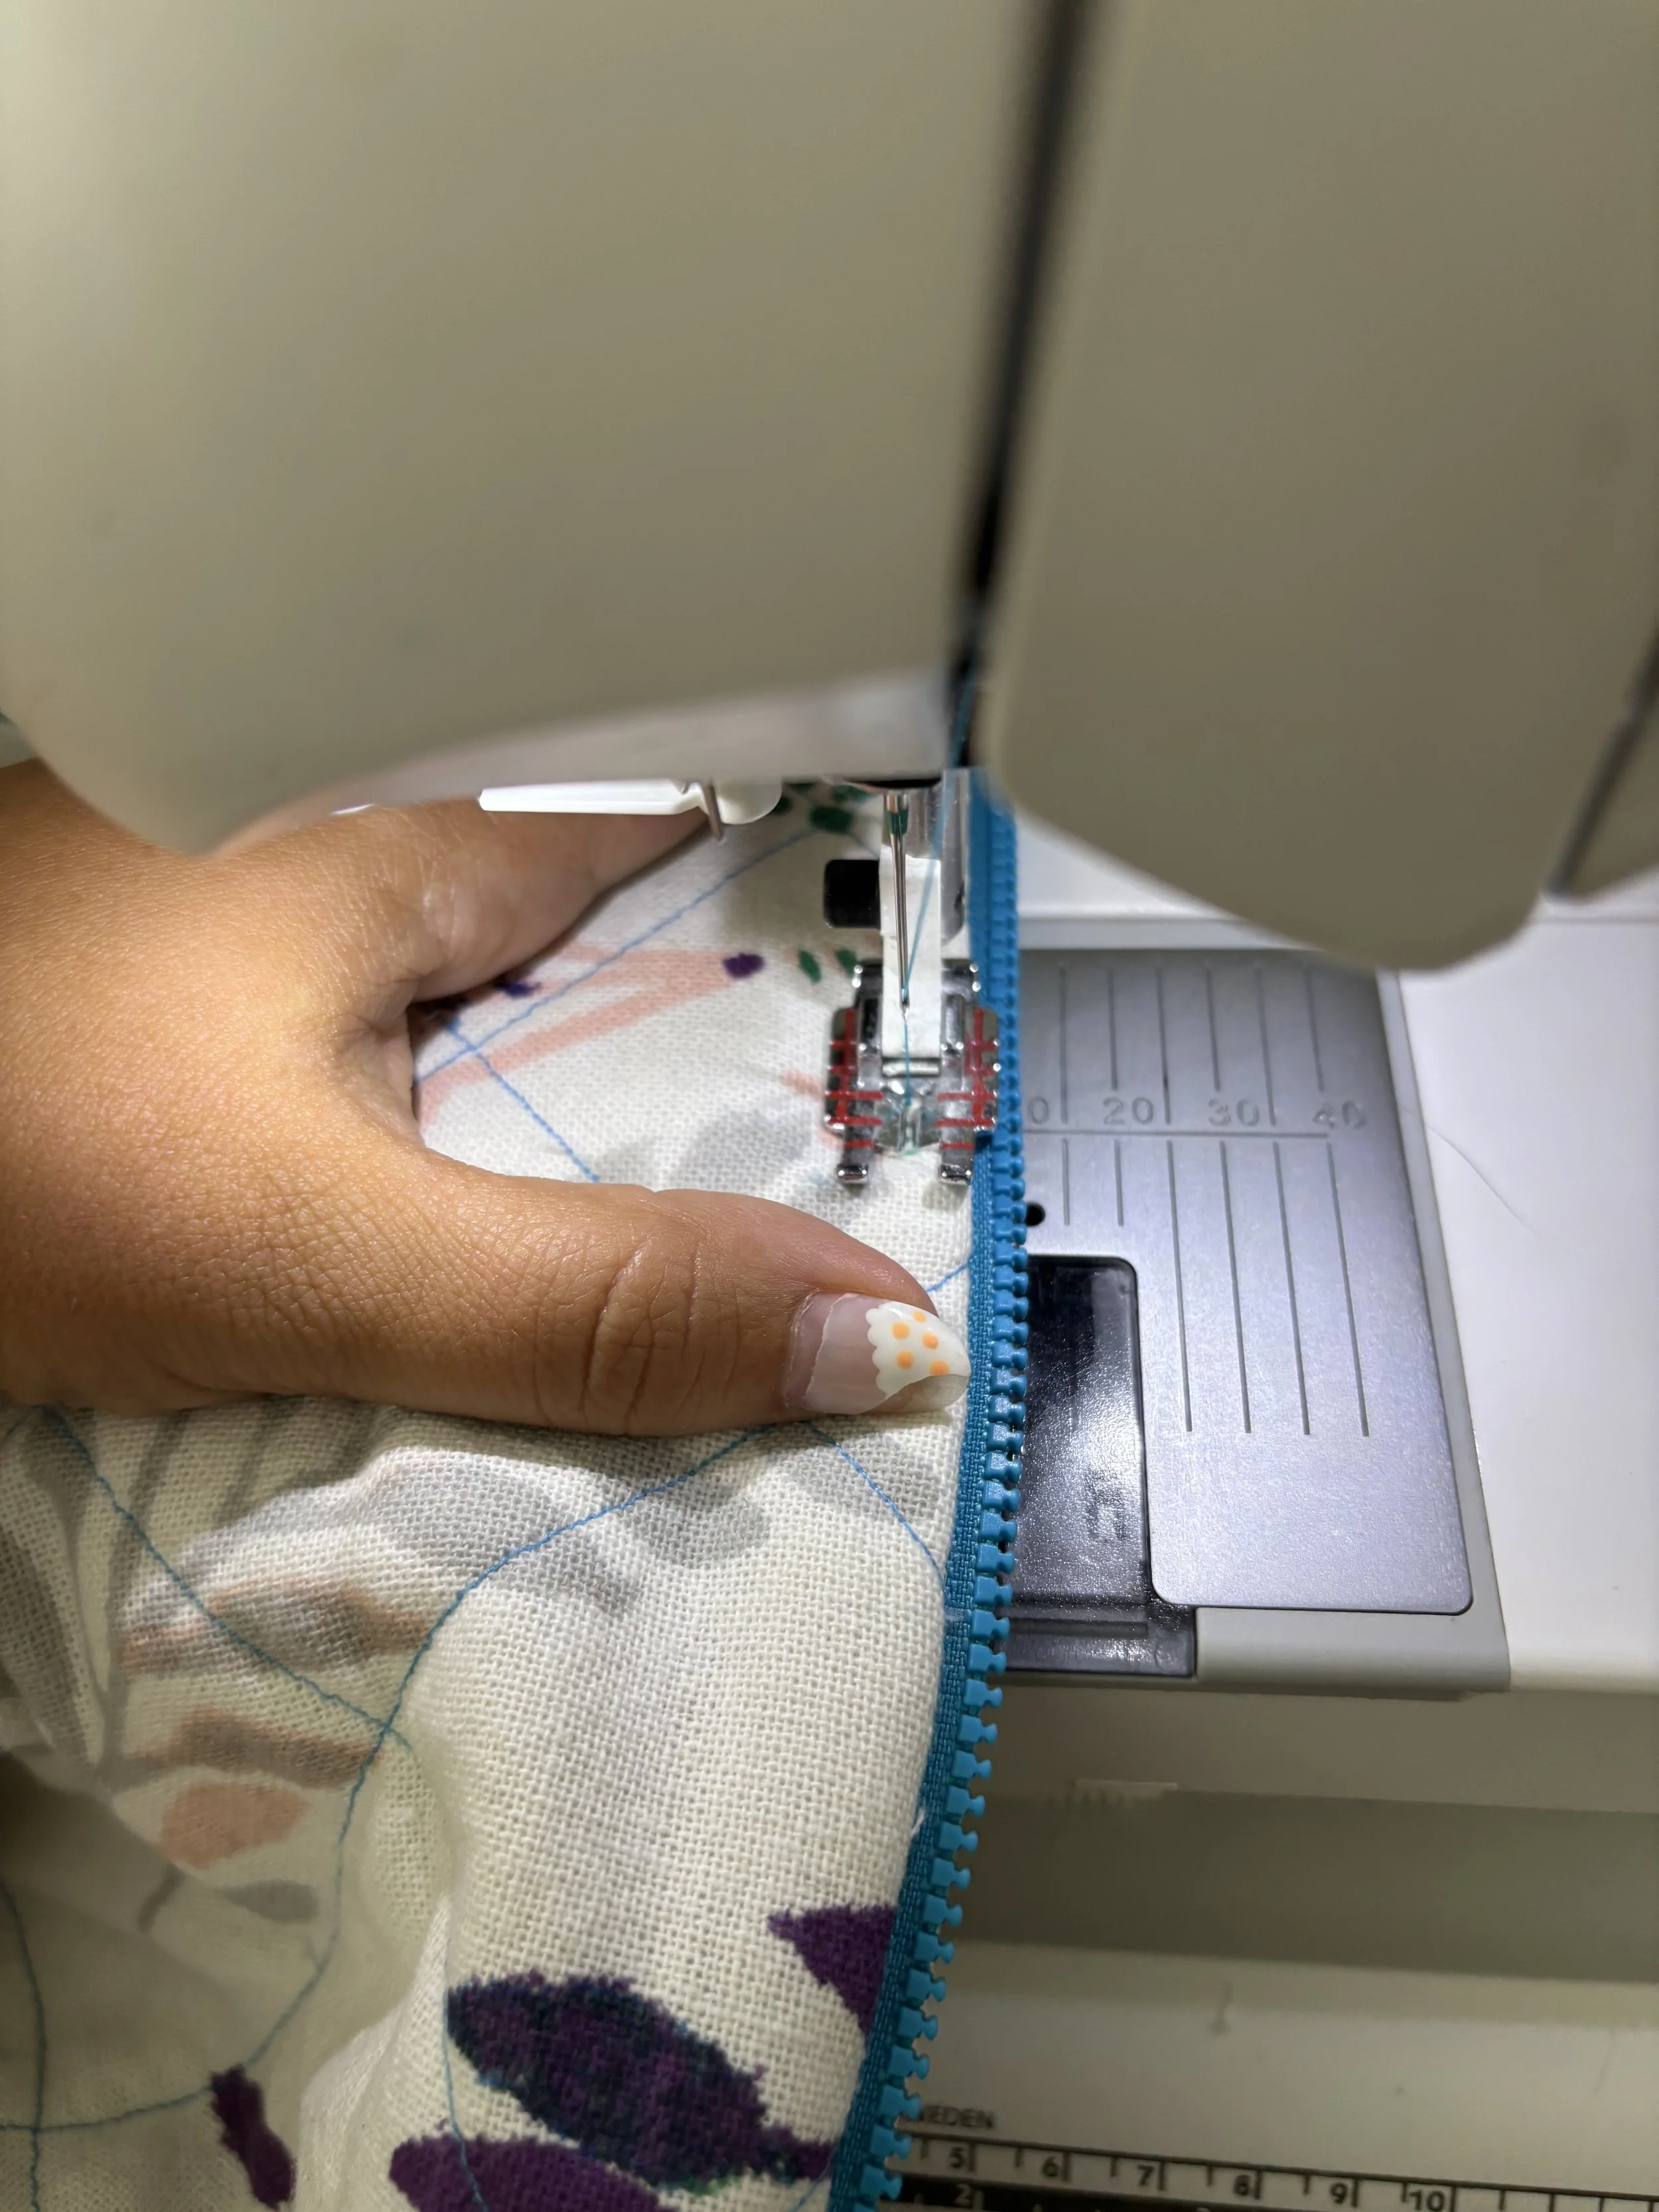
I chose a 26" blue fashion zipper and added a bit of batting to the inside of the collar for extra warmth and structure. Adding the tassels to the bottom hem proved to be a little tricky, so I stitched them to one side of the jacket first before closing the hem completely. Sometimes you just have to figure things out as you go!

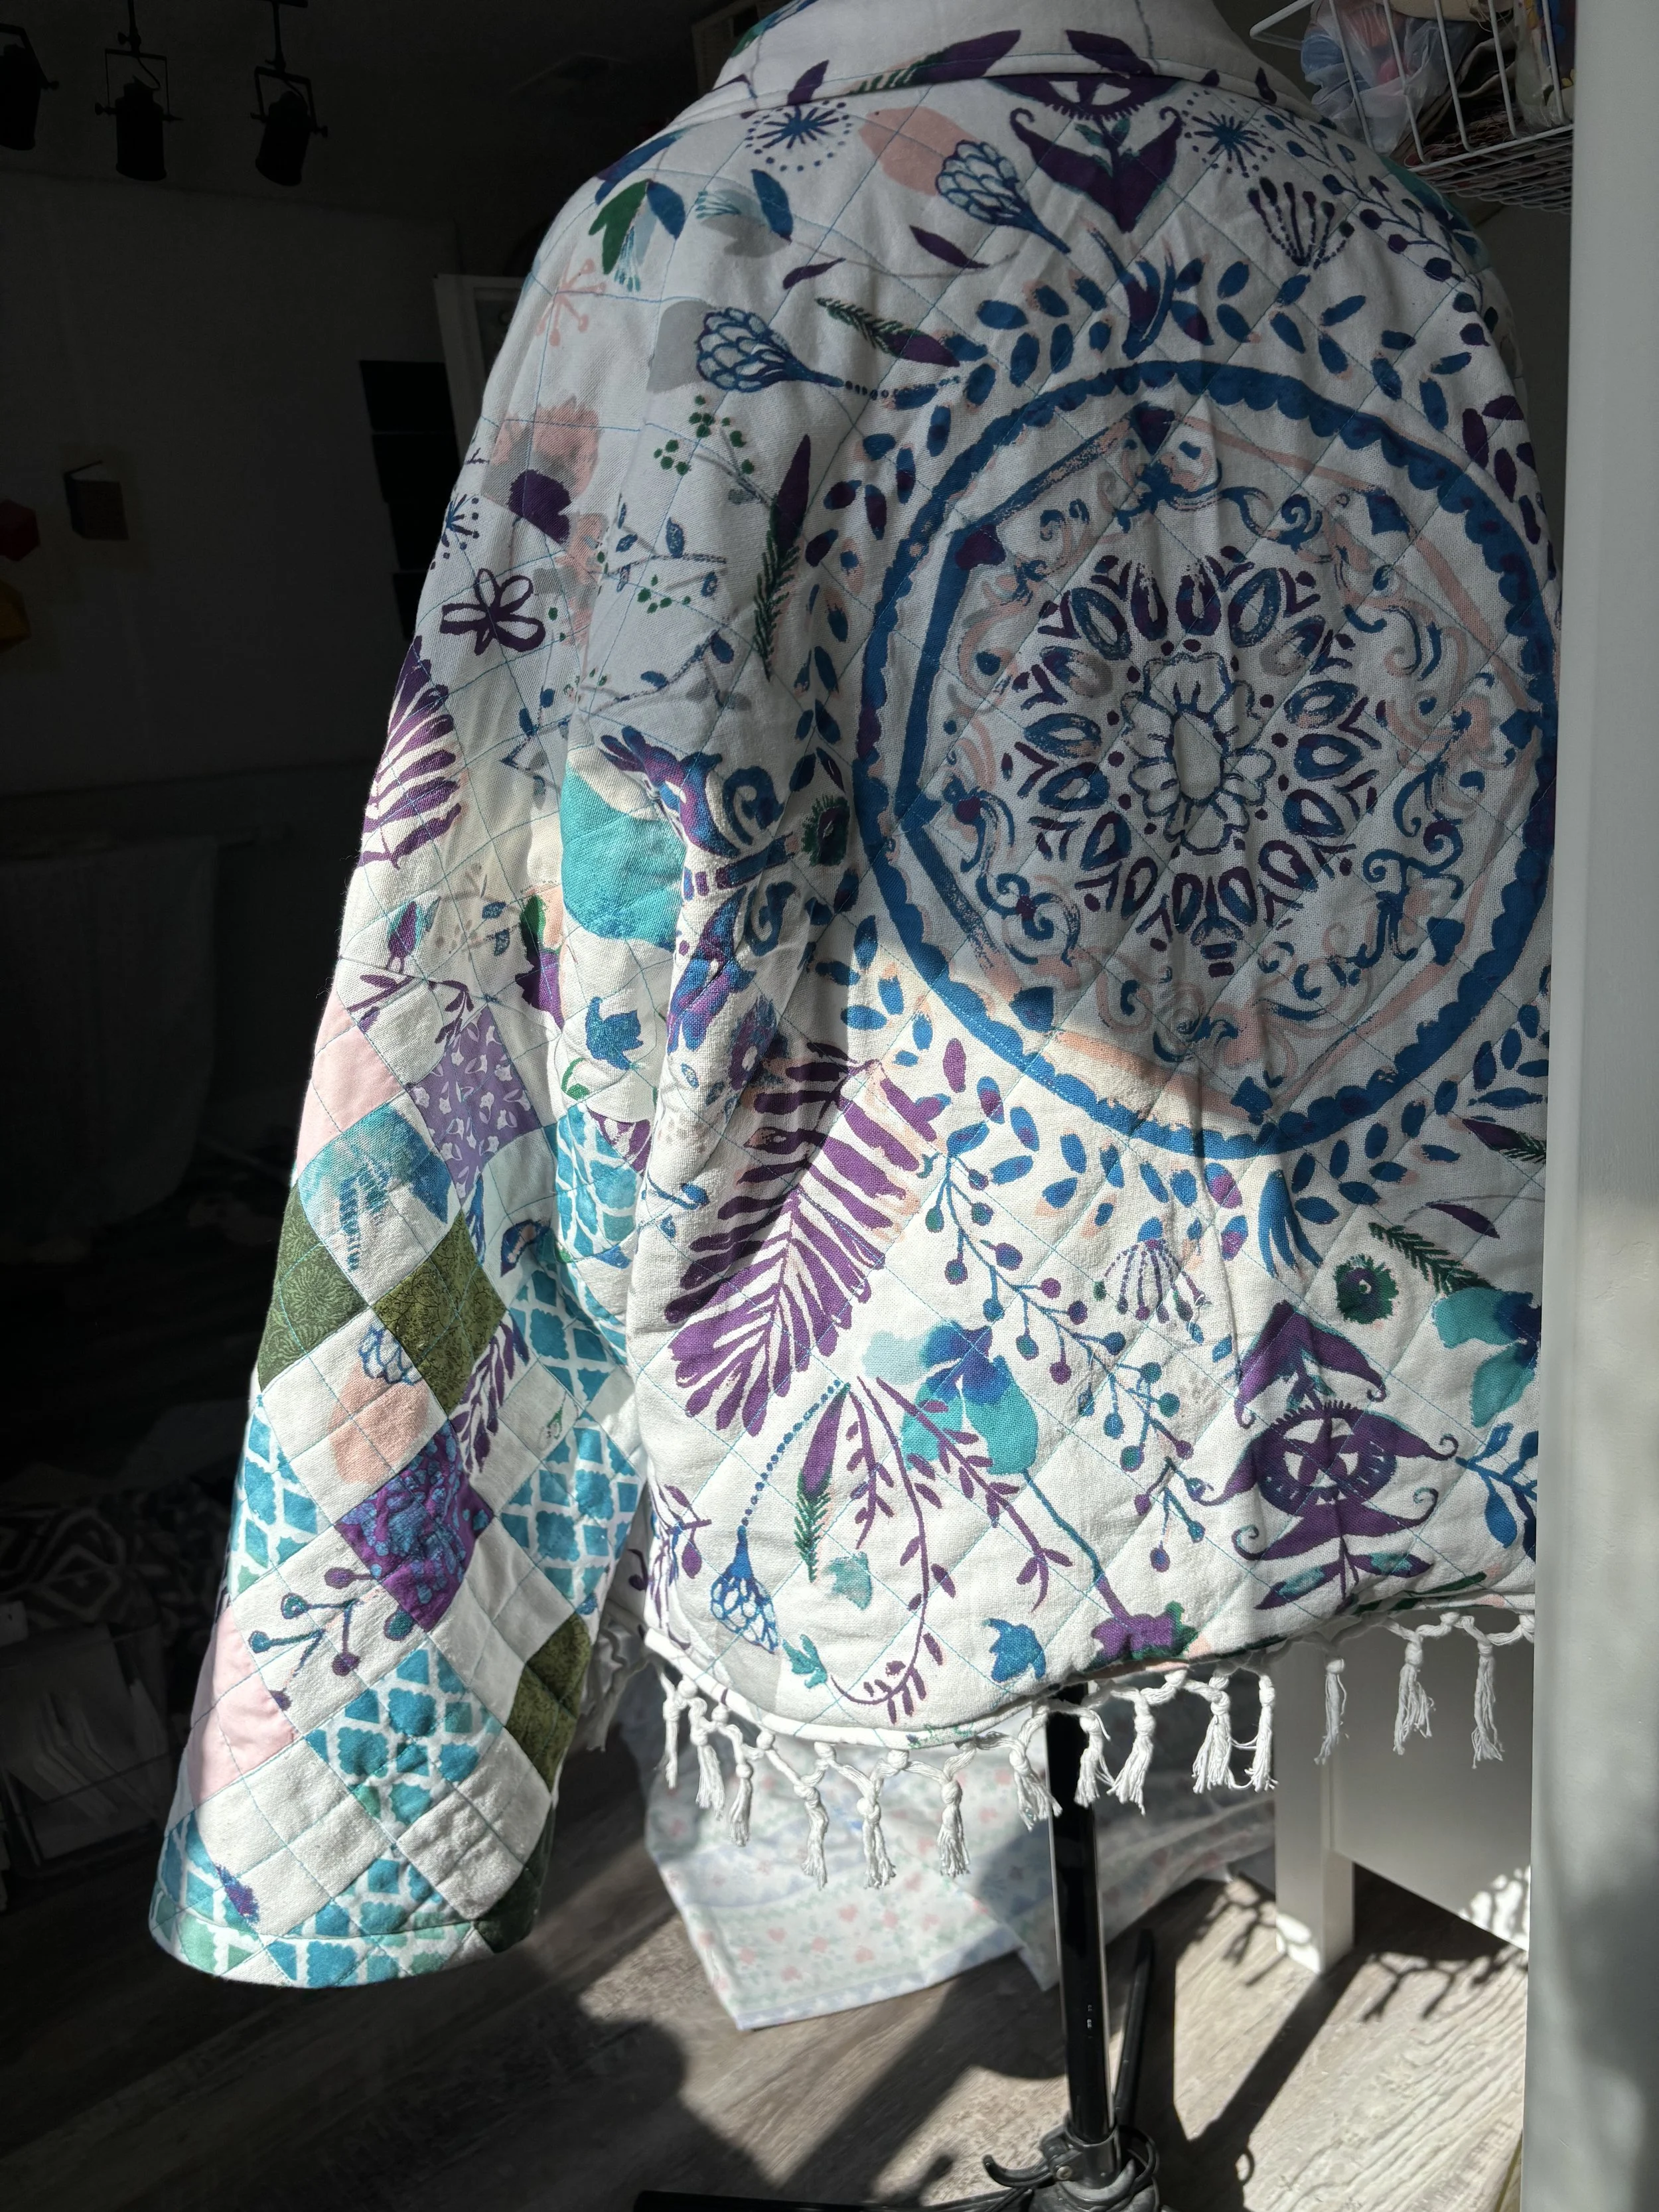

All in all, I'm really happy with how it turned out. It brings me so much joy knowing that something once tucked away in a thrift store found a new purpose and will now keep my sweet friend warm. I look forward to seeing Brandie wear it and make memories in it for years to come.
And honestly, the pattern was such a joy to sew. It was easy to follow and came together beautifully. I have a feeling there may be another quilted jacket in my future—this time, one for me.
Quilt Jacket Pattern: Margot Jacket by Indie.
Found on Etsy.com