
Ever Wonder About Web-Piecing?
At its core, web-piecing is simply the next level of chain-piecing. Chain-piecing is all about using your thread efficiently. Instead of snipping your thread after sewing a pair of pieces together, you keep sewing the next set, creating a chain of connected units.
Web Piecing
It’s truly such a game changer when it comes to any project I’m working on. I use this strategy nearly every time I can!
Start by arranging your pieces (or quilt blocks) as desired. I like to use my design board to lay out my pieces how I want them.
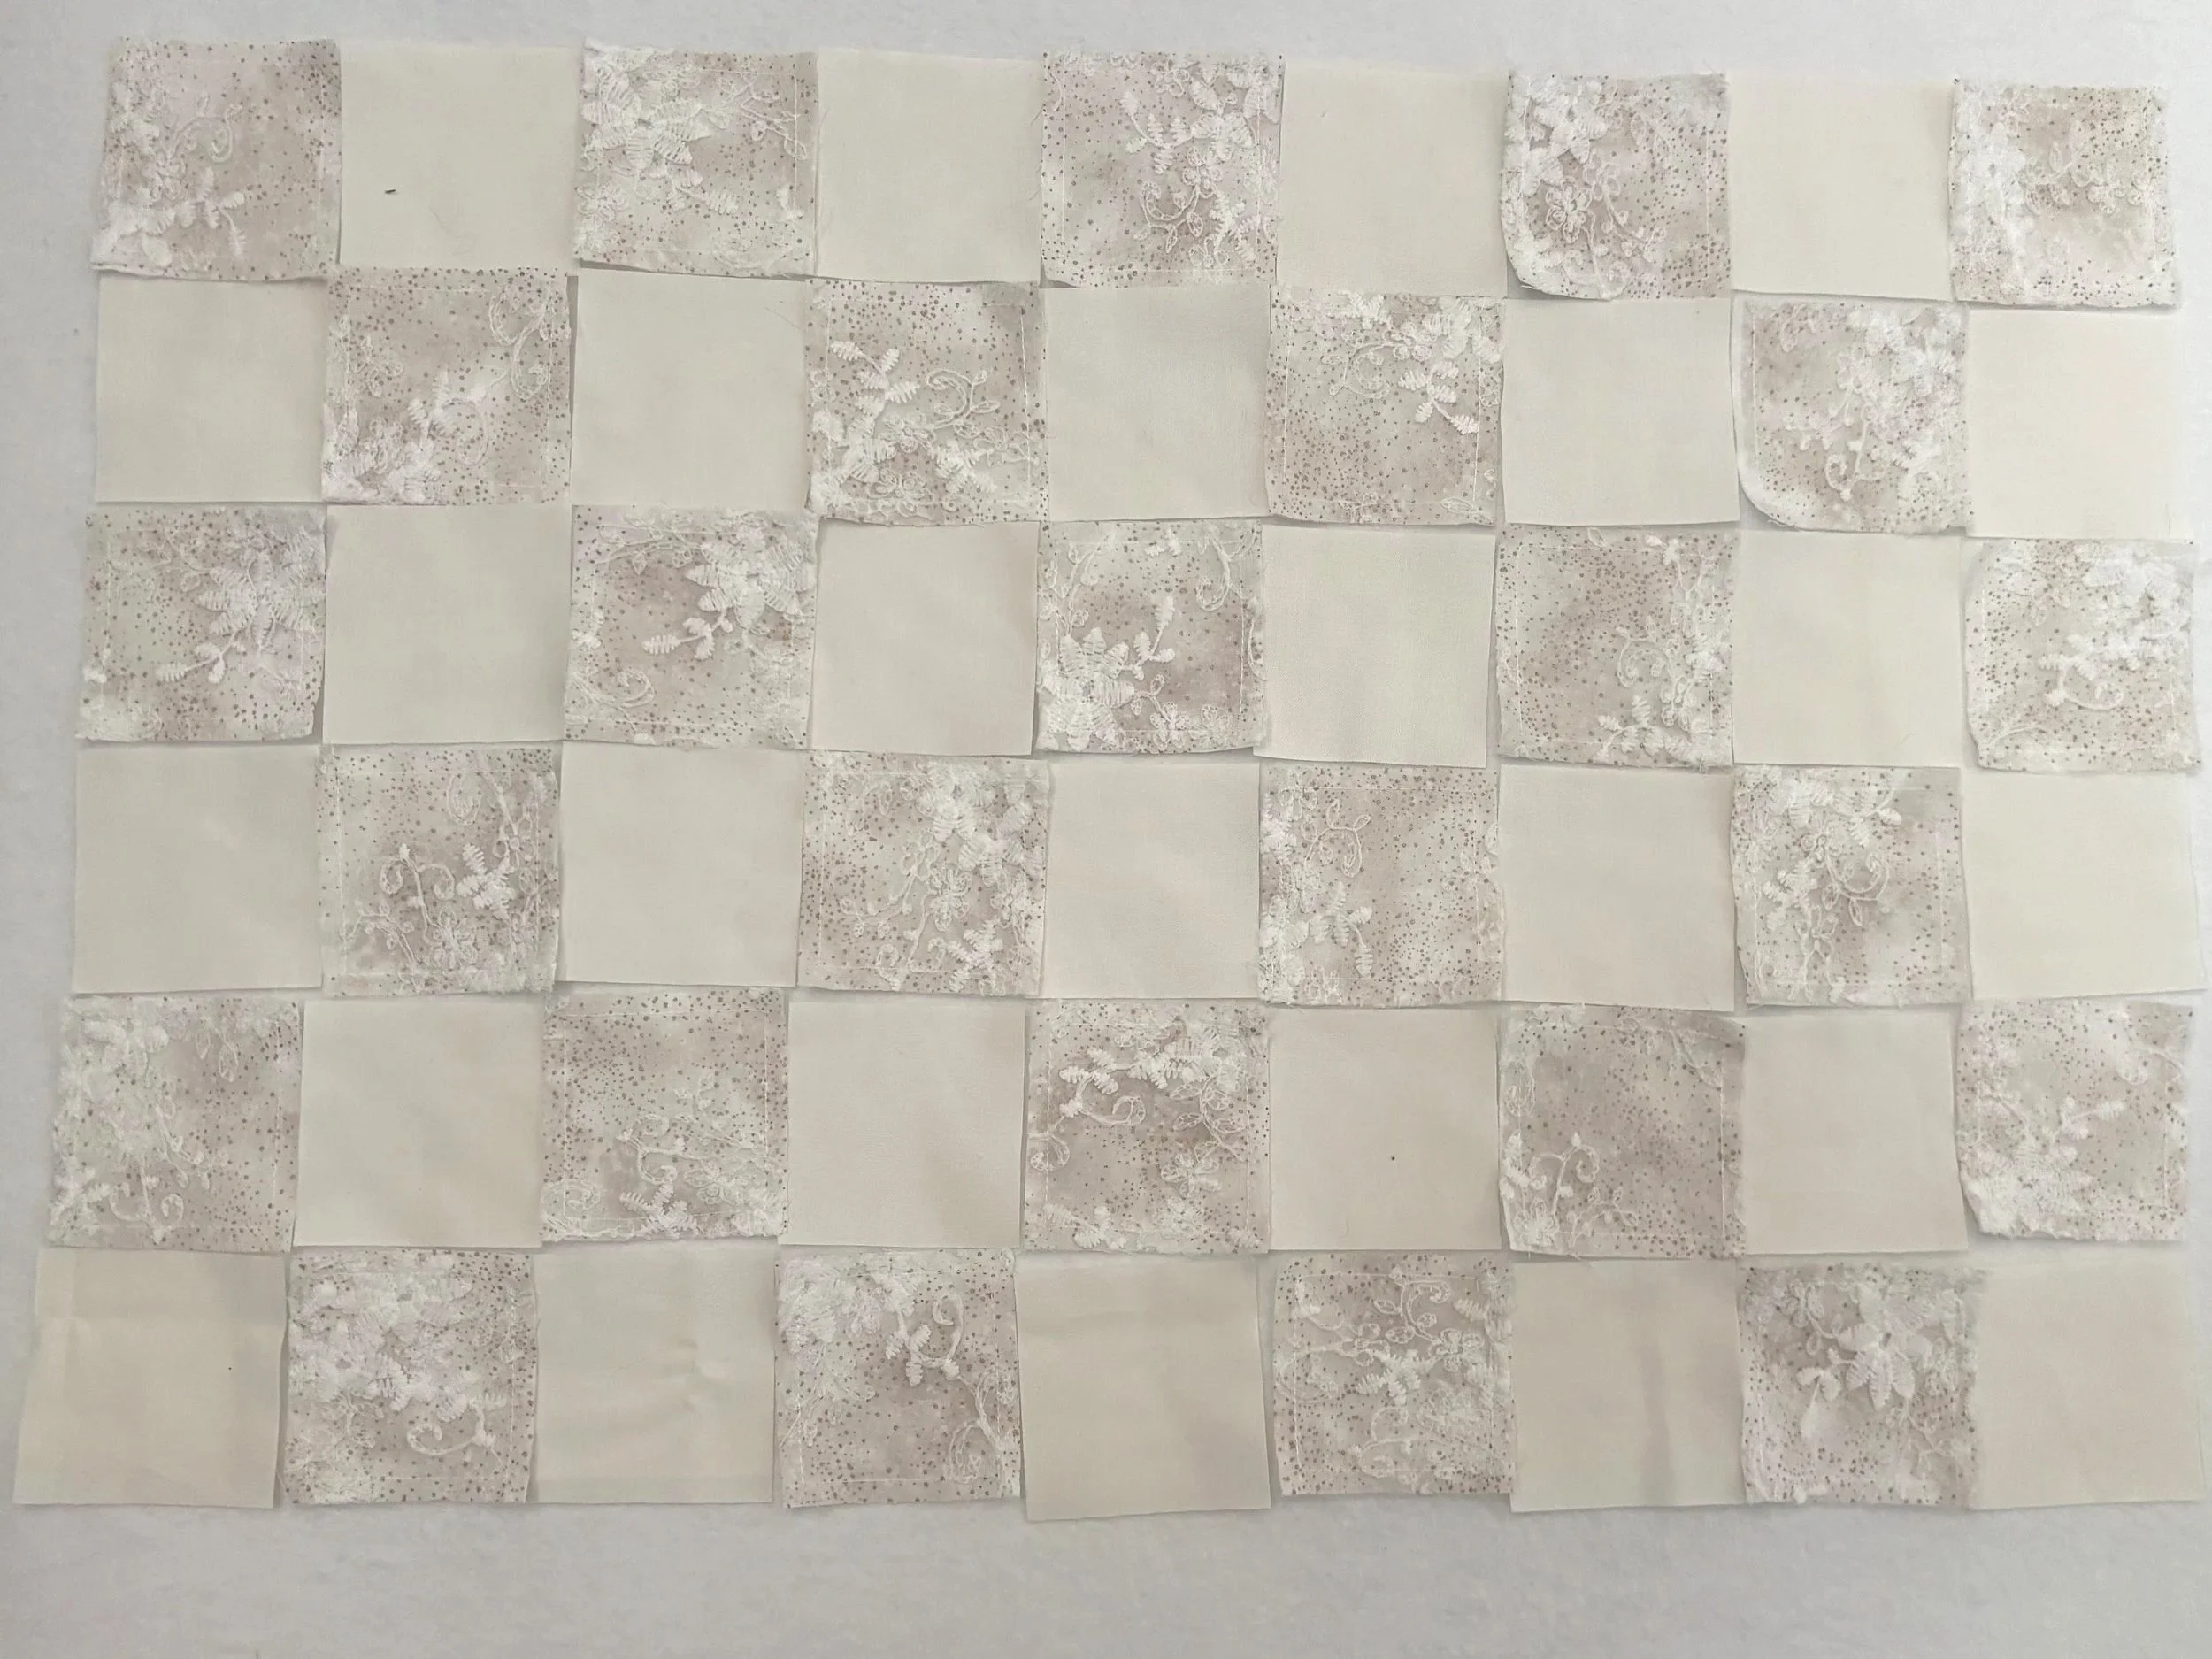
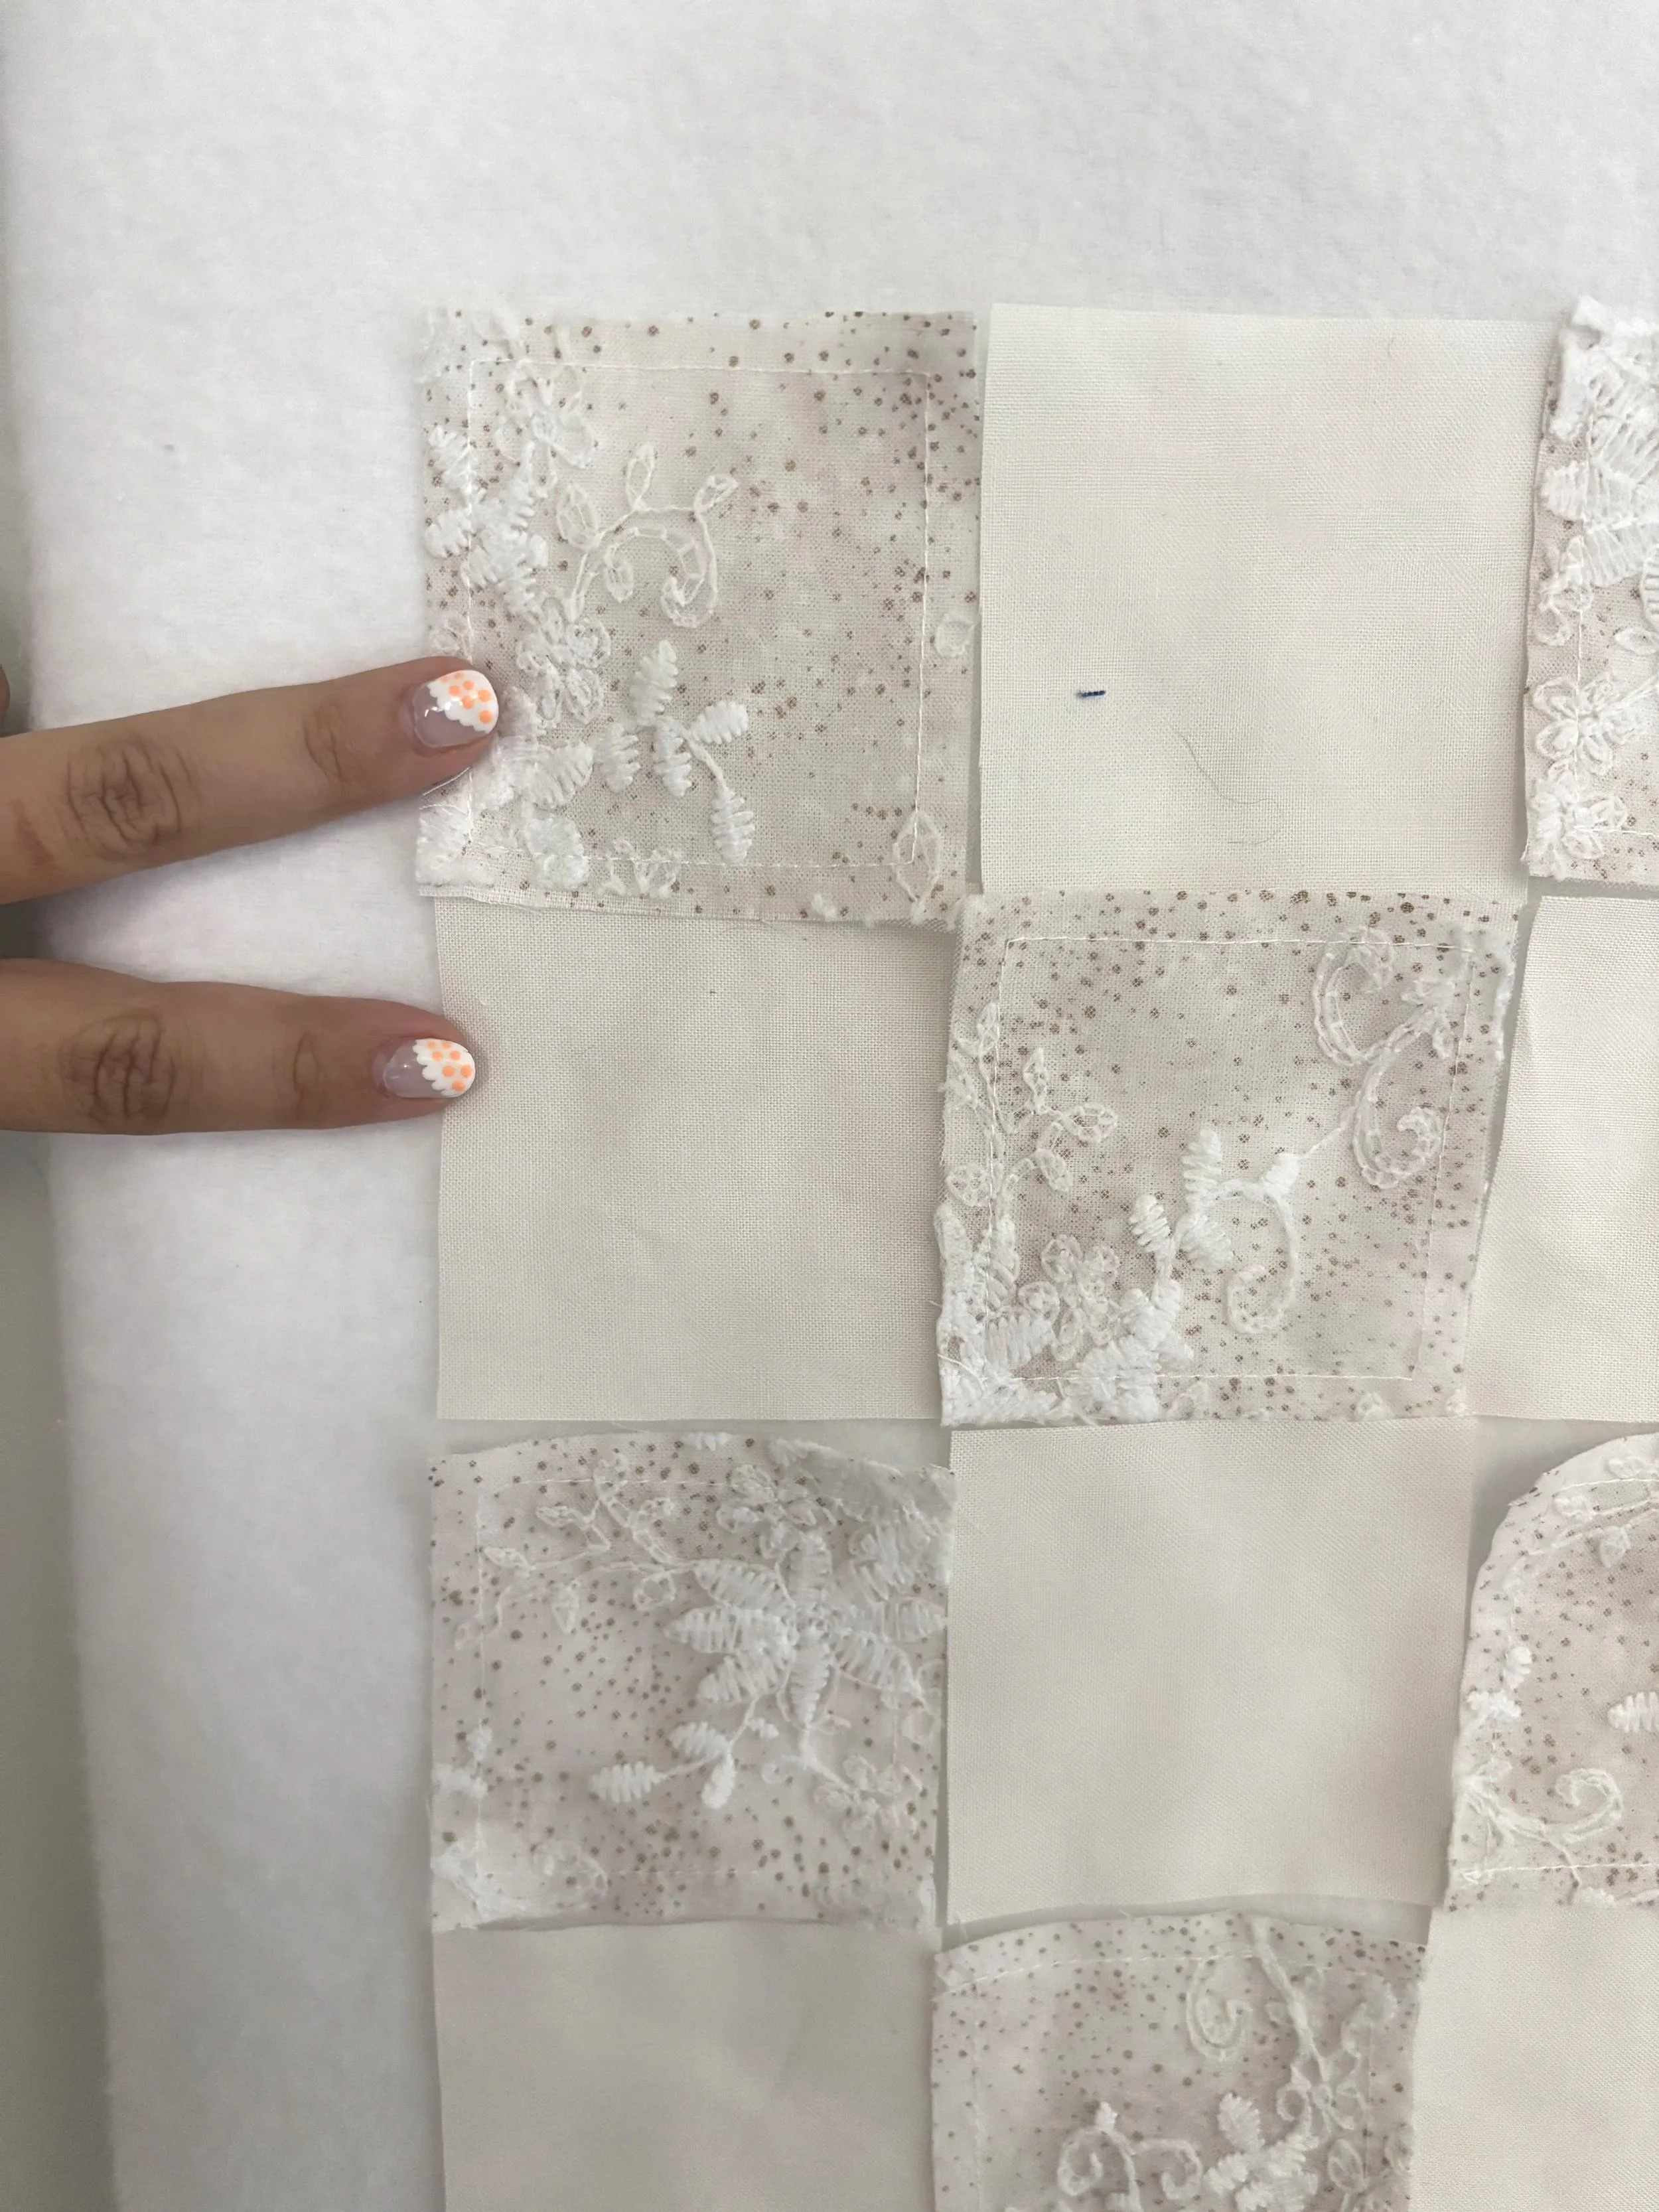
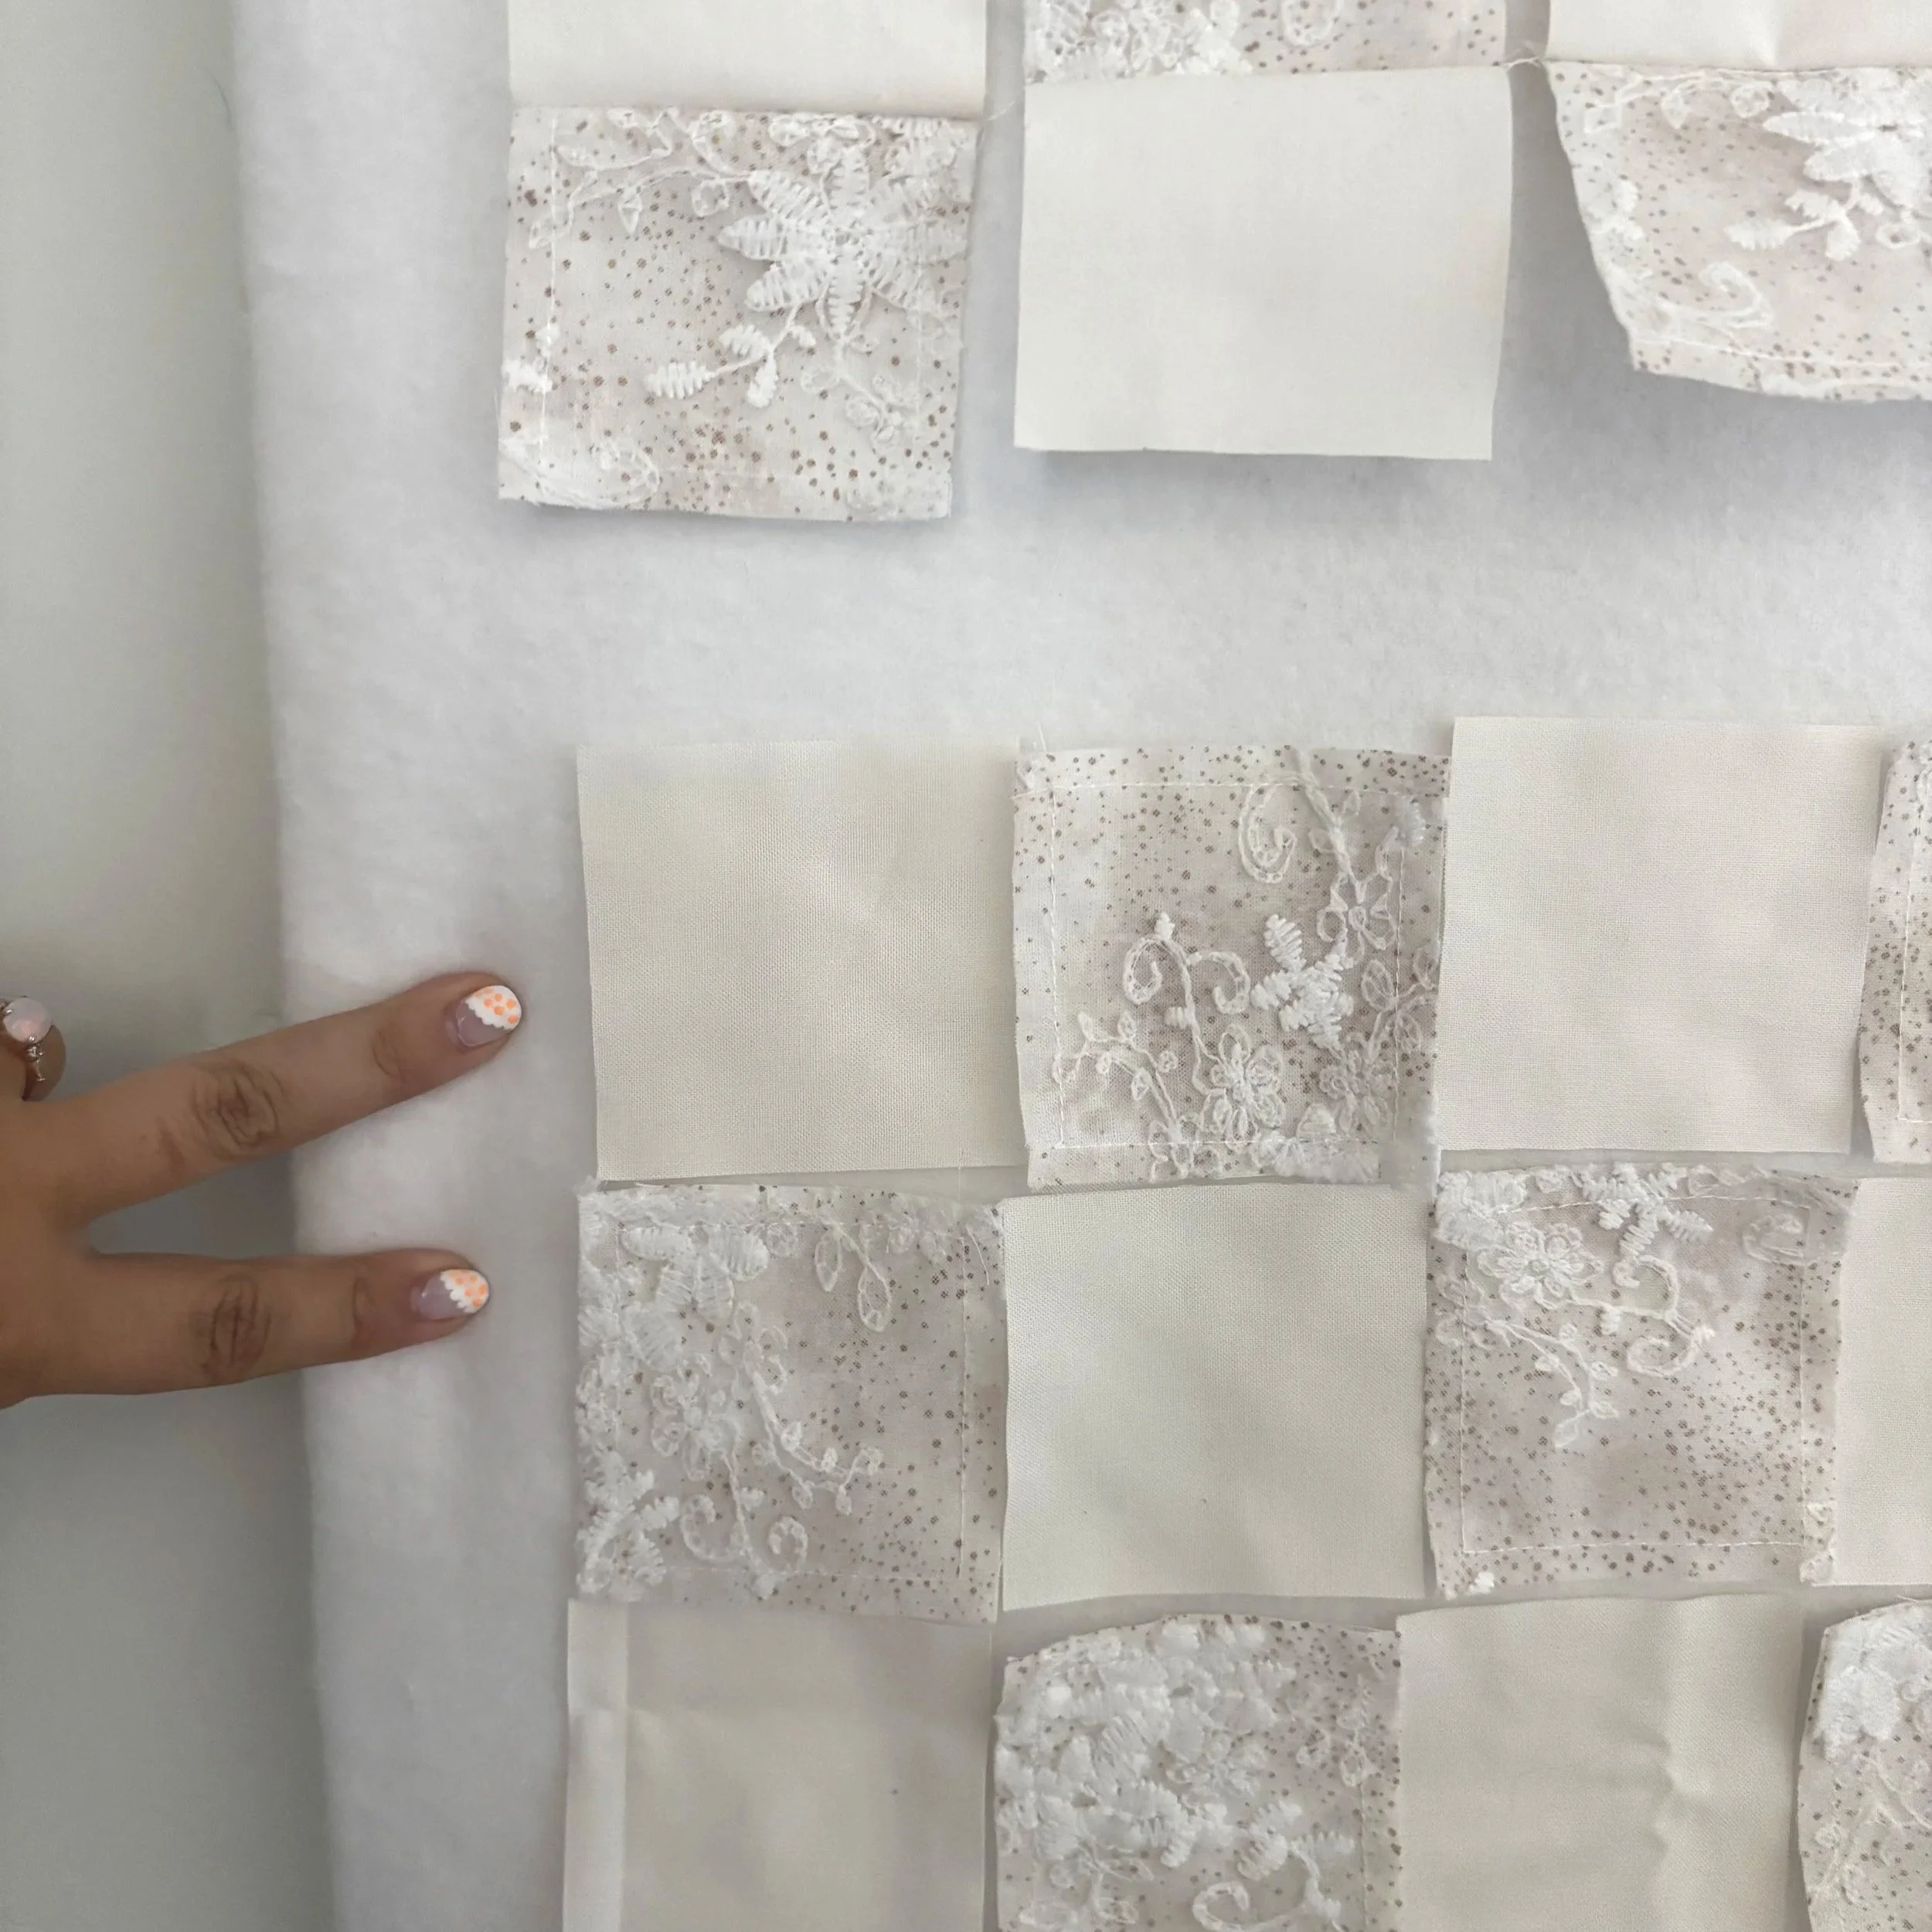
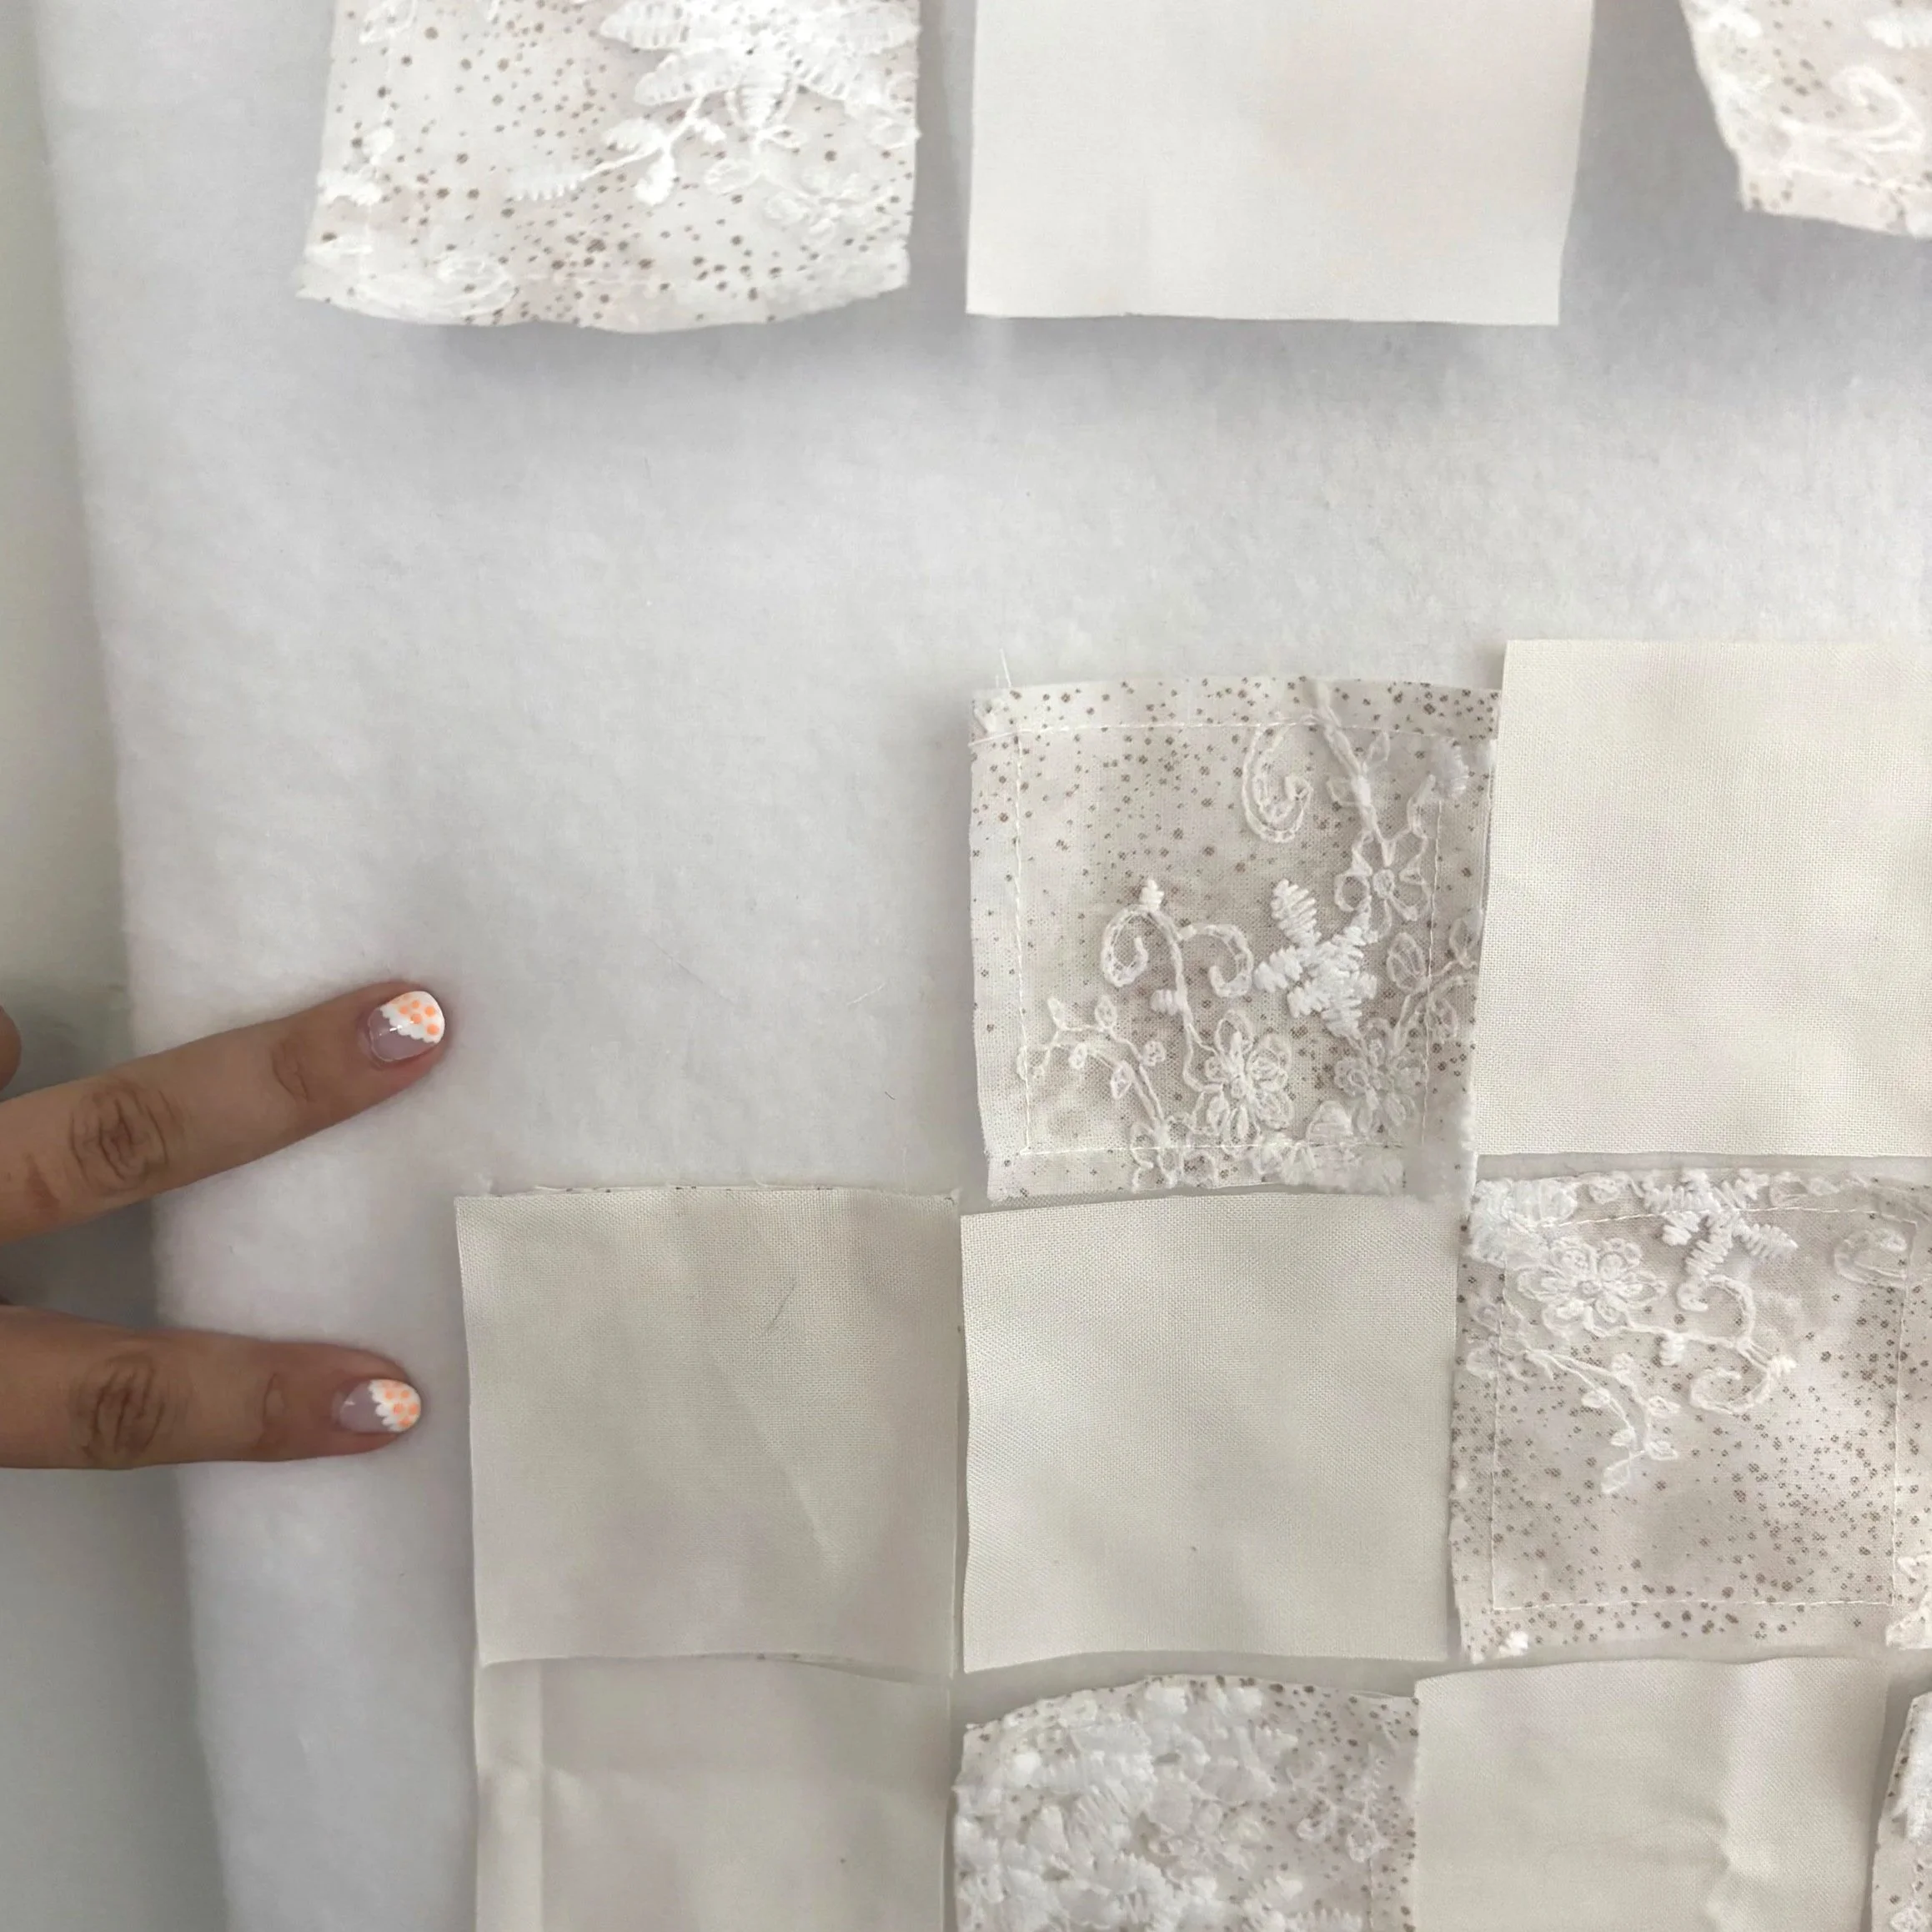
This strategy works great for quilt blocks, too. When I've used web-piecing for quilt tops in the past, I've assigned each row or column a letter, then stacked the blocks in order for their coordinating letter. Here's an example of that using my Sophia Rose pattern.
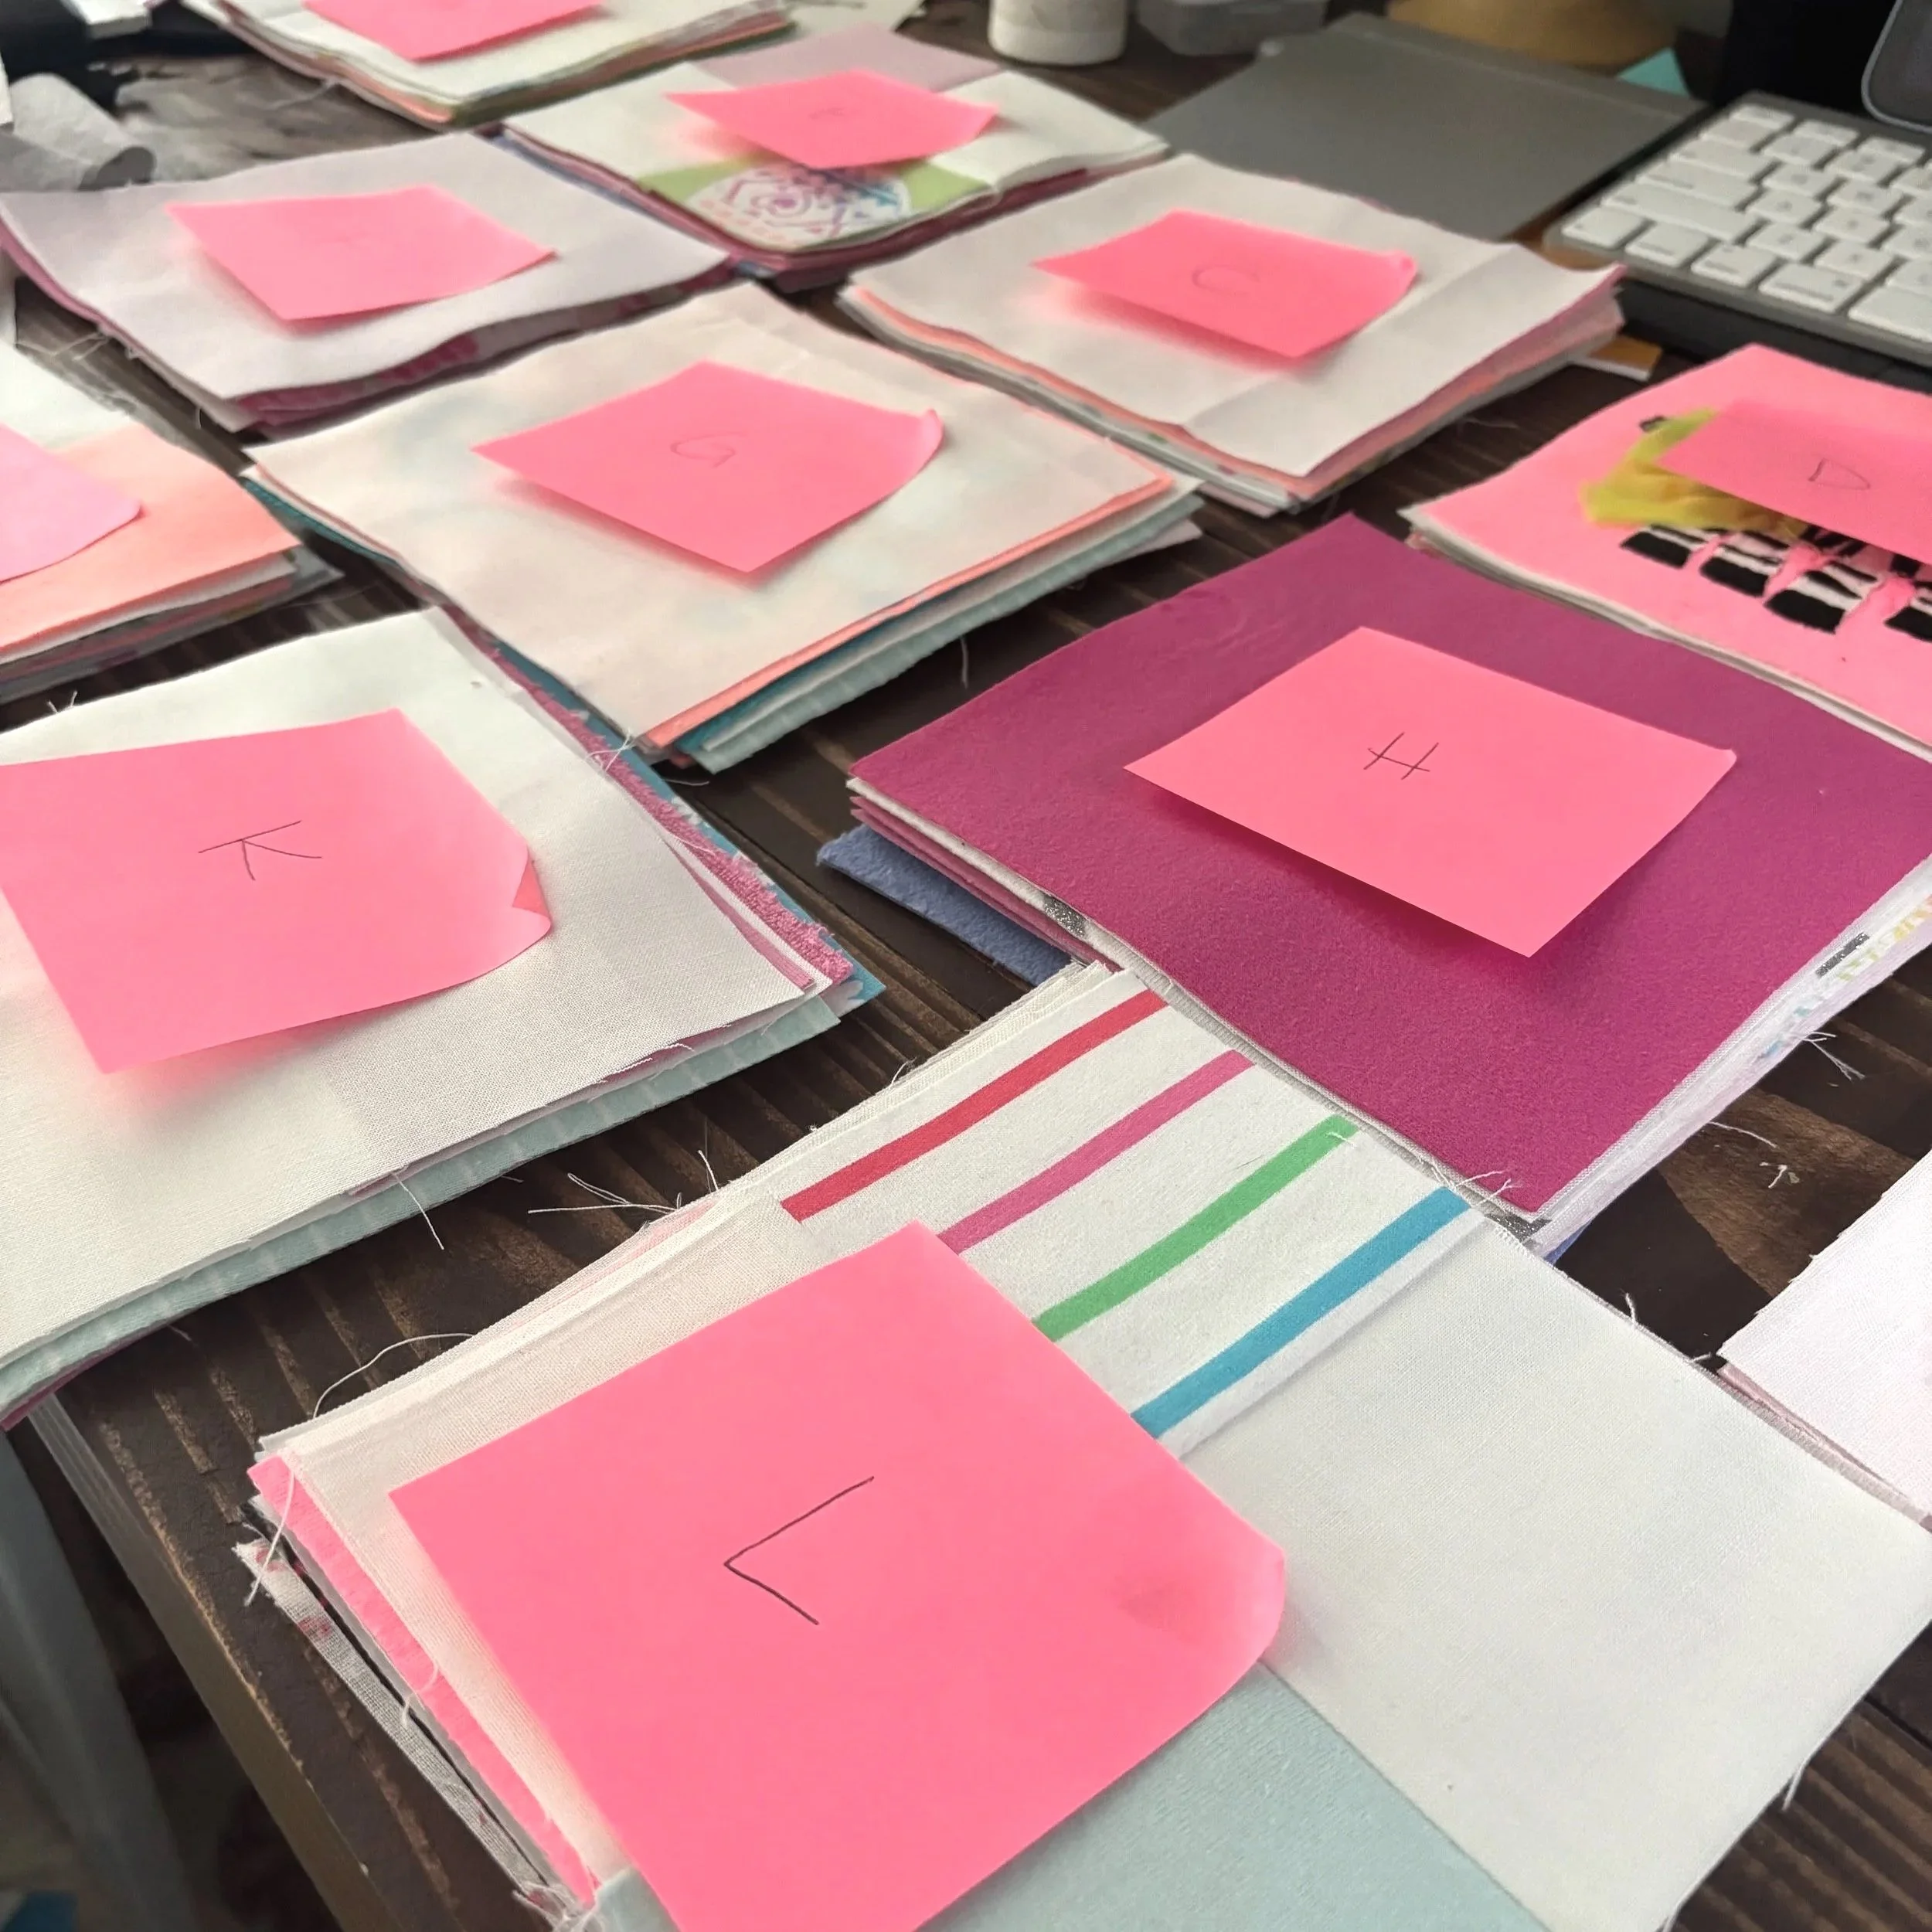
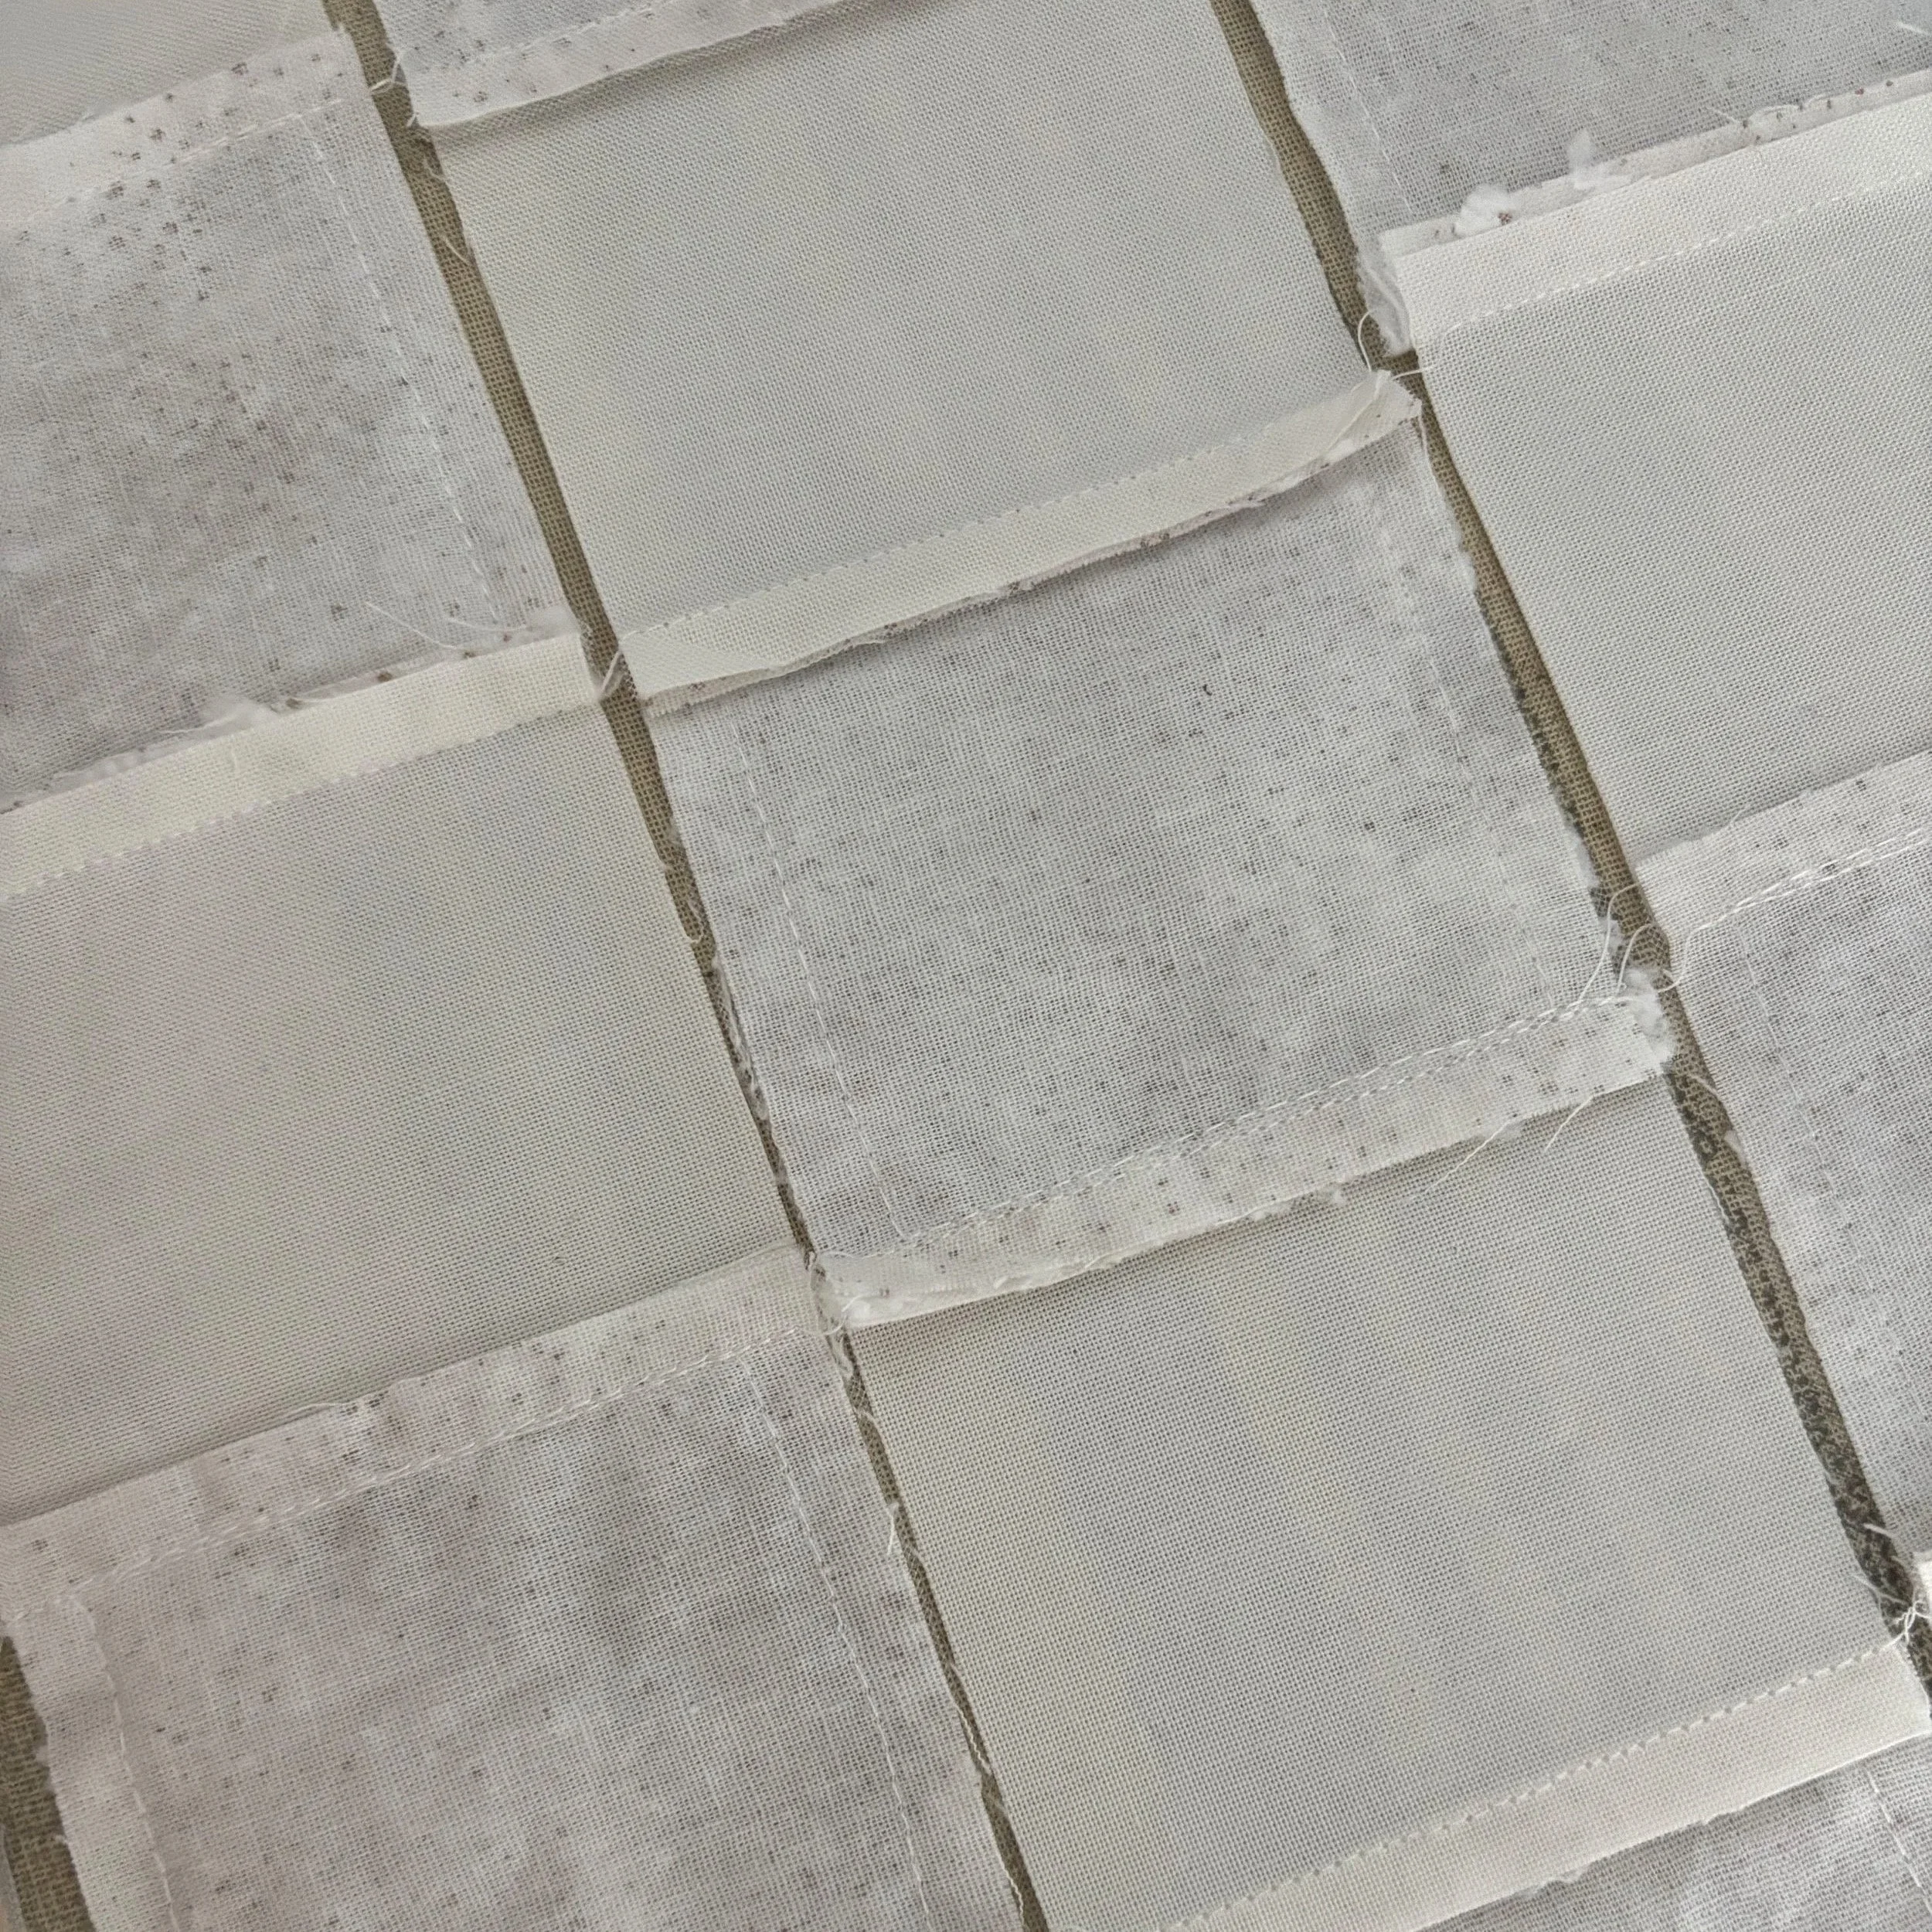
Row Stacks by Labels
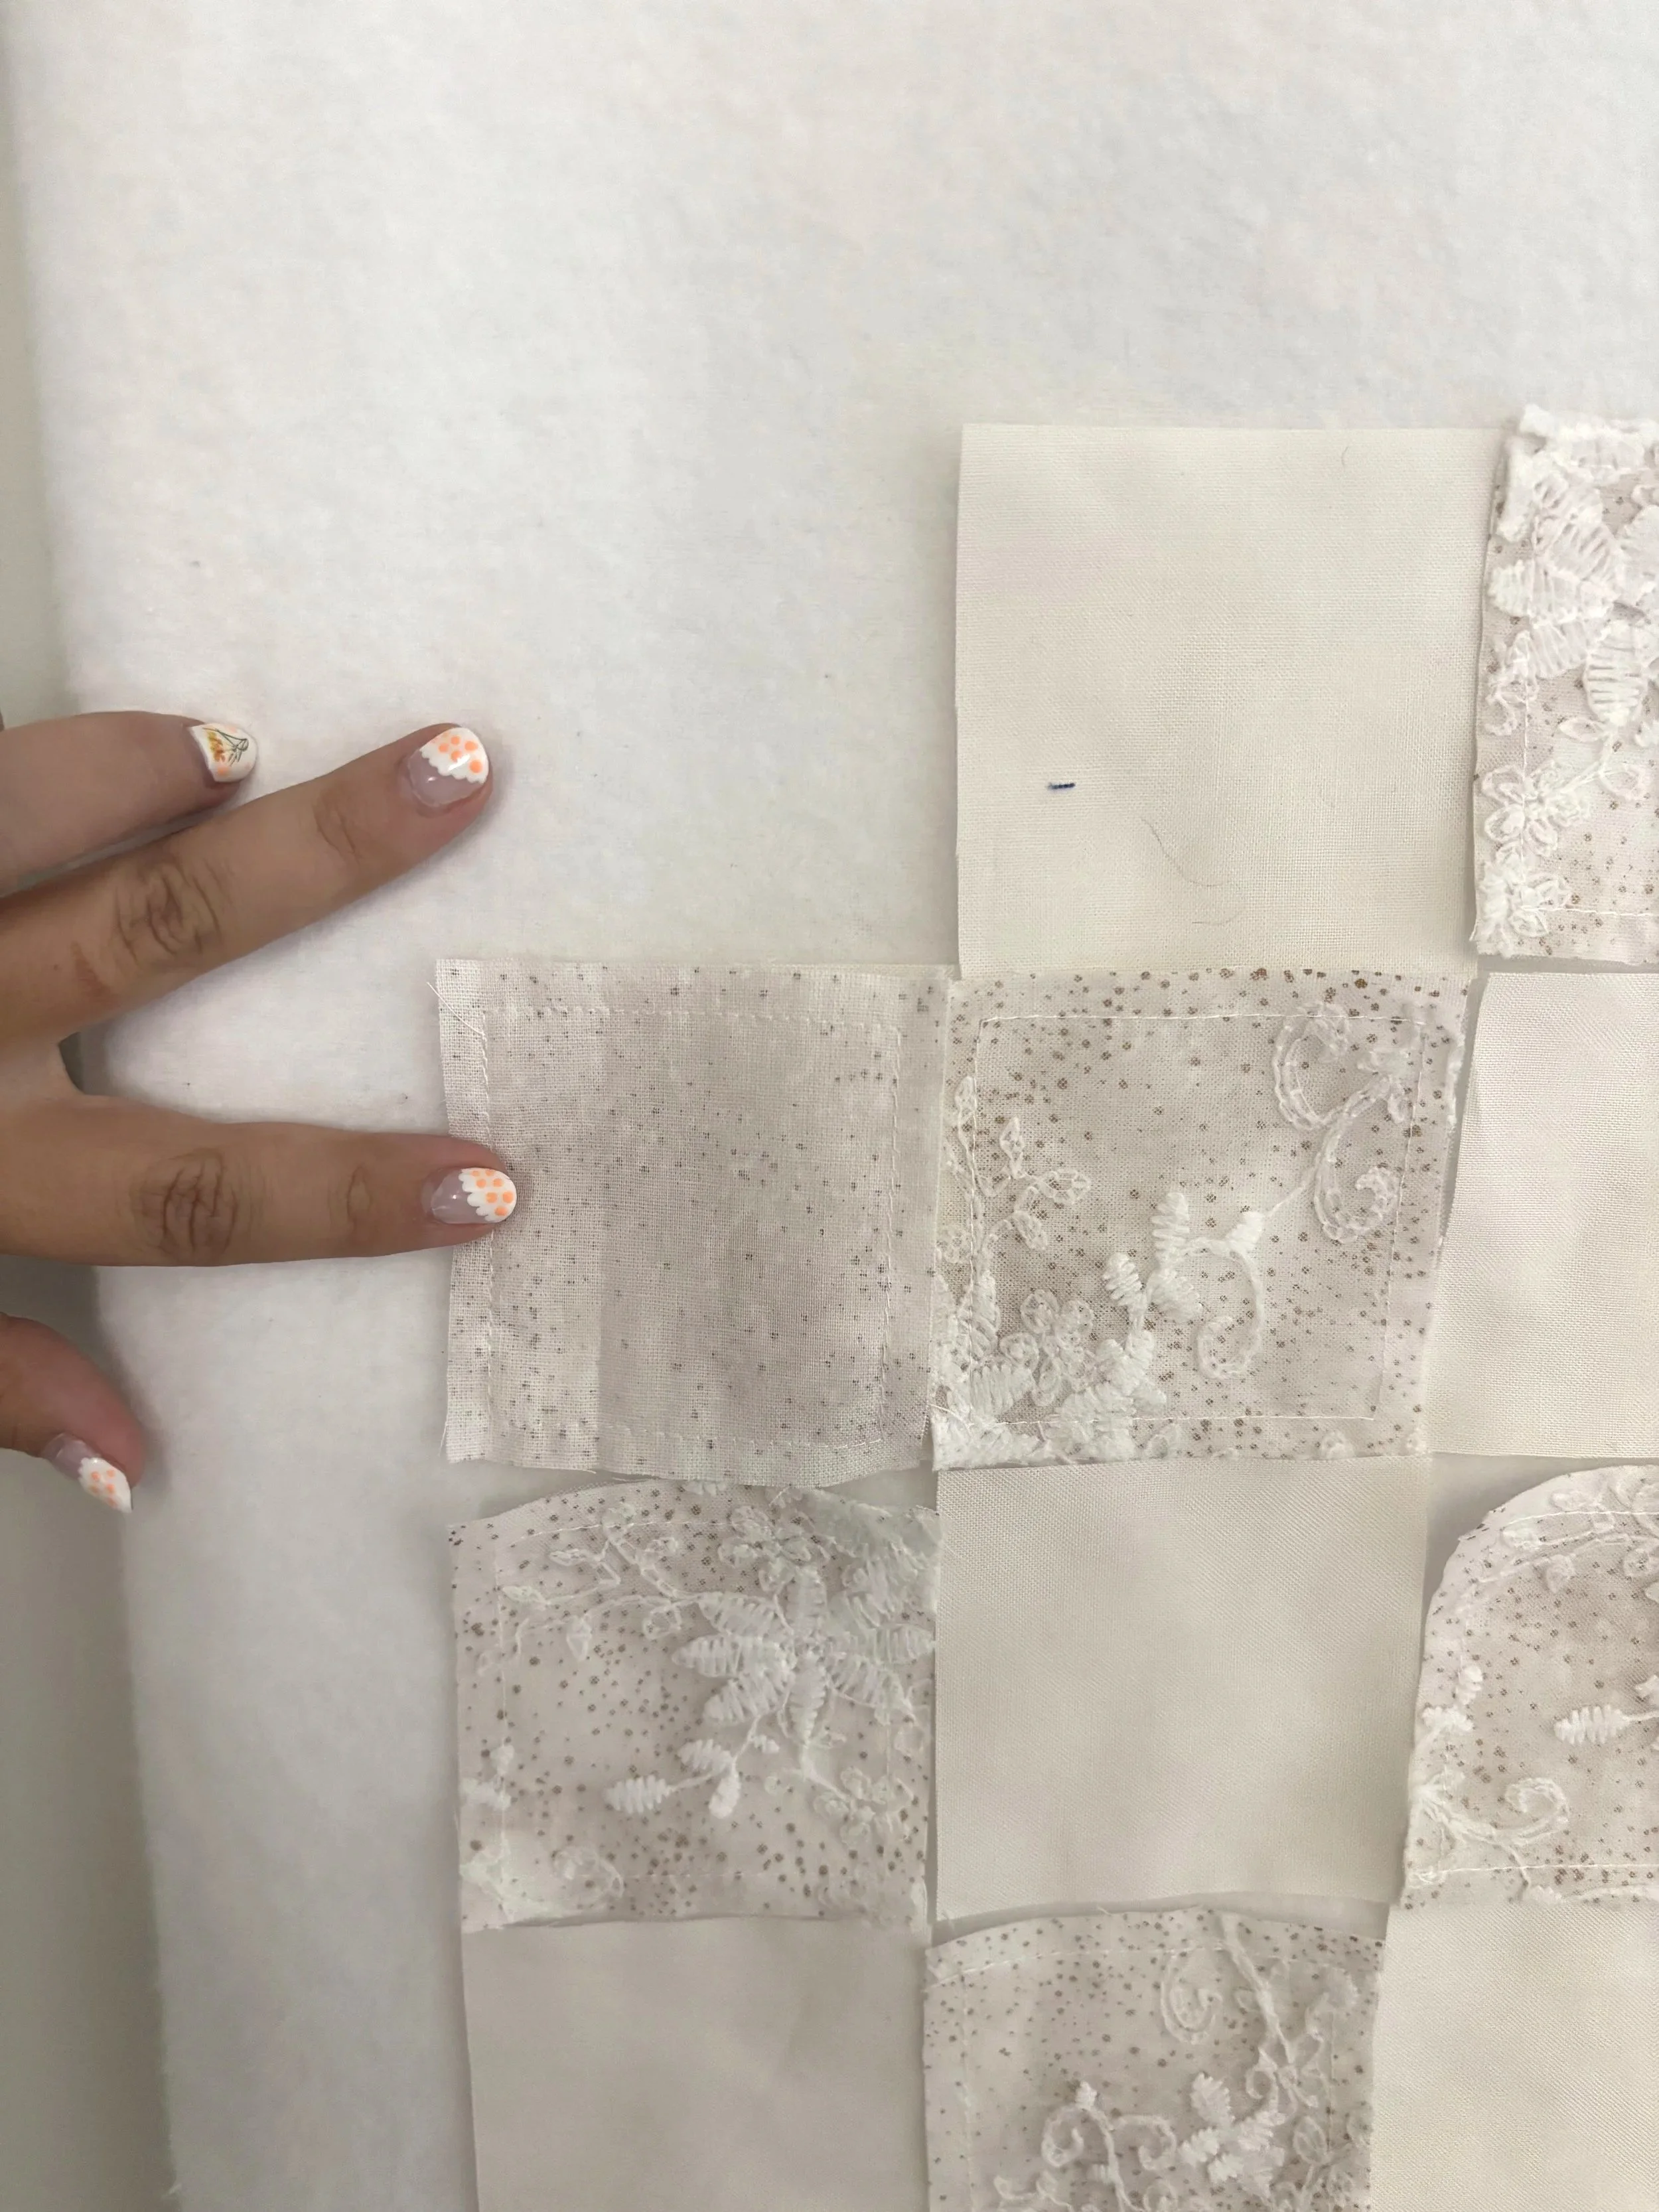
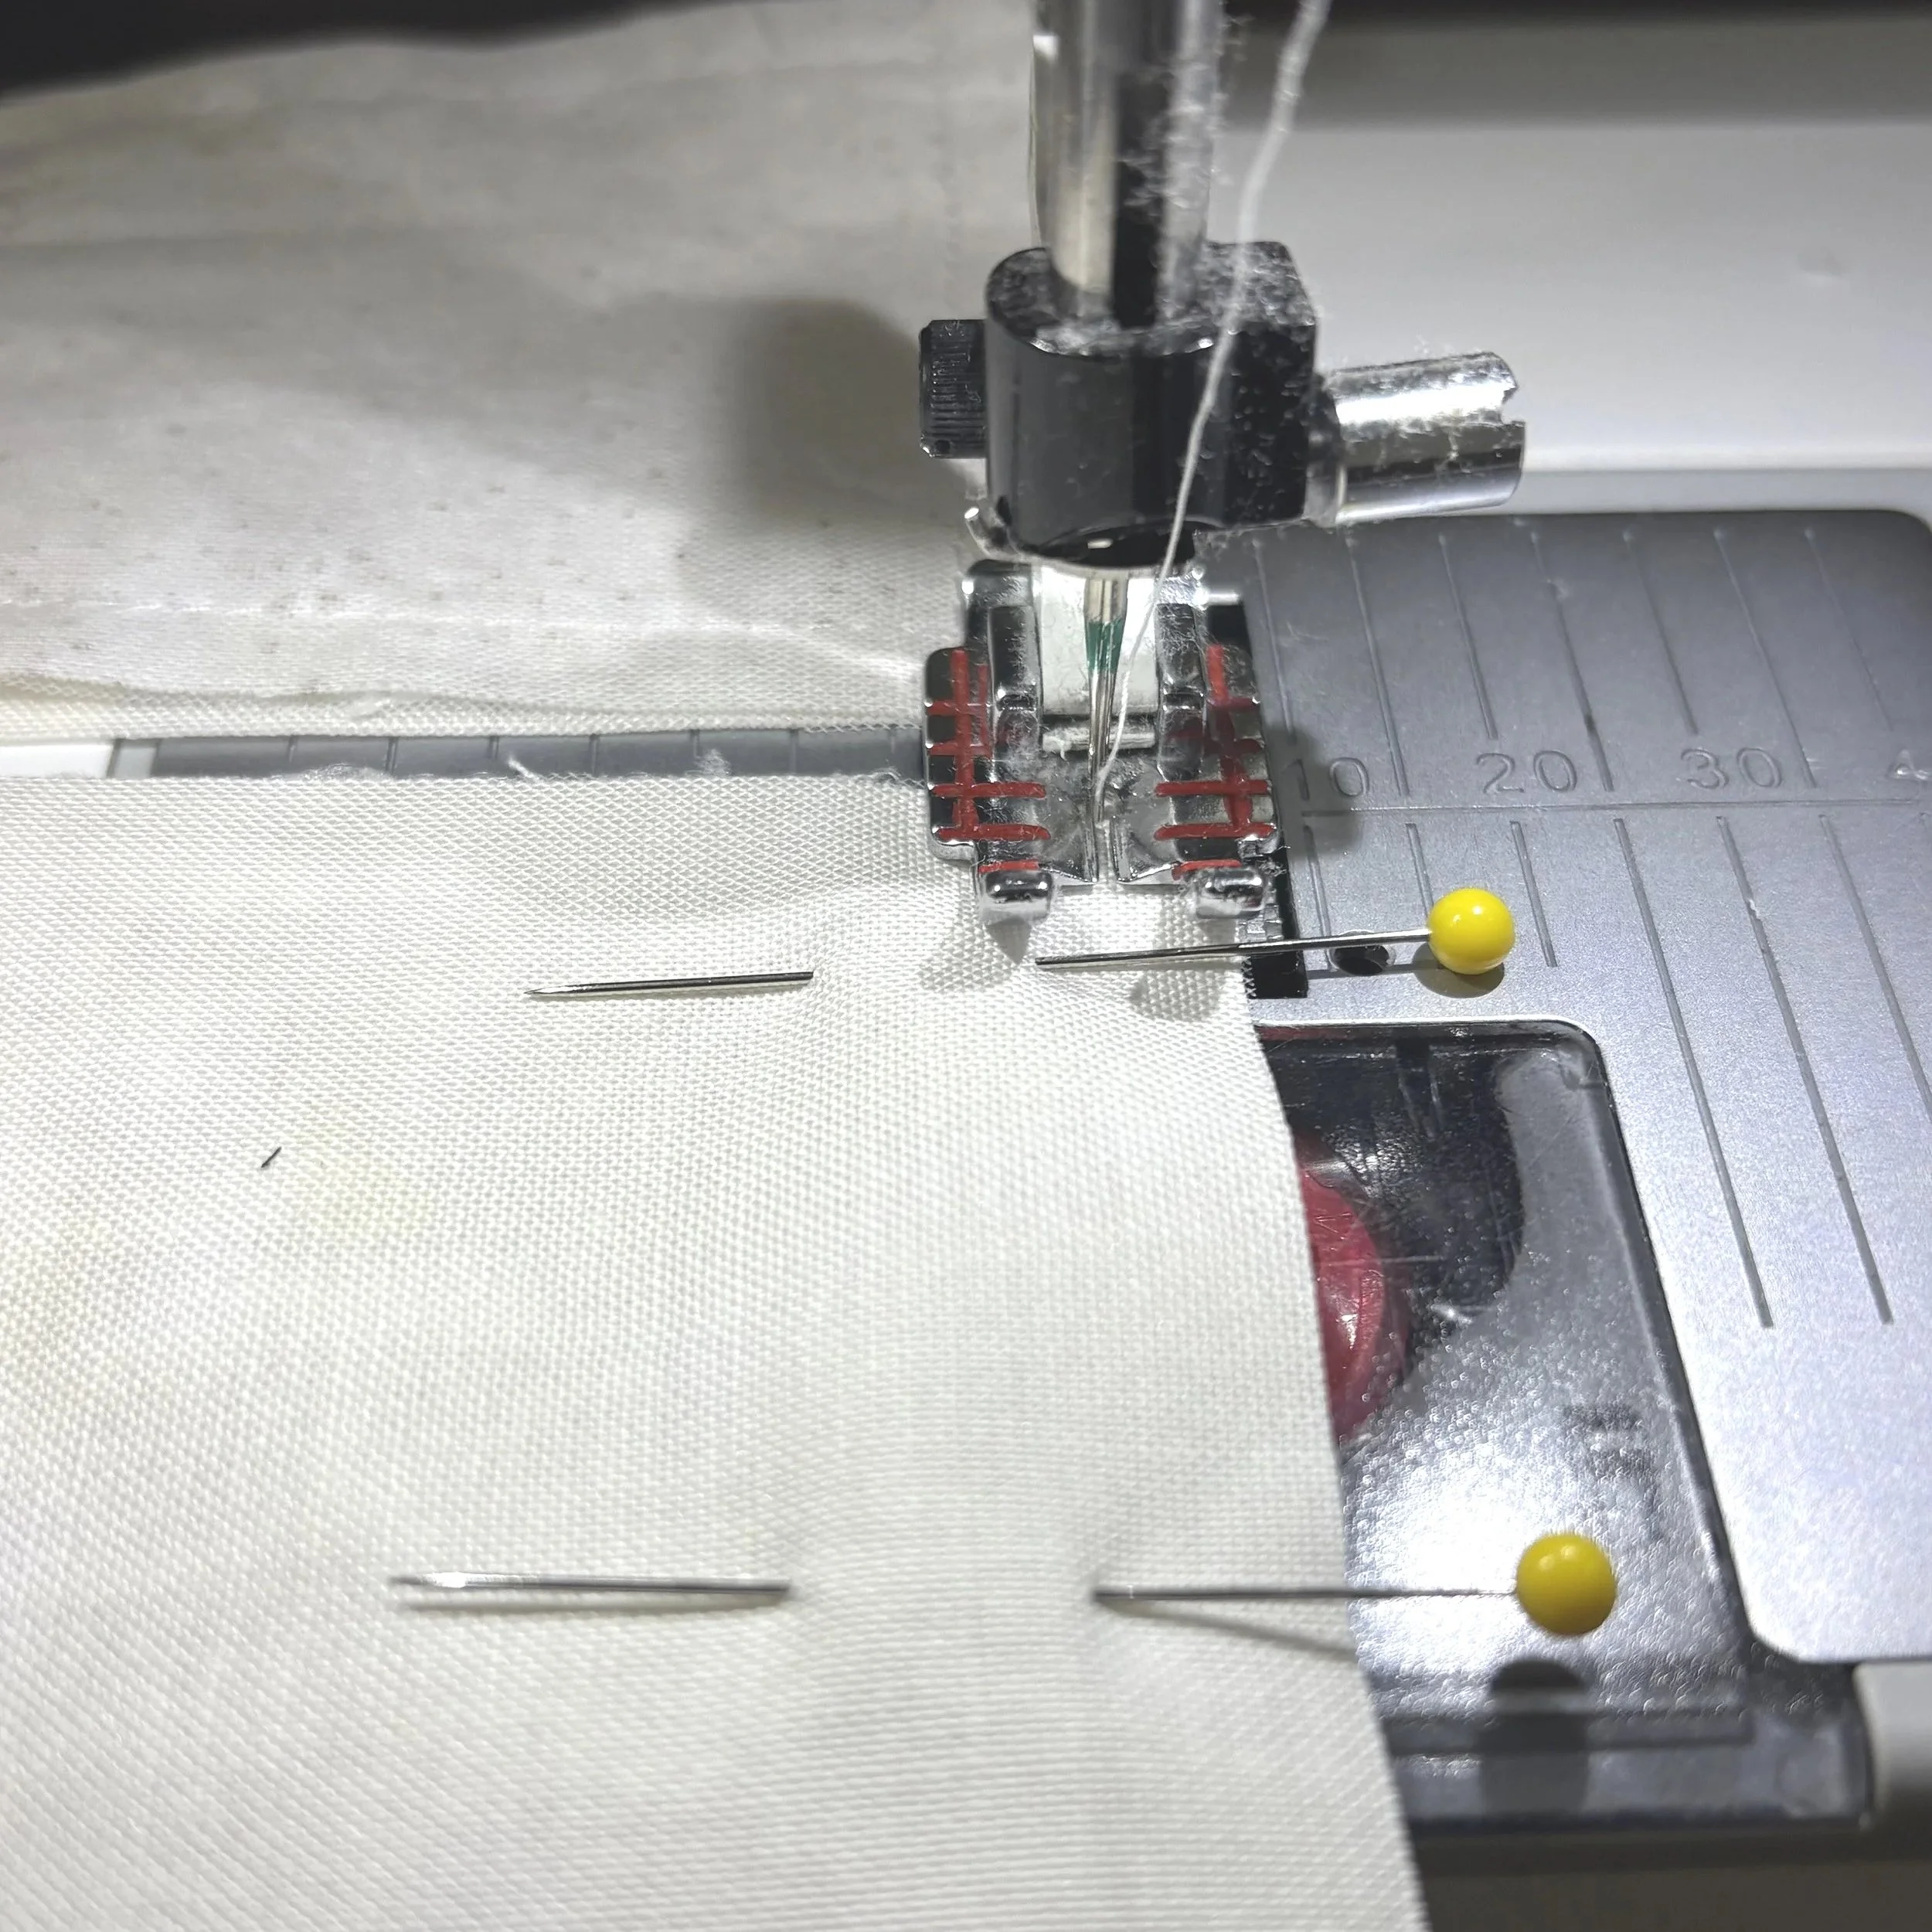
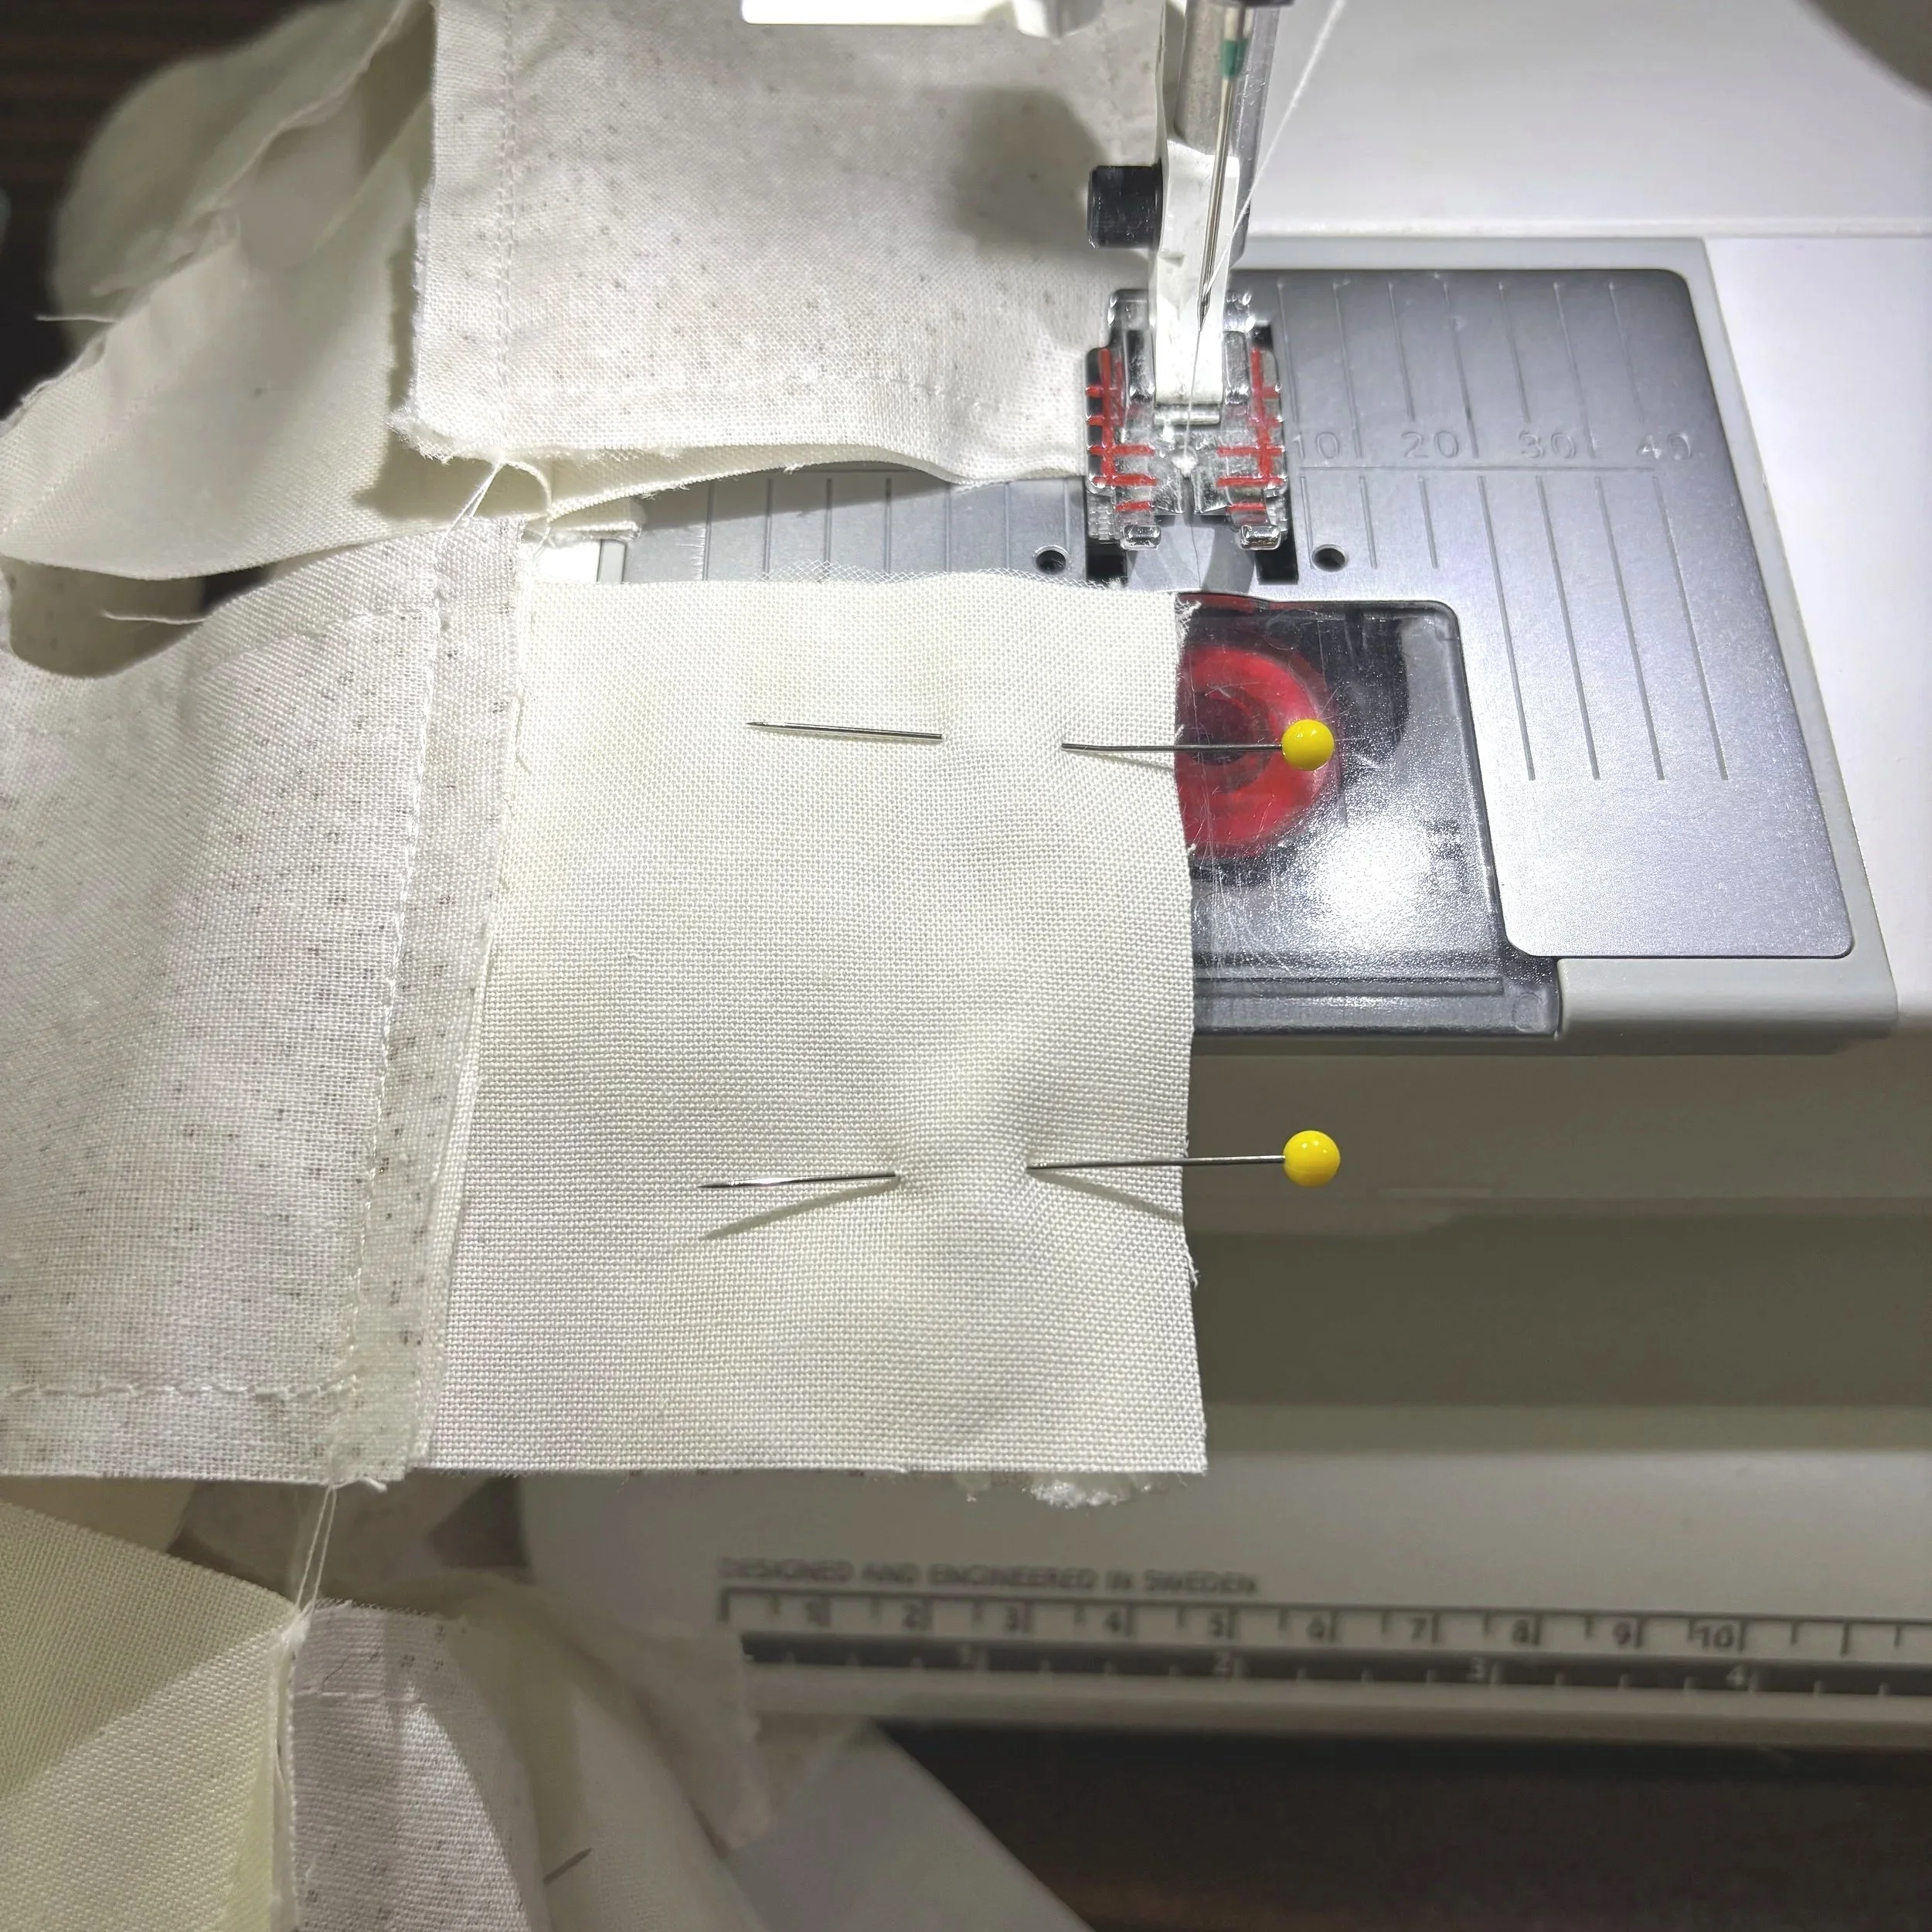
Each stack has the pieces in order with the same orientation. With RST, sew the top piece to the 2nd piece
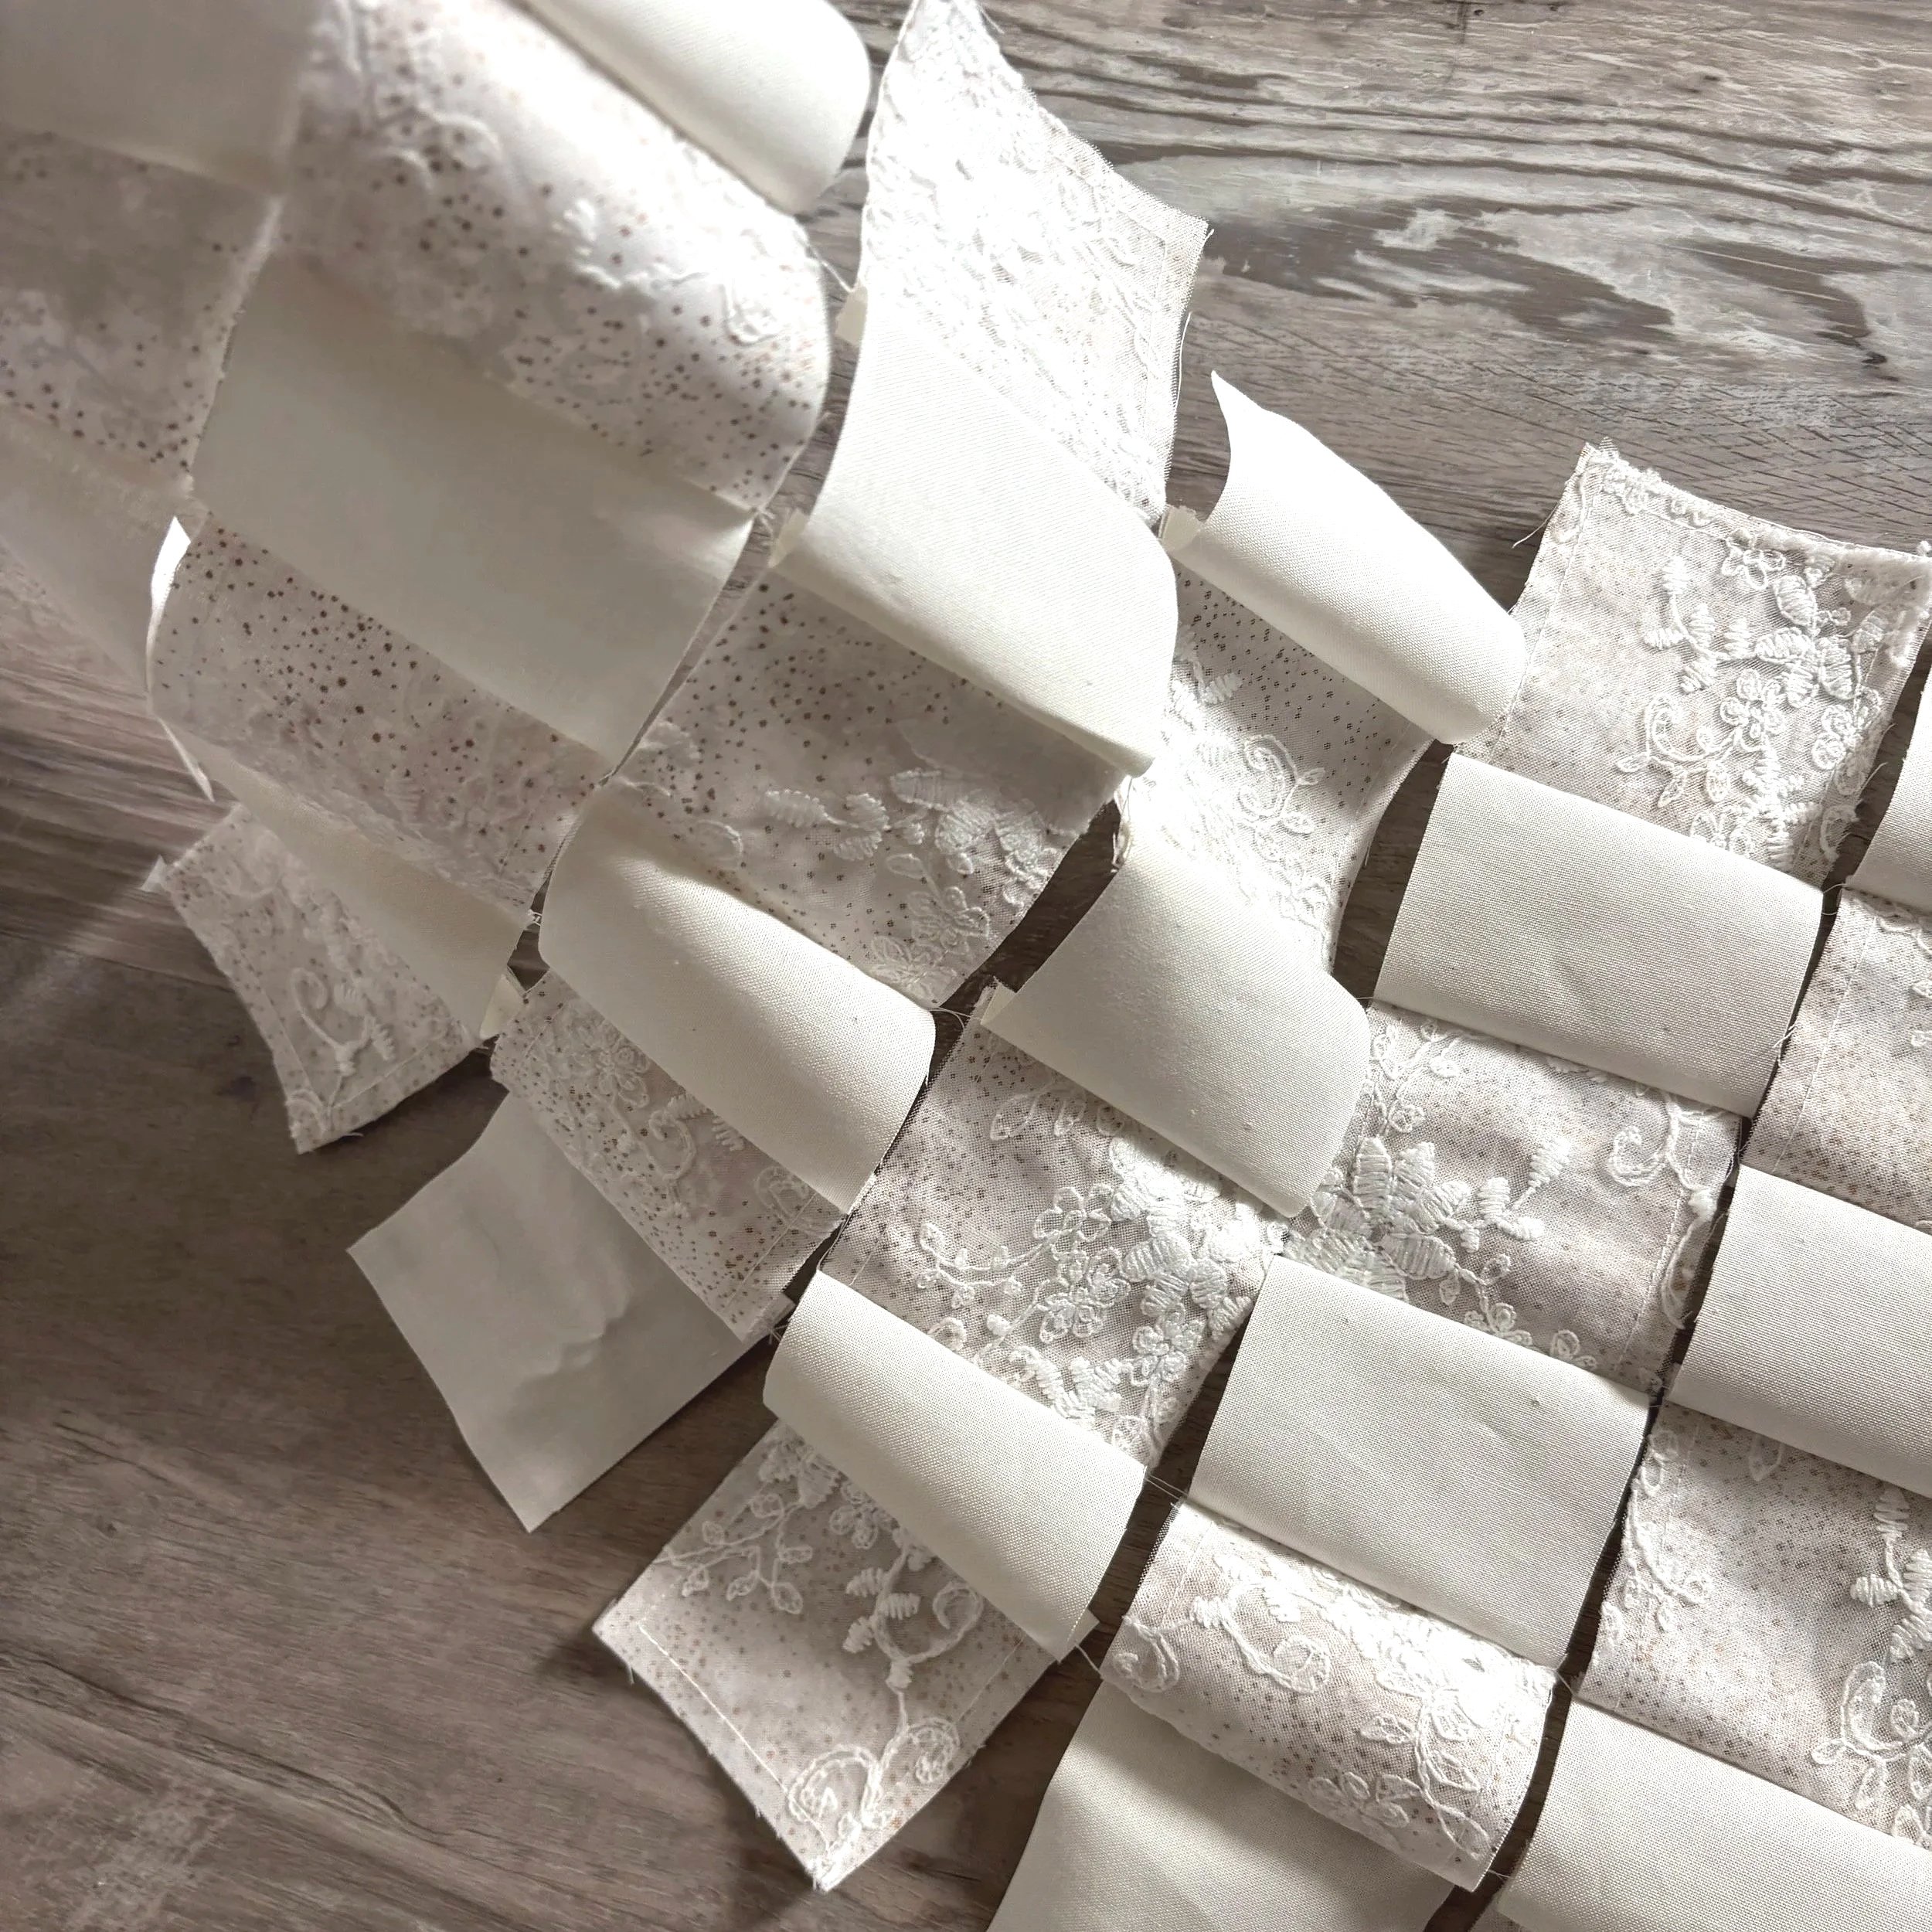
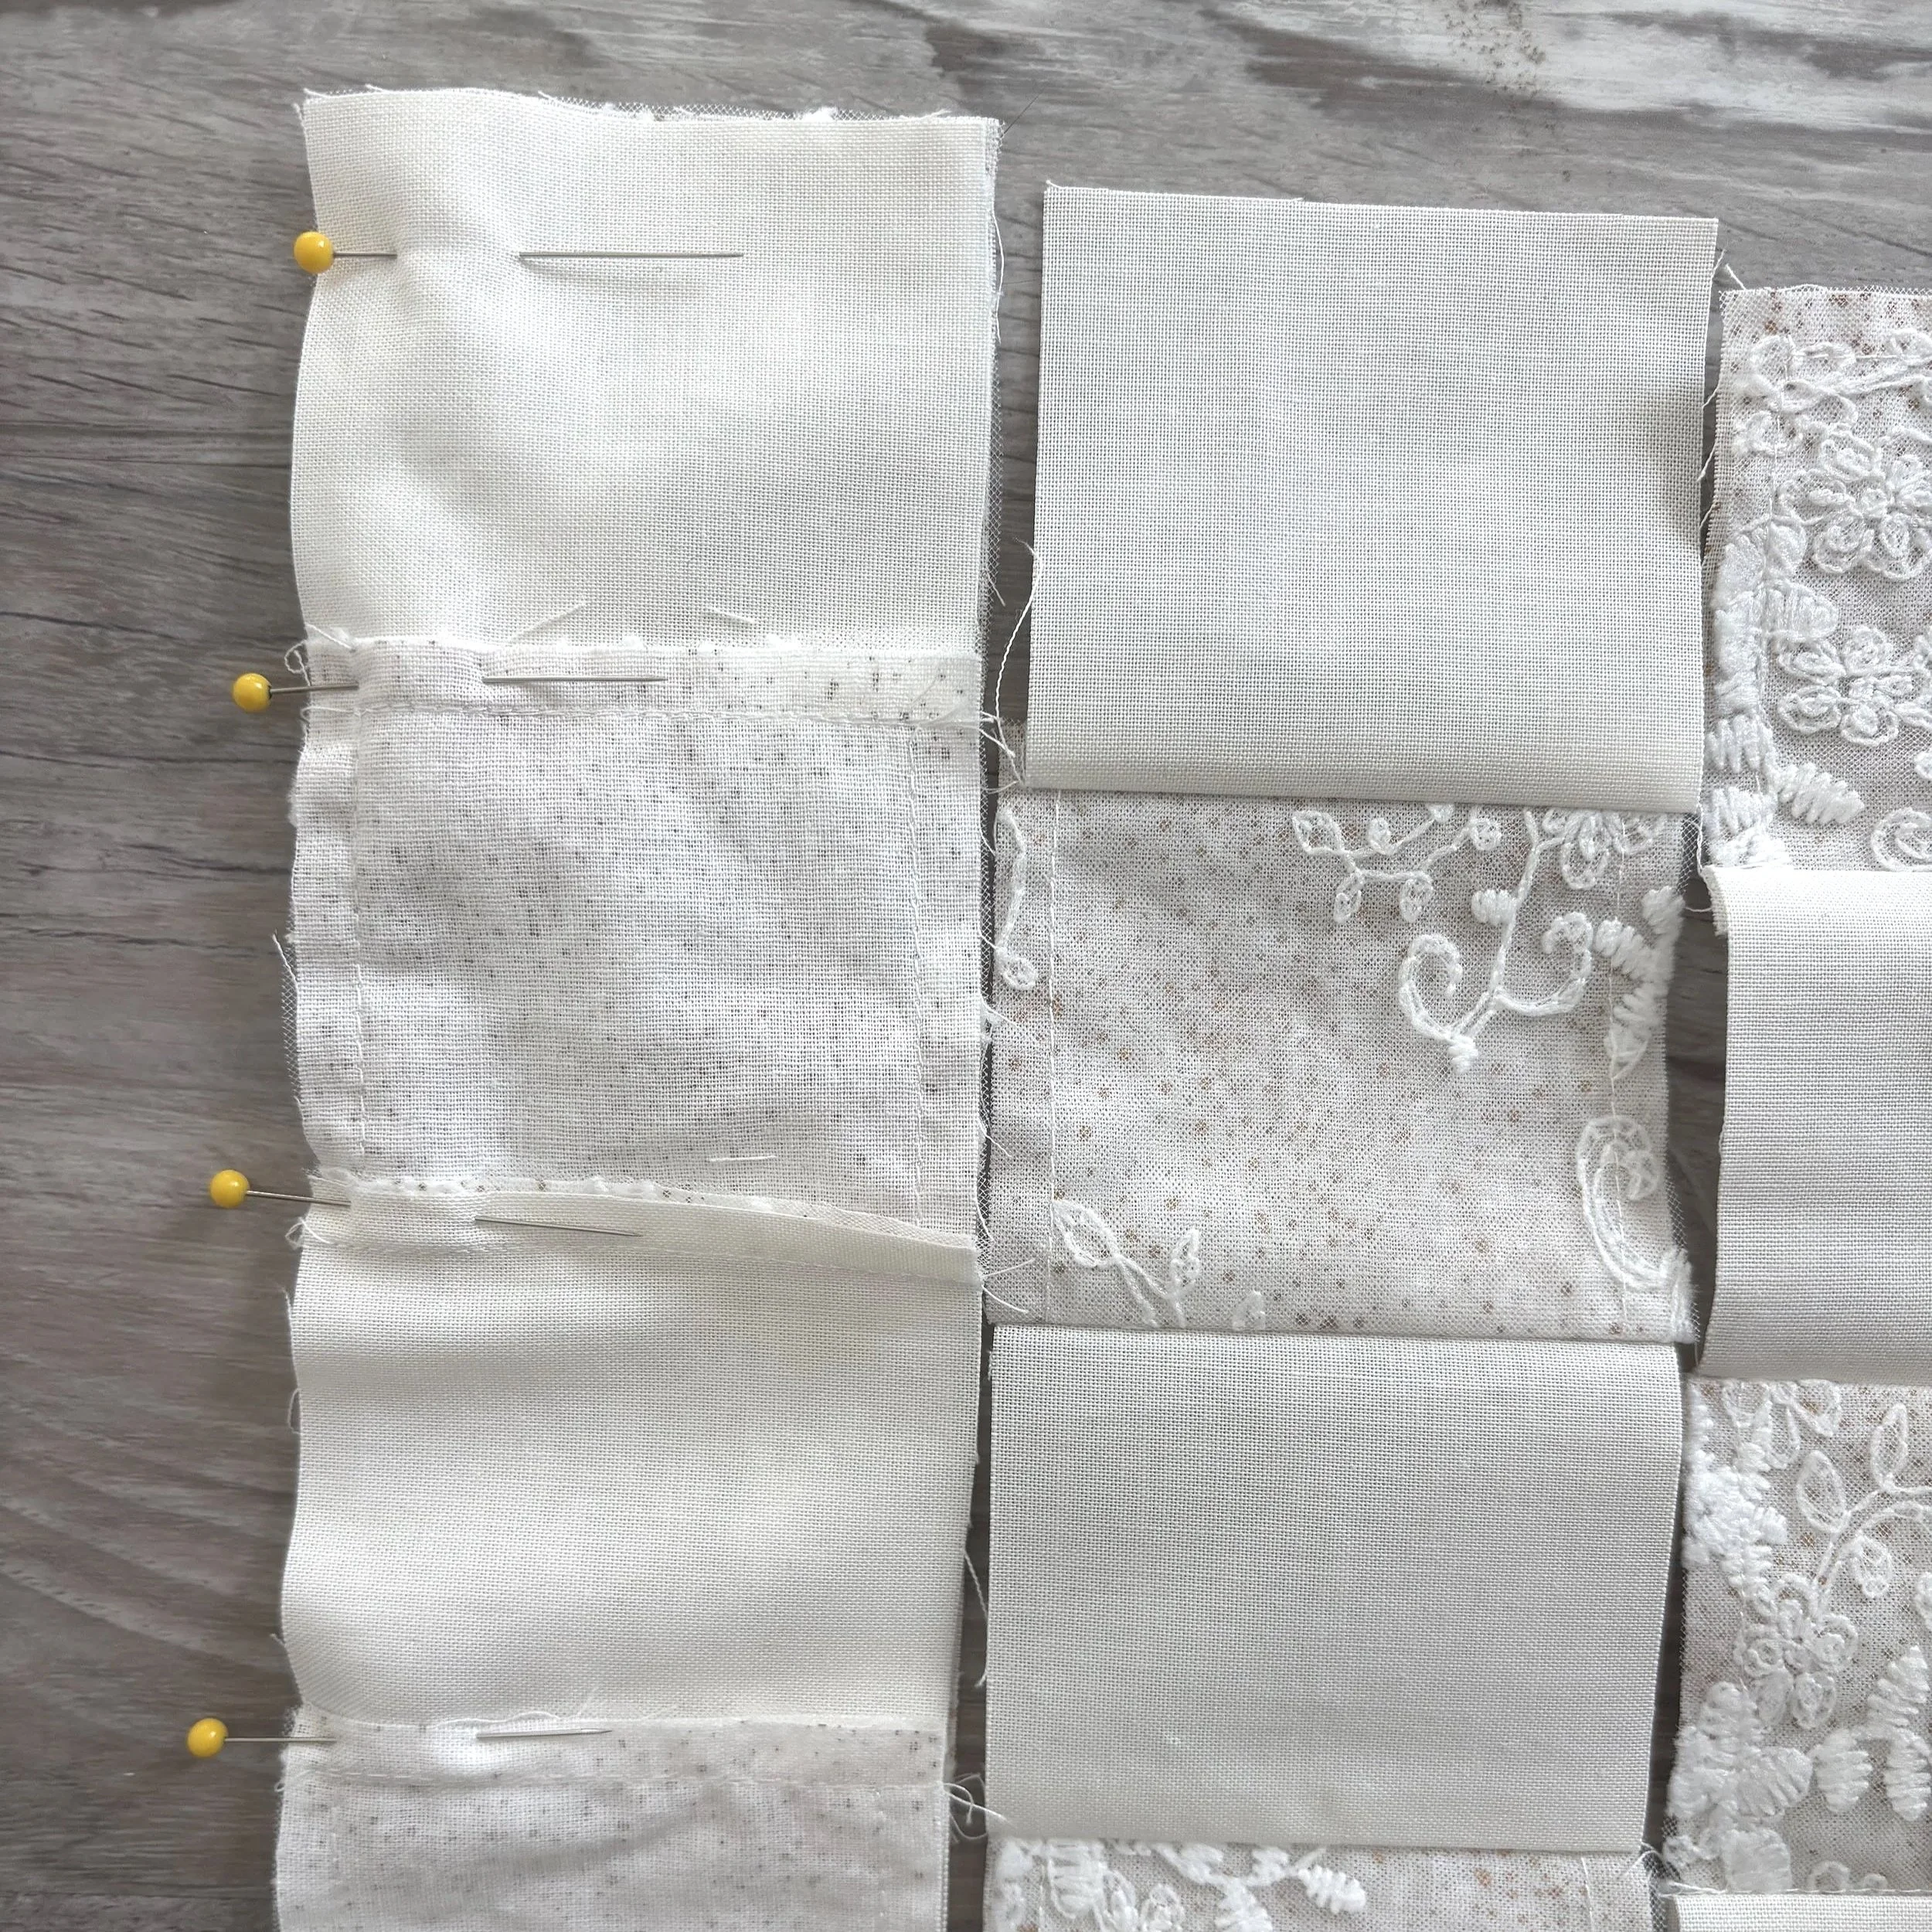
Once your layout is organized, place the first row right sides together (RST) with the second row. Sometimes I work by columns instead of rows, but choose whichever method makes the most sense for your project.
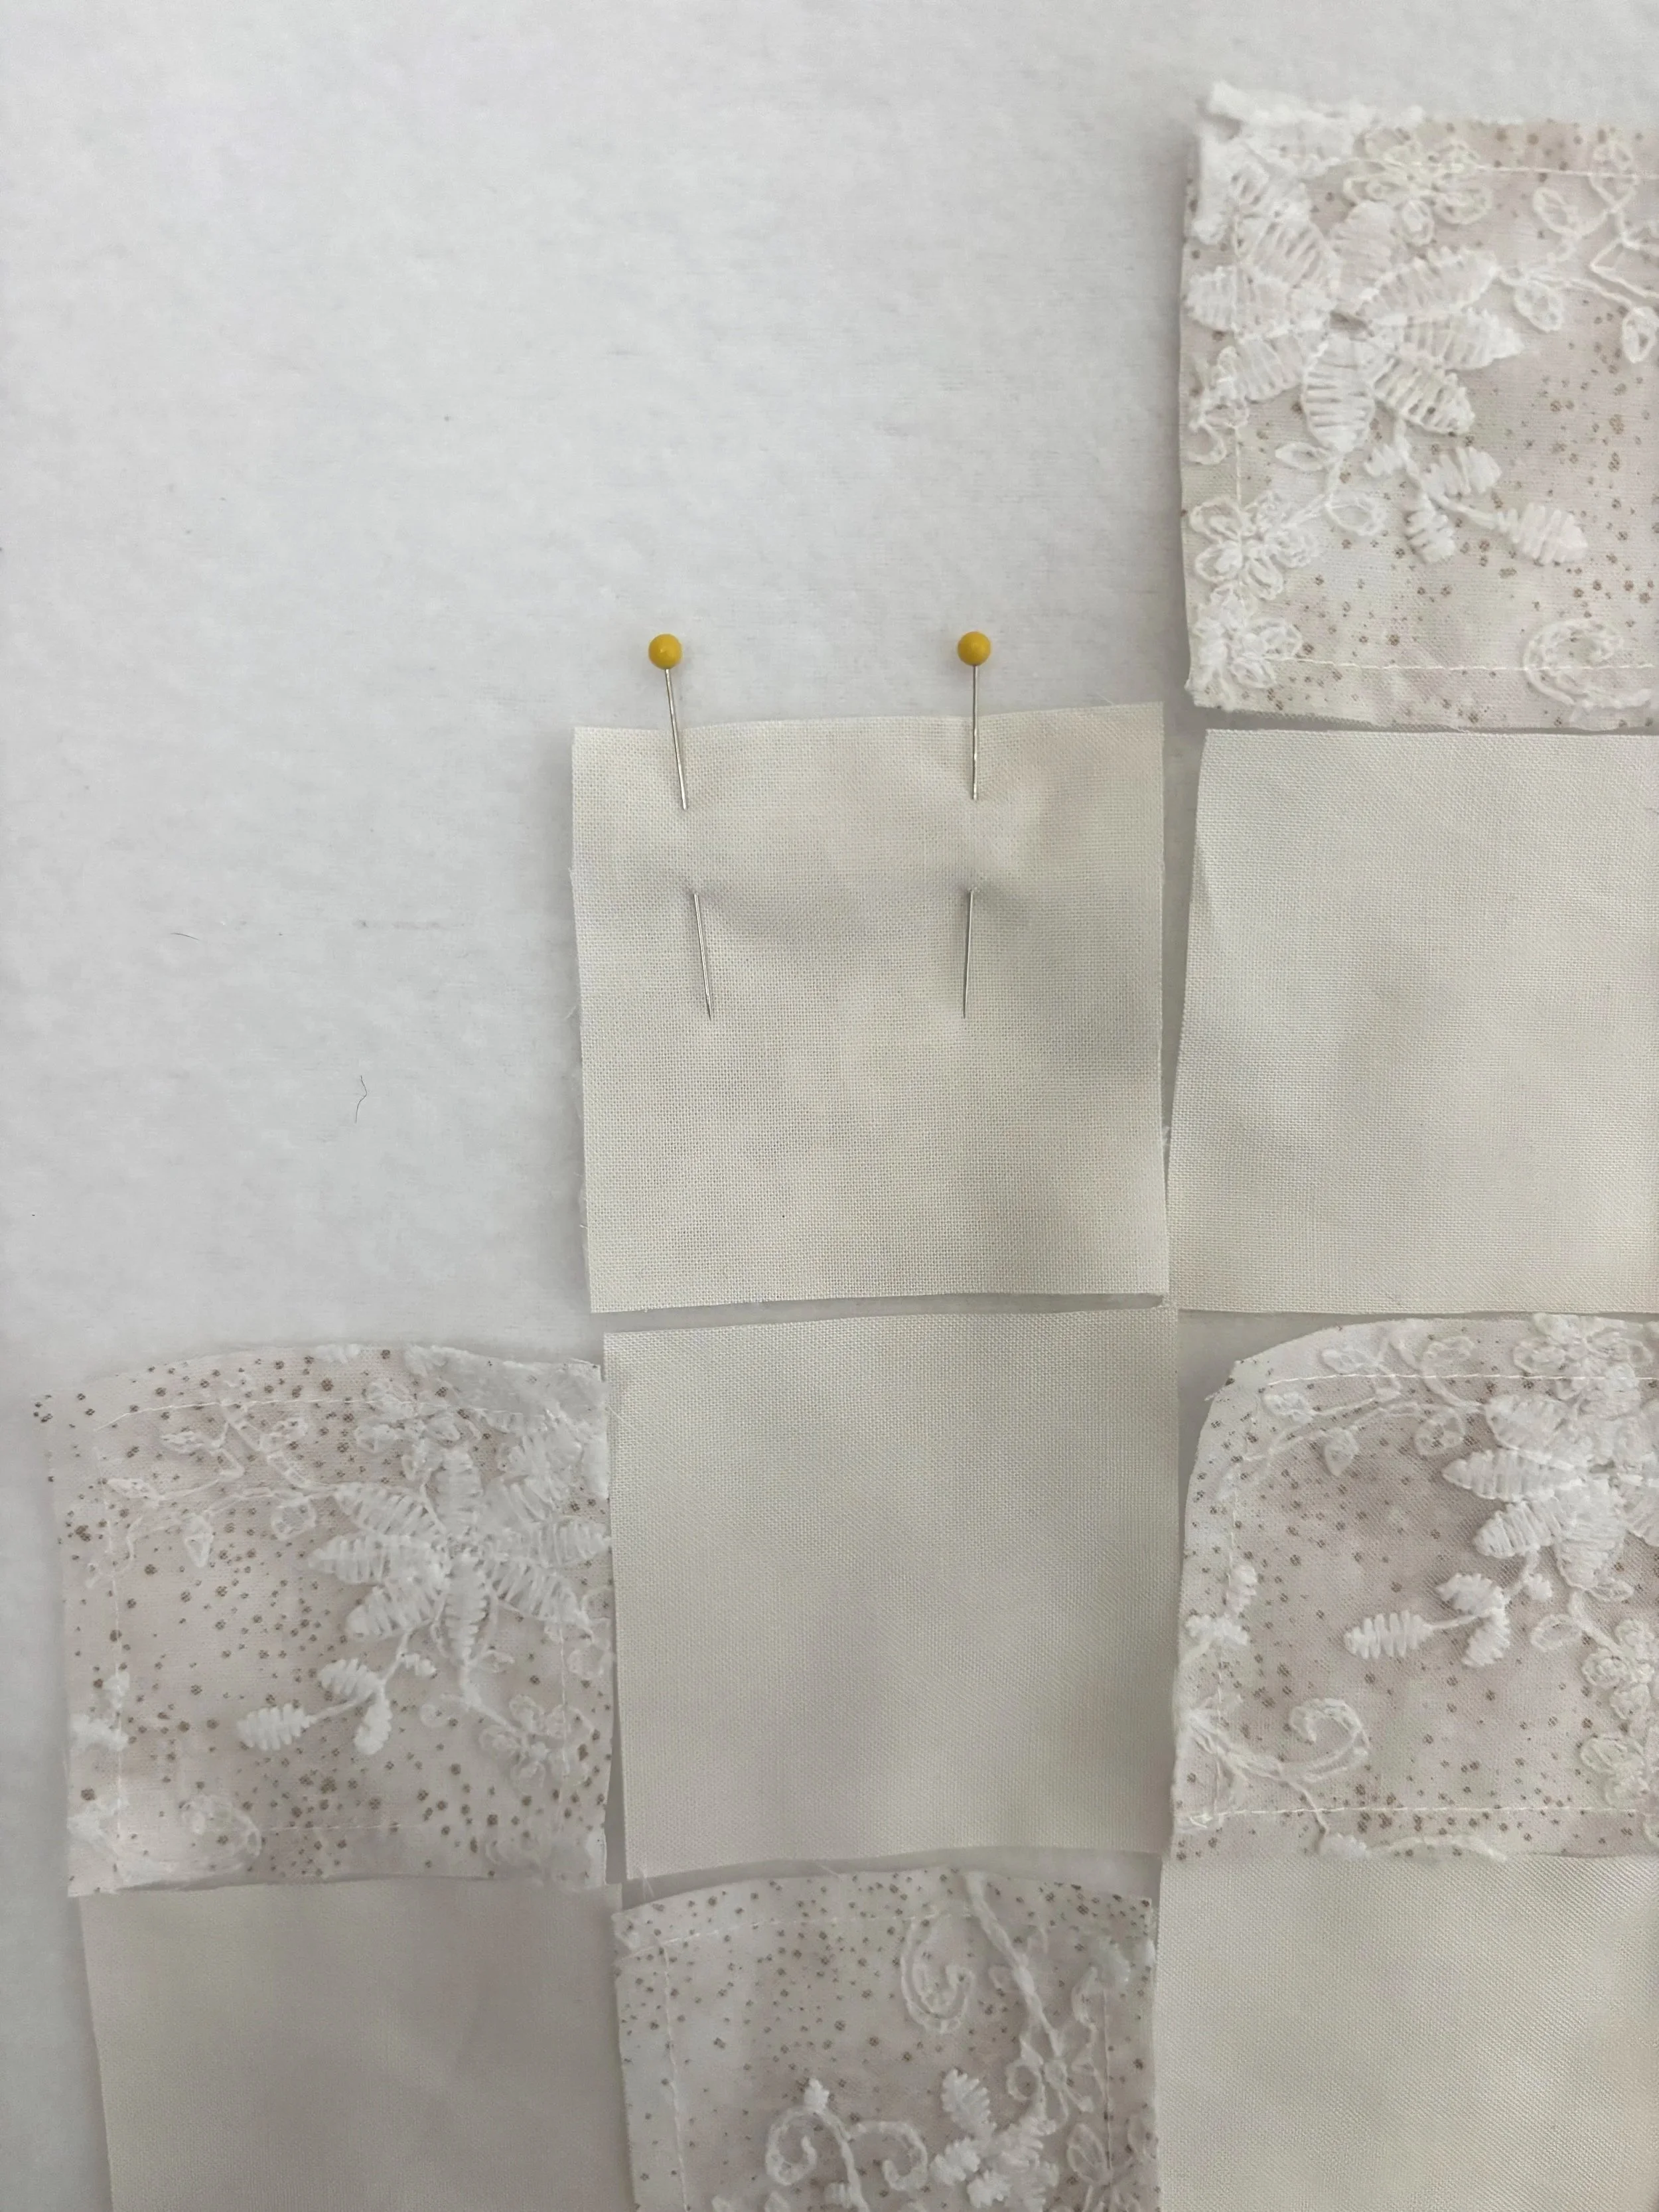
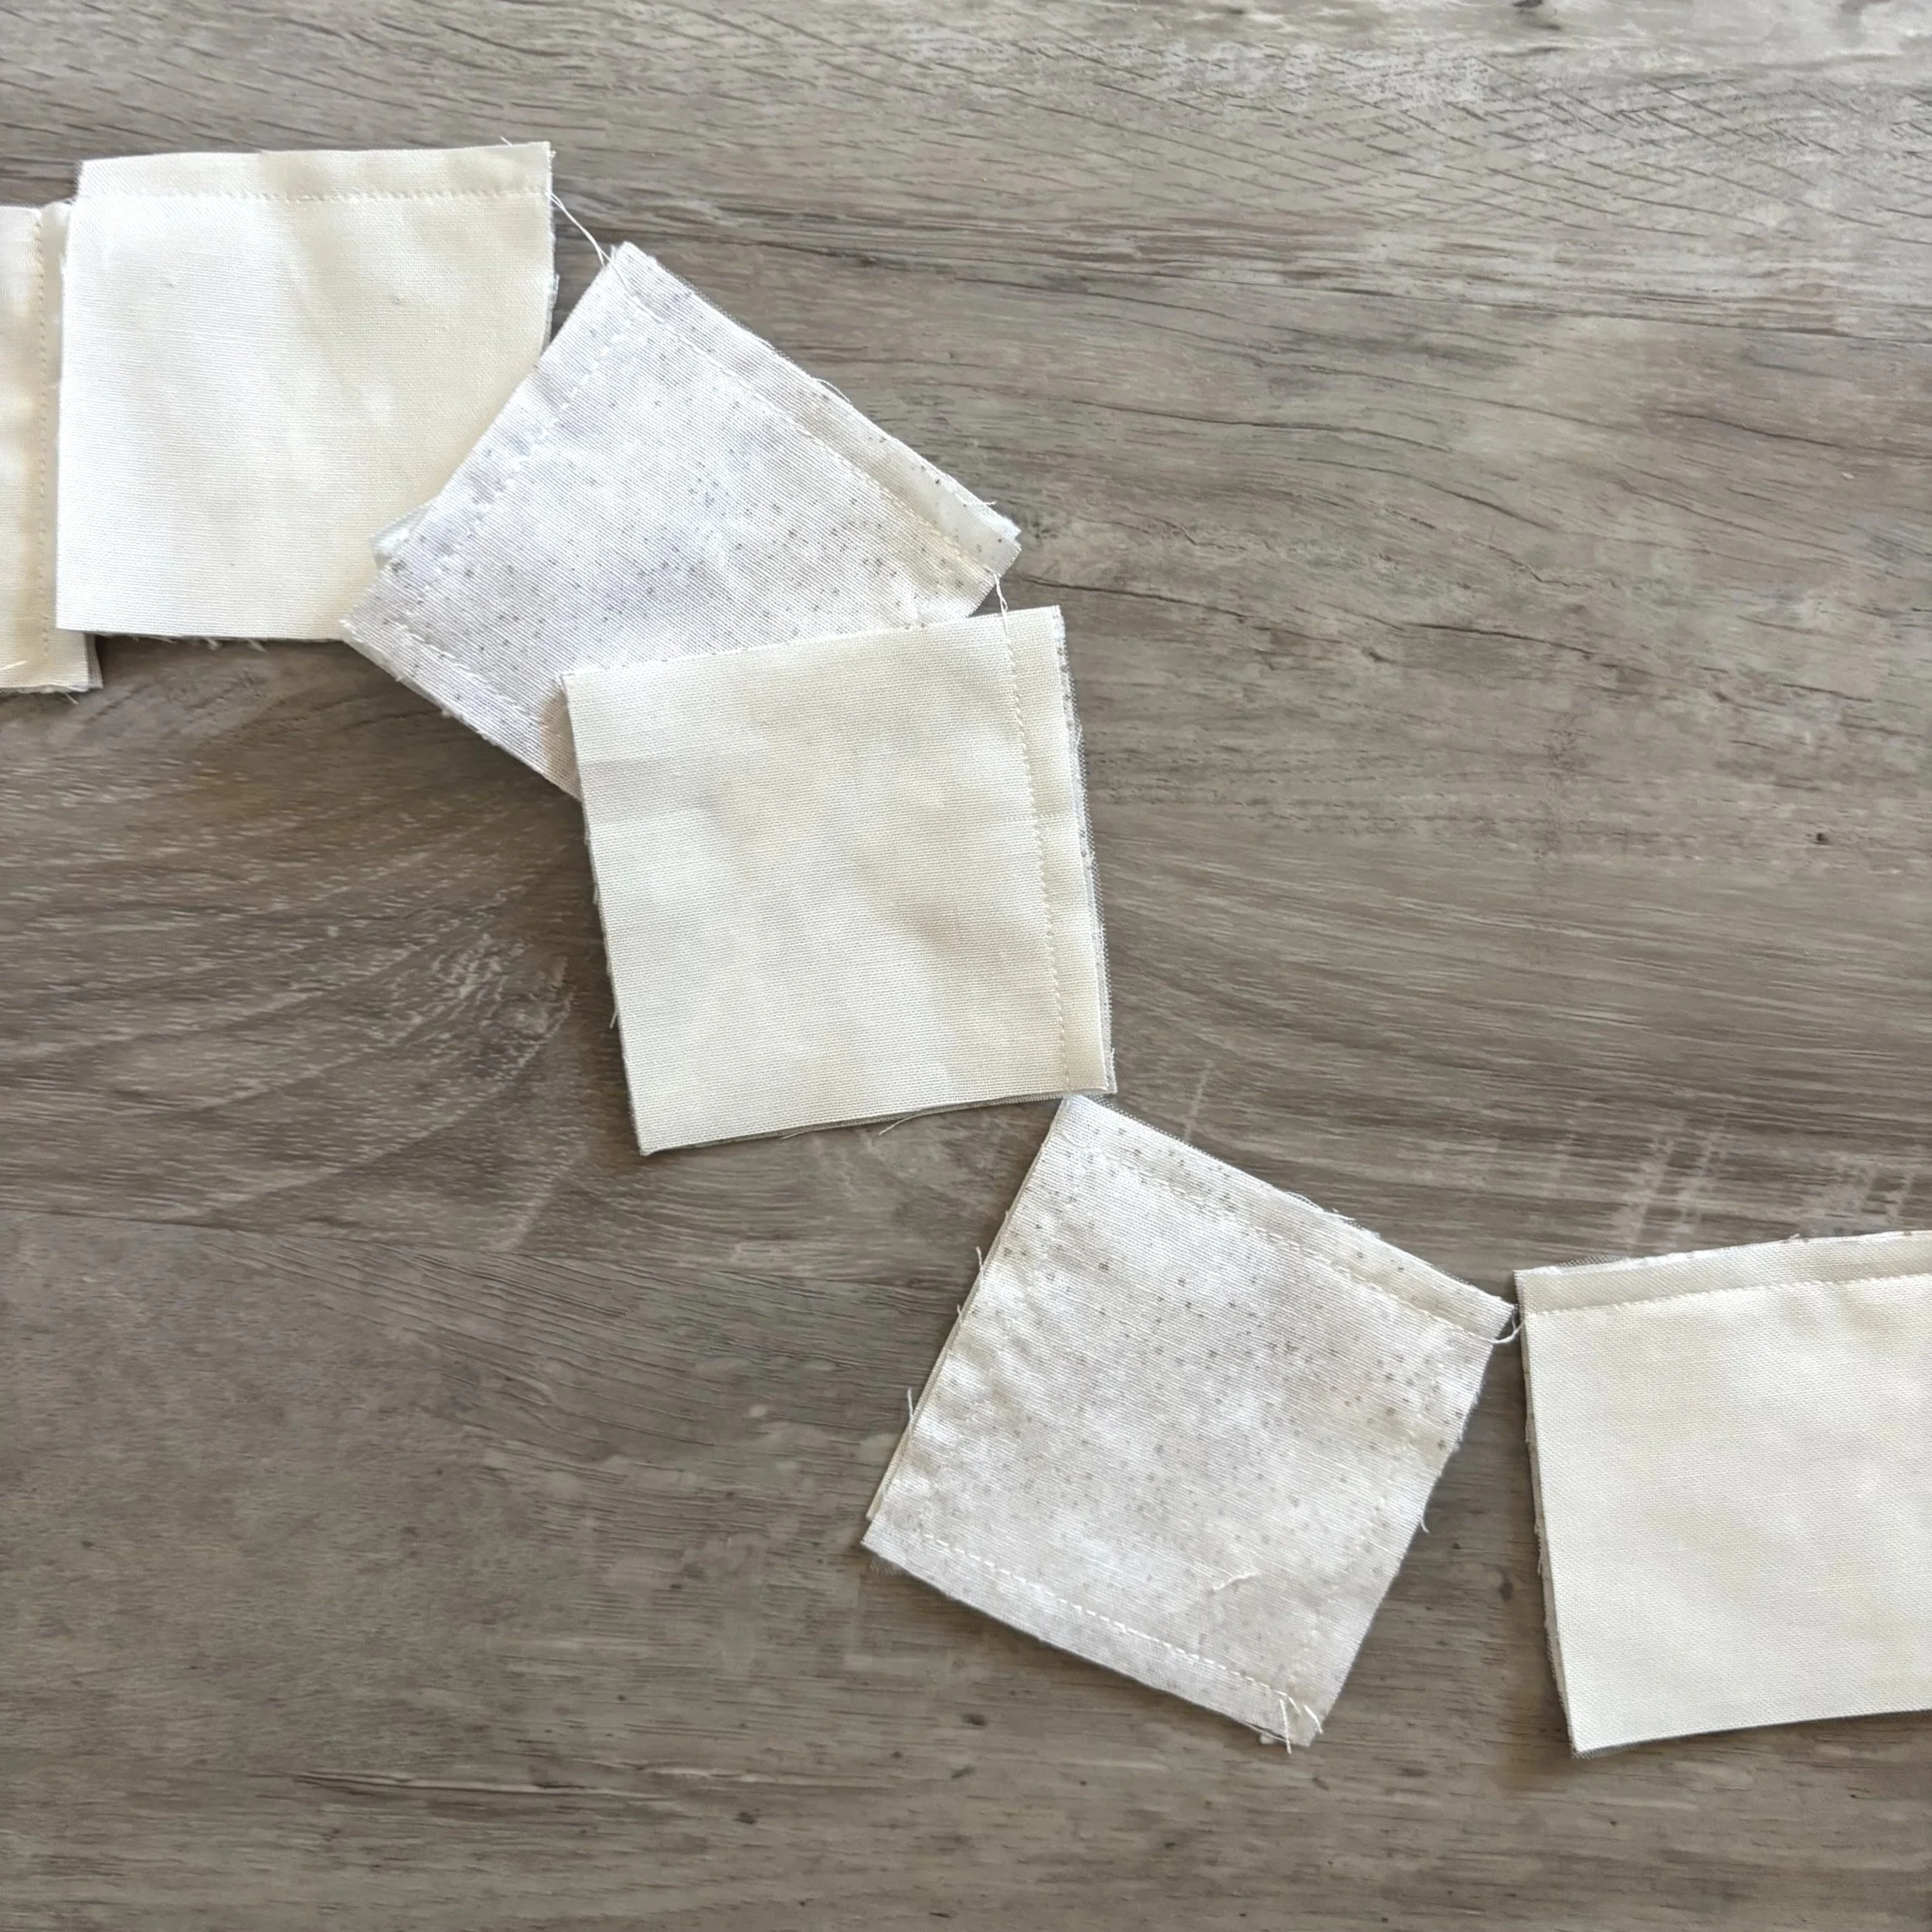
Let’s begin! Sew the first pair of pieces together. When you reach the end, pull the thread tails slightly away from your machine—but DON’T cut it. That's the important part!
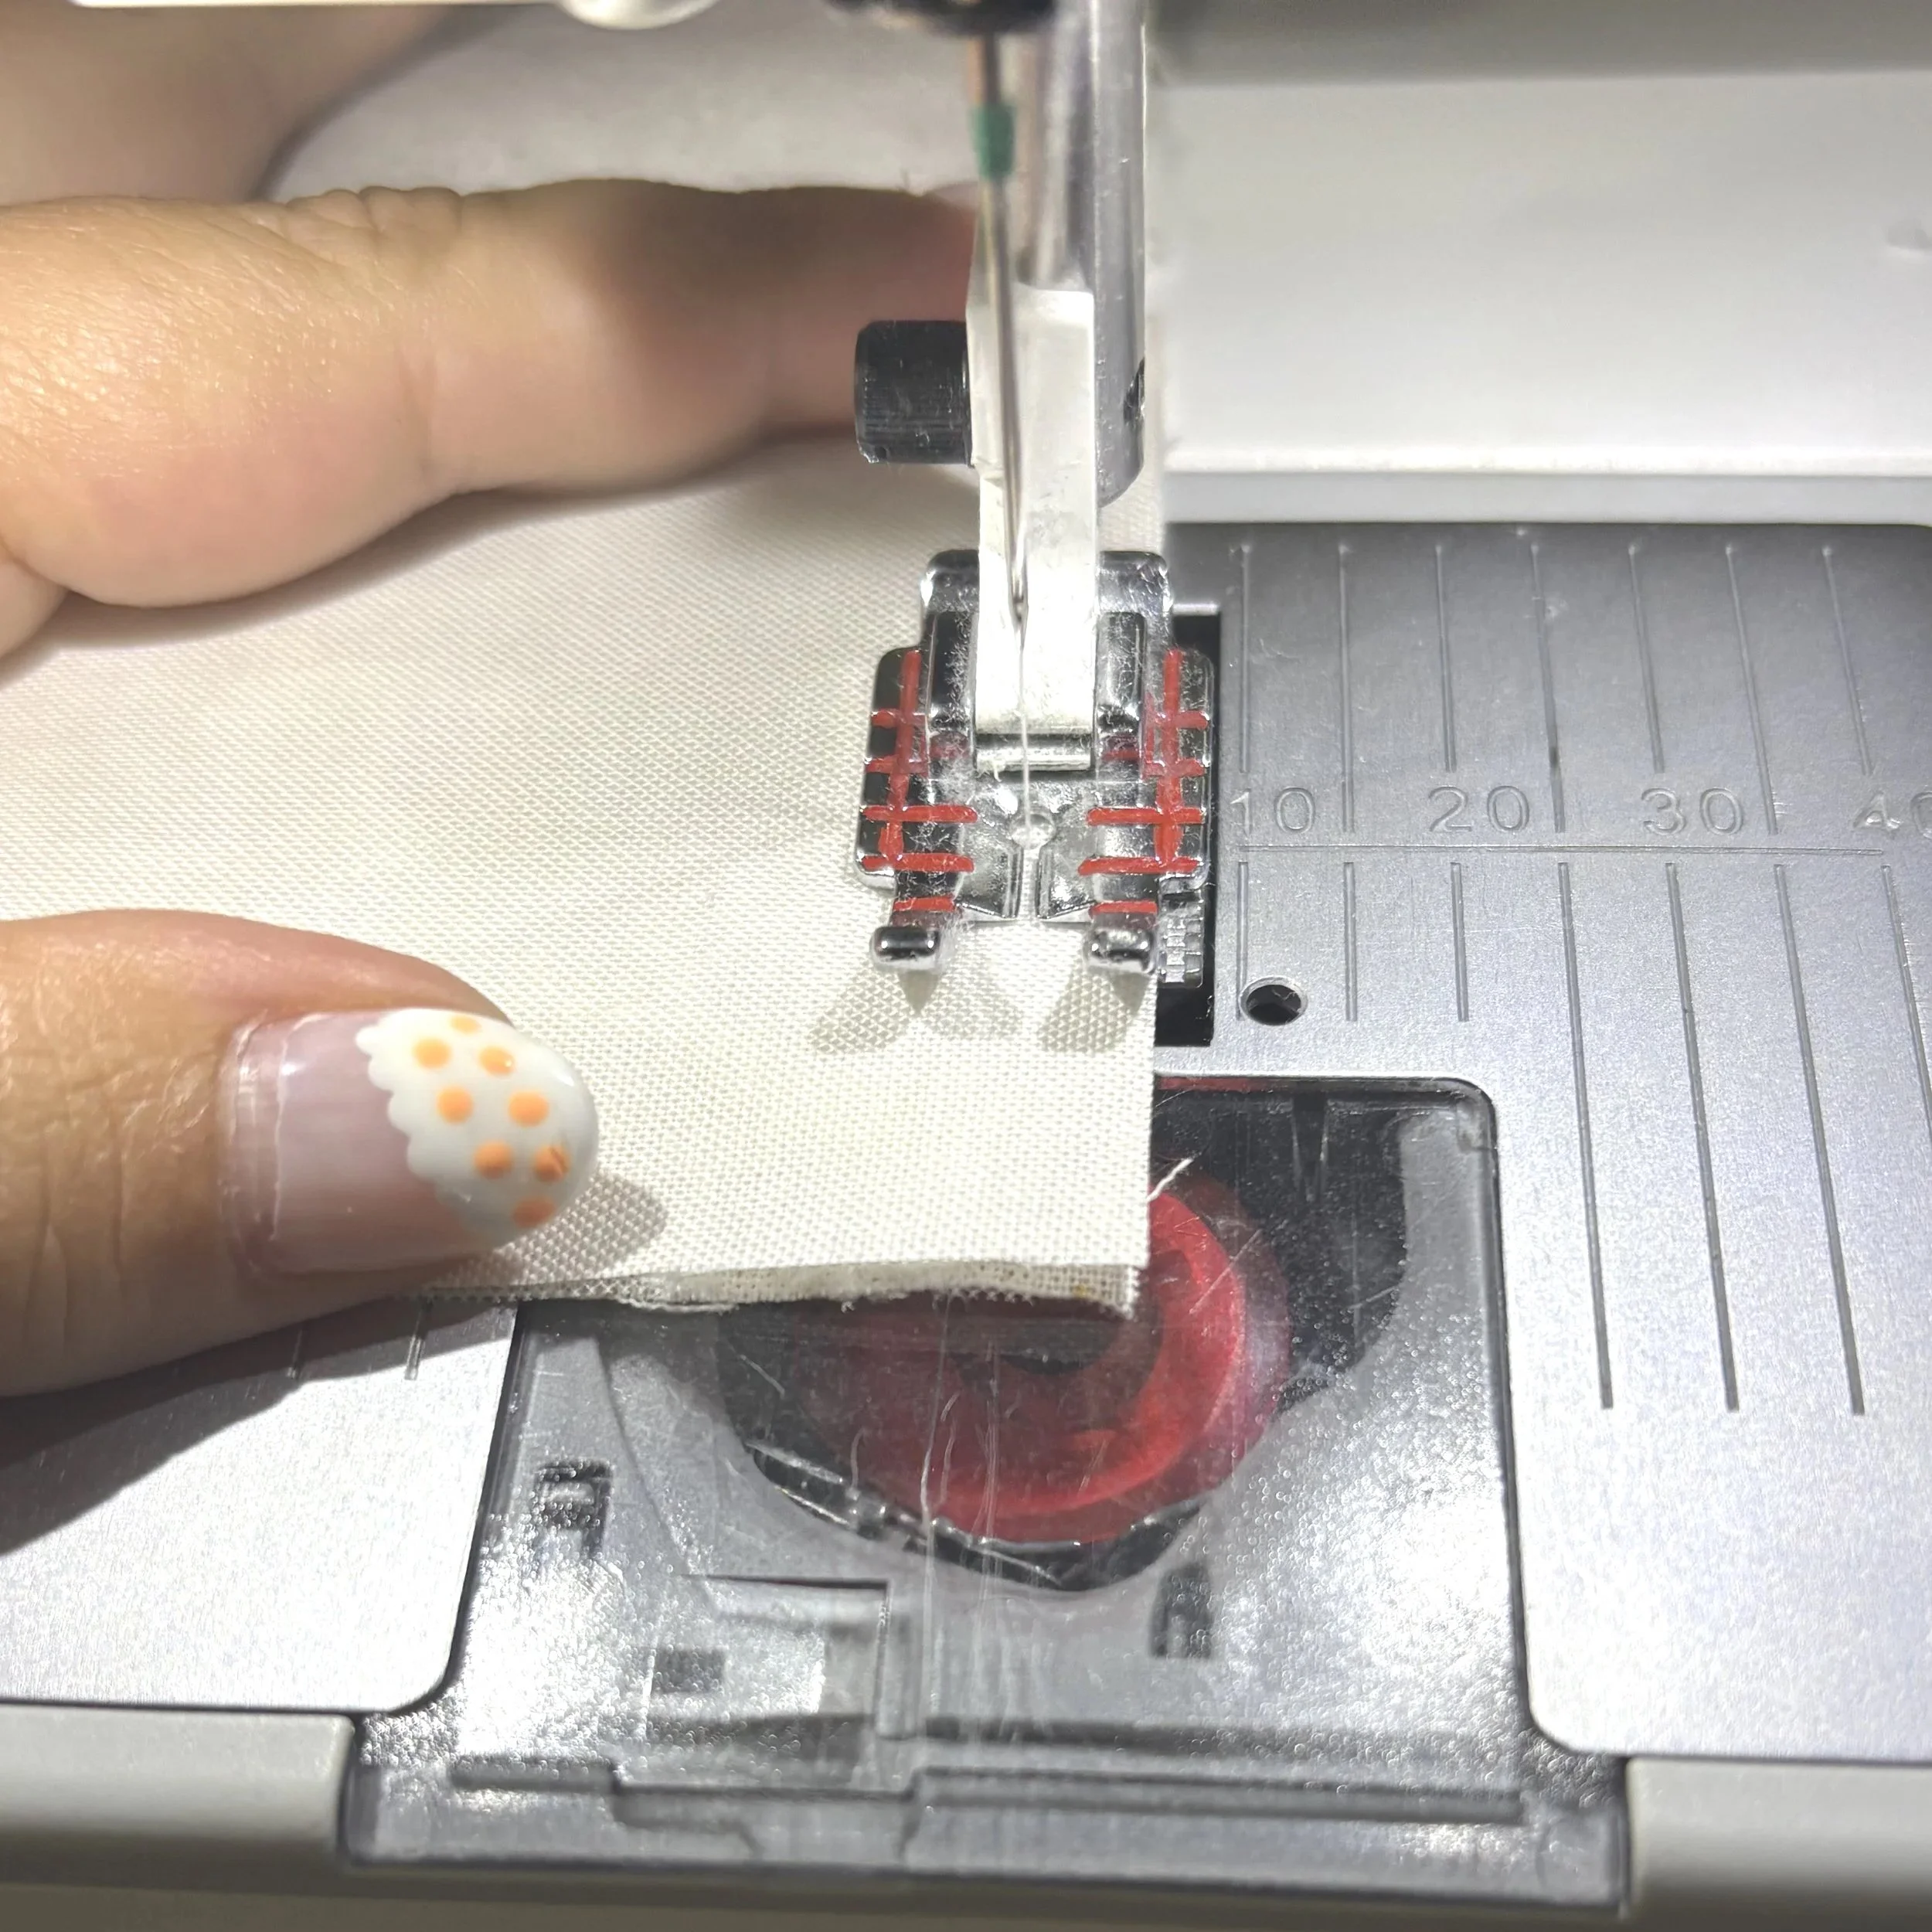

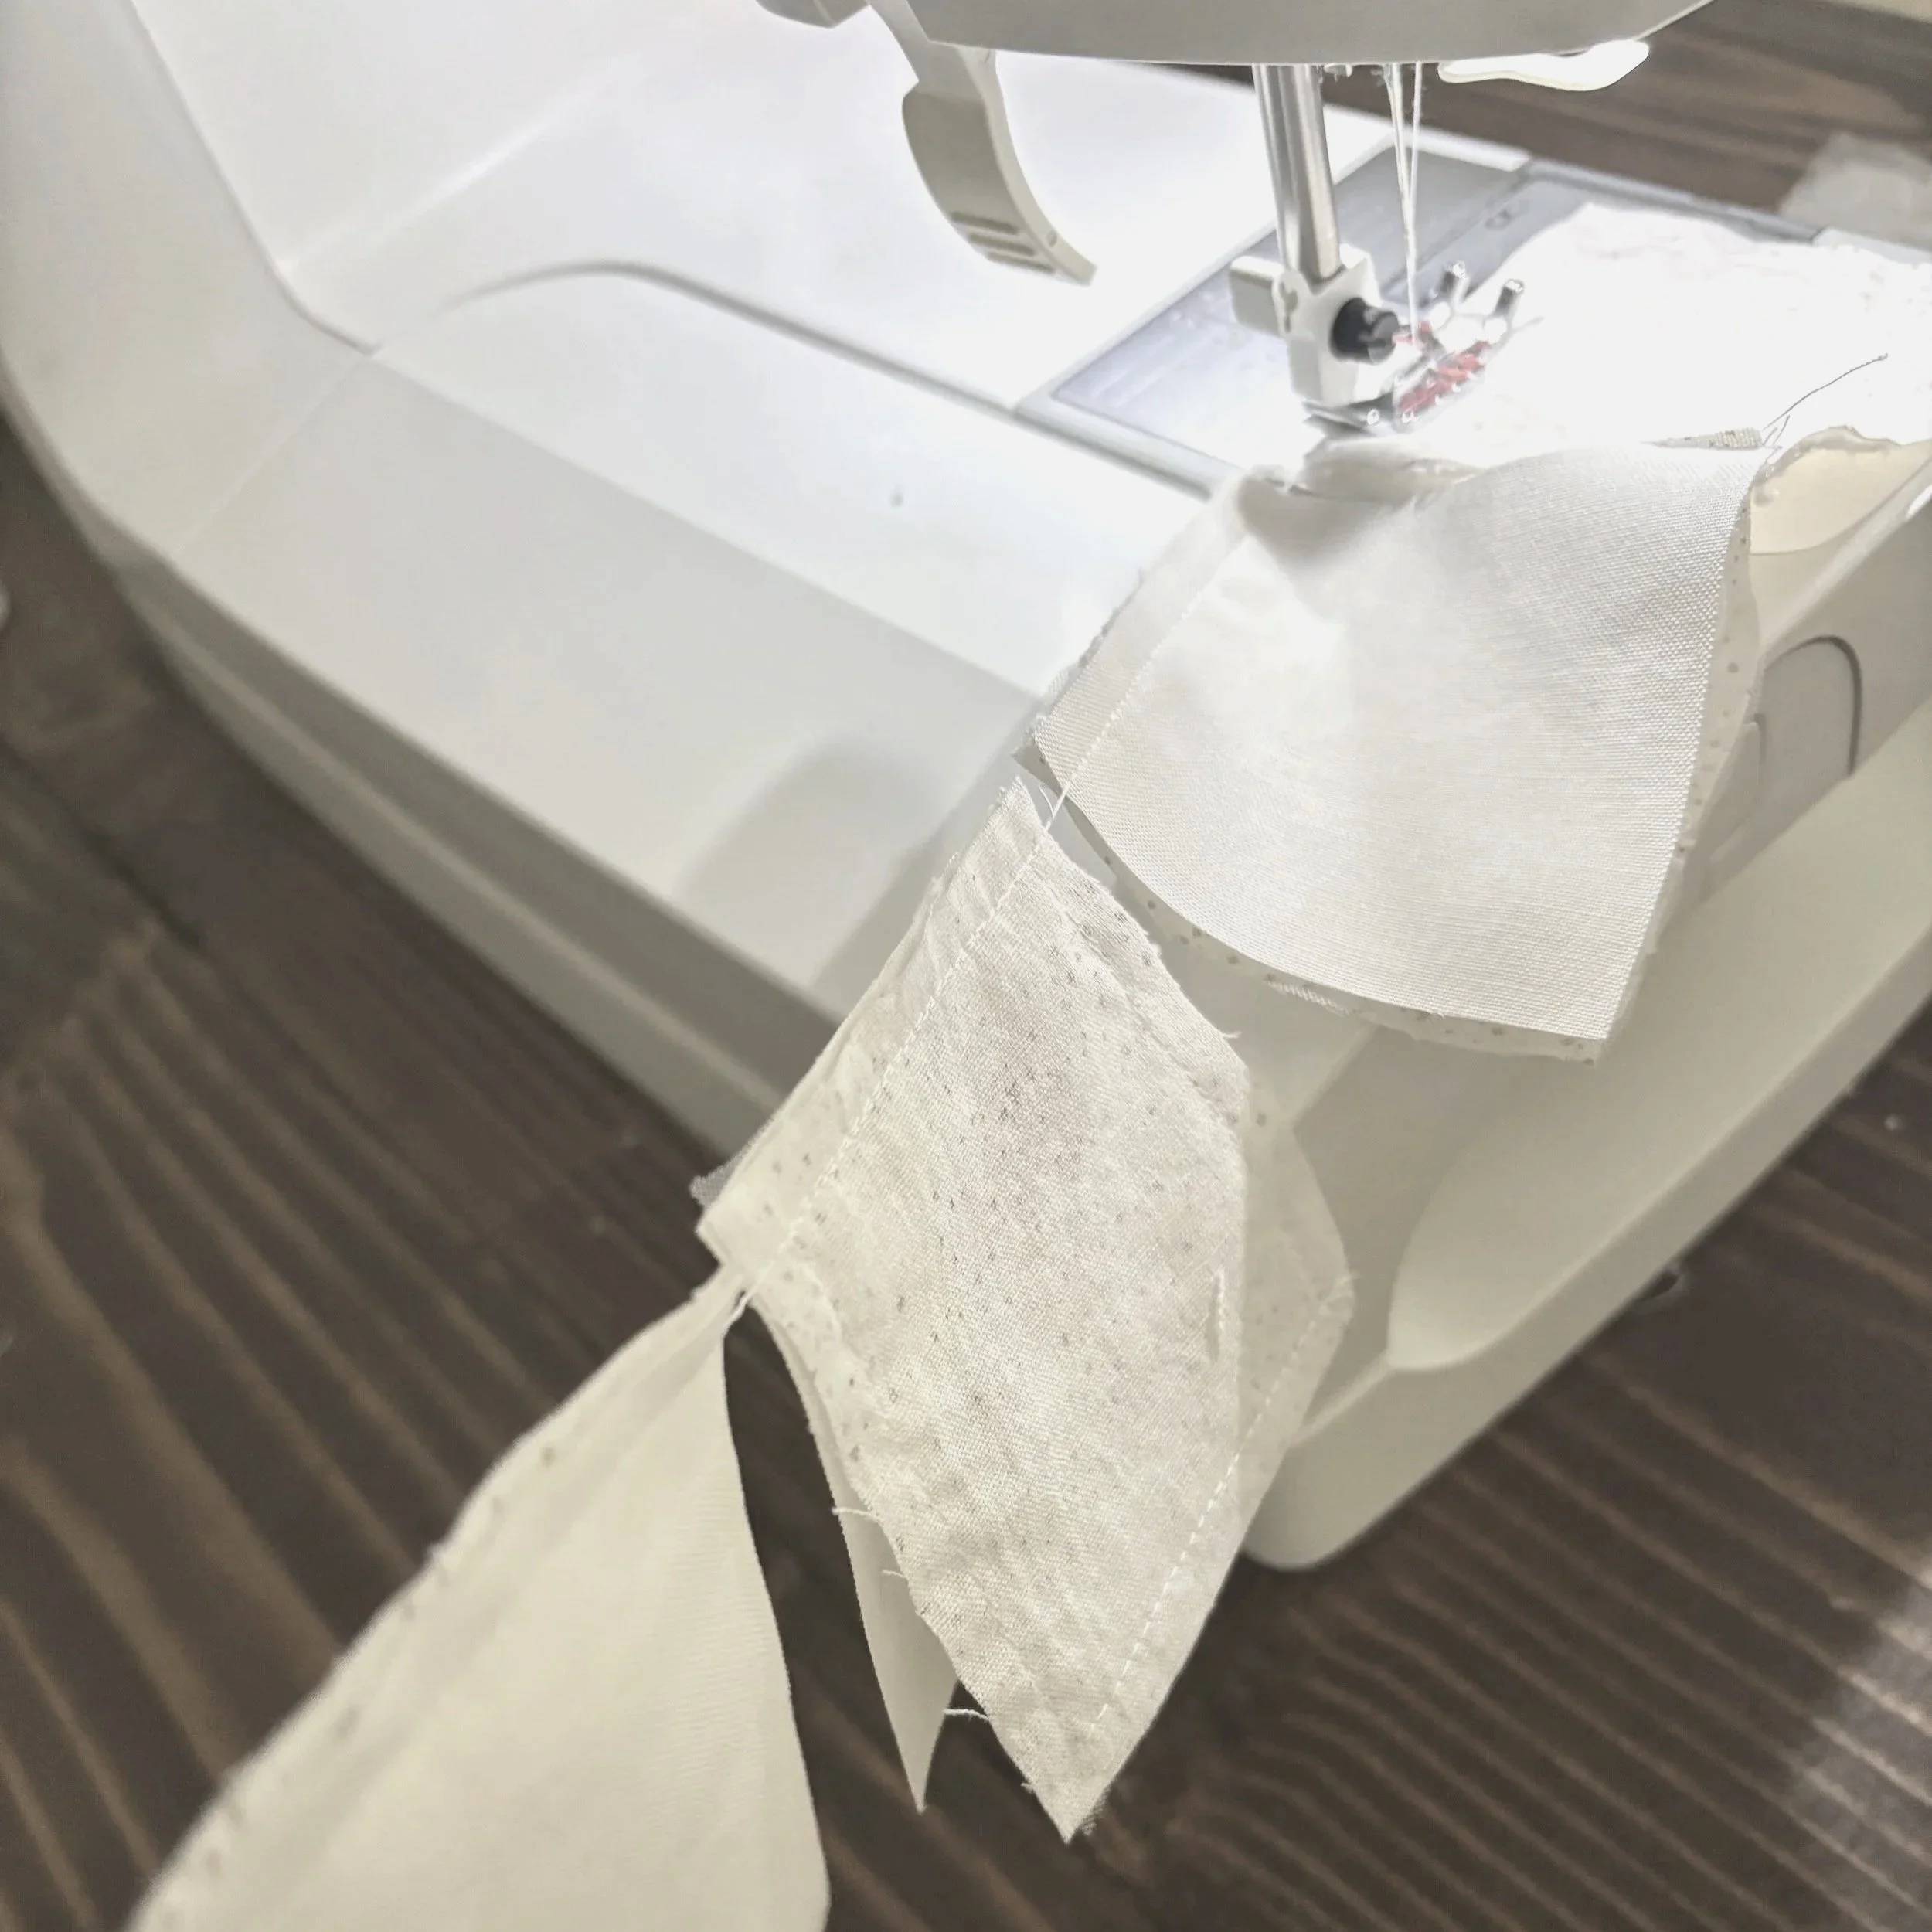
Next, sew the second pair of pieces together. Continue sewing each adjoining pair in order (for the row), leaving the threads intact between rows. Repeat until you reach the end of the row. Only then could you snip the chain from your machine. I personally leave my threads attached for the next step; to save thread.
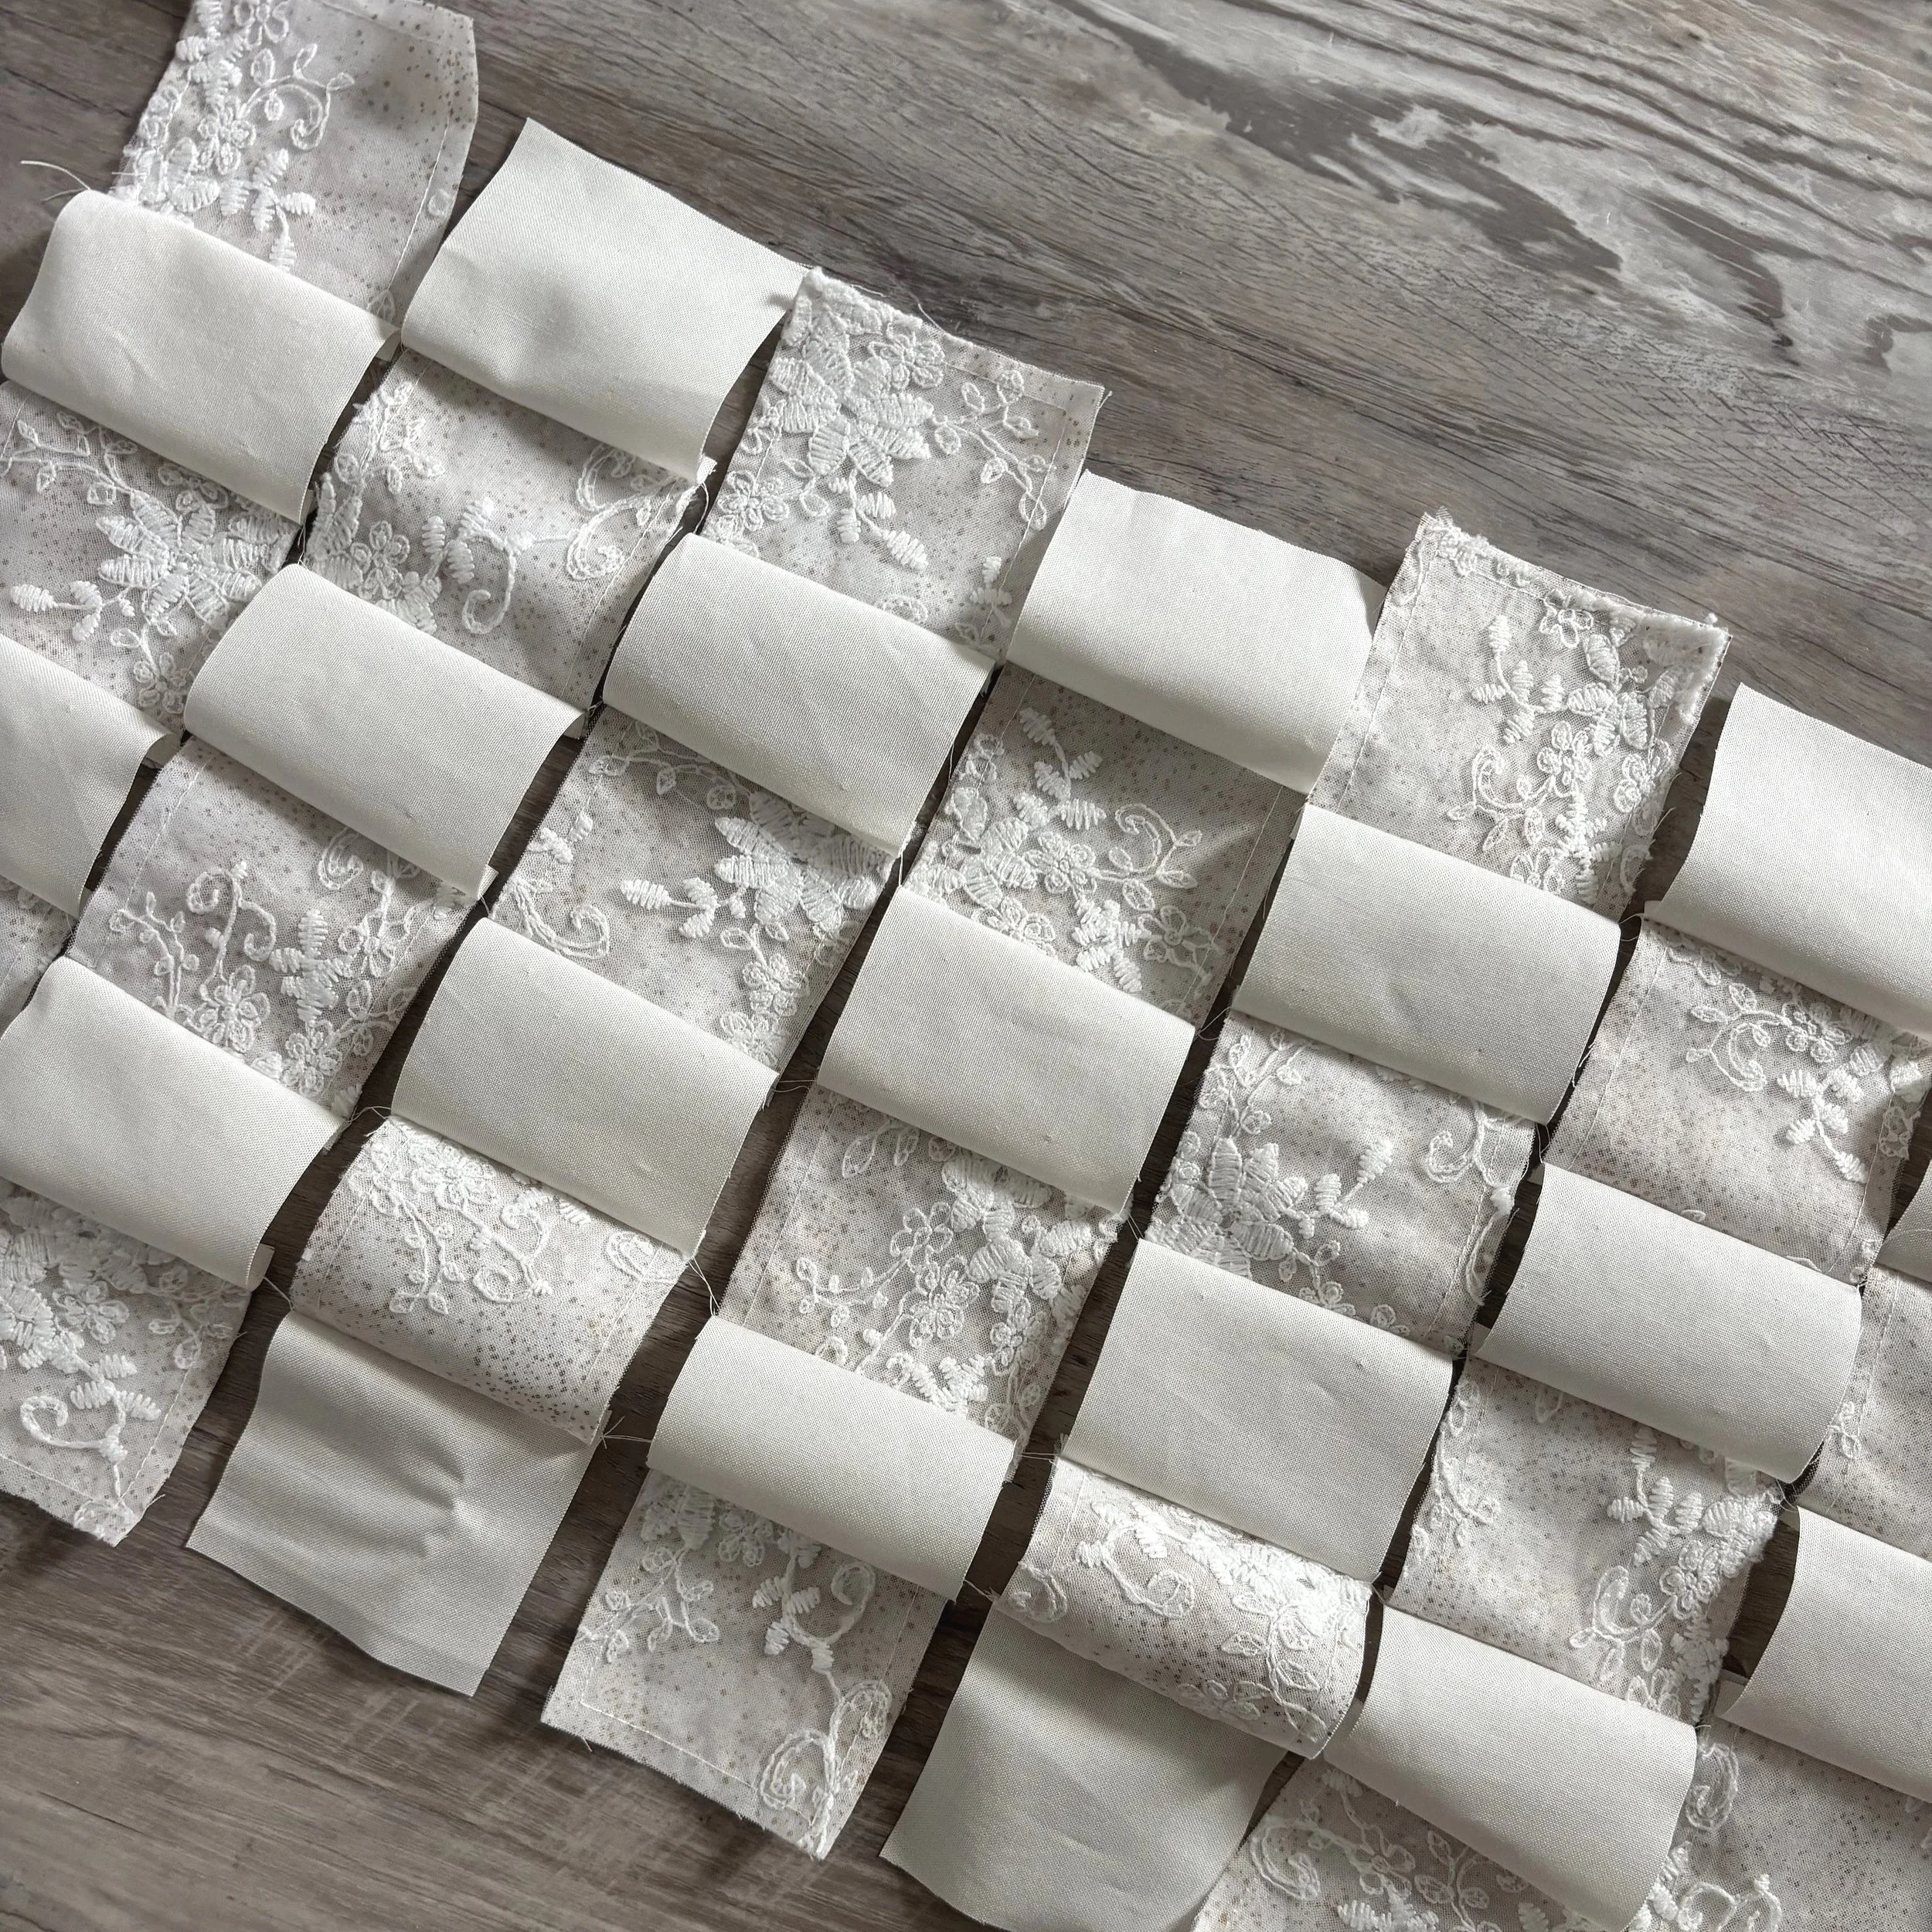
At this point, you could continue by adding the next row to the chain. However, I find it easier to assemble another pair of rows first. Why? Mostly because the pieces are less bulky and much easier to maneuver at the sewing machine.
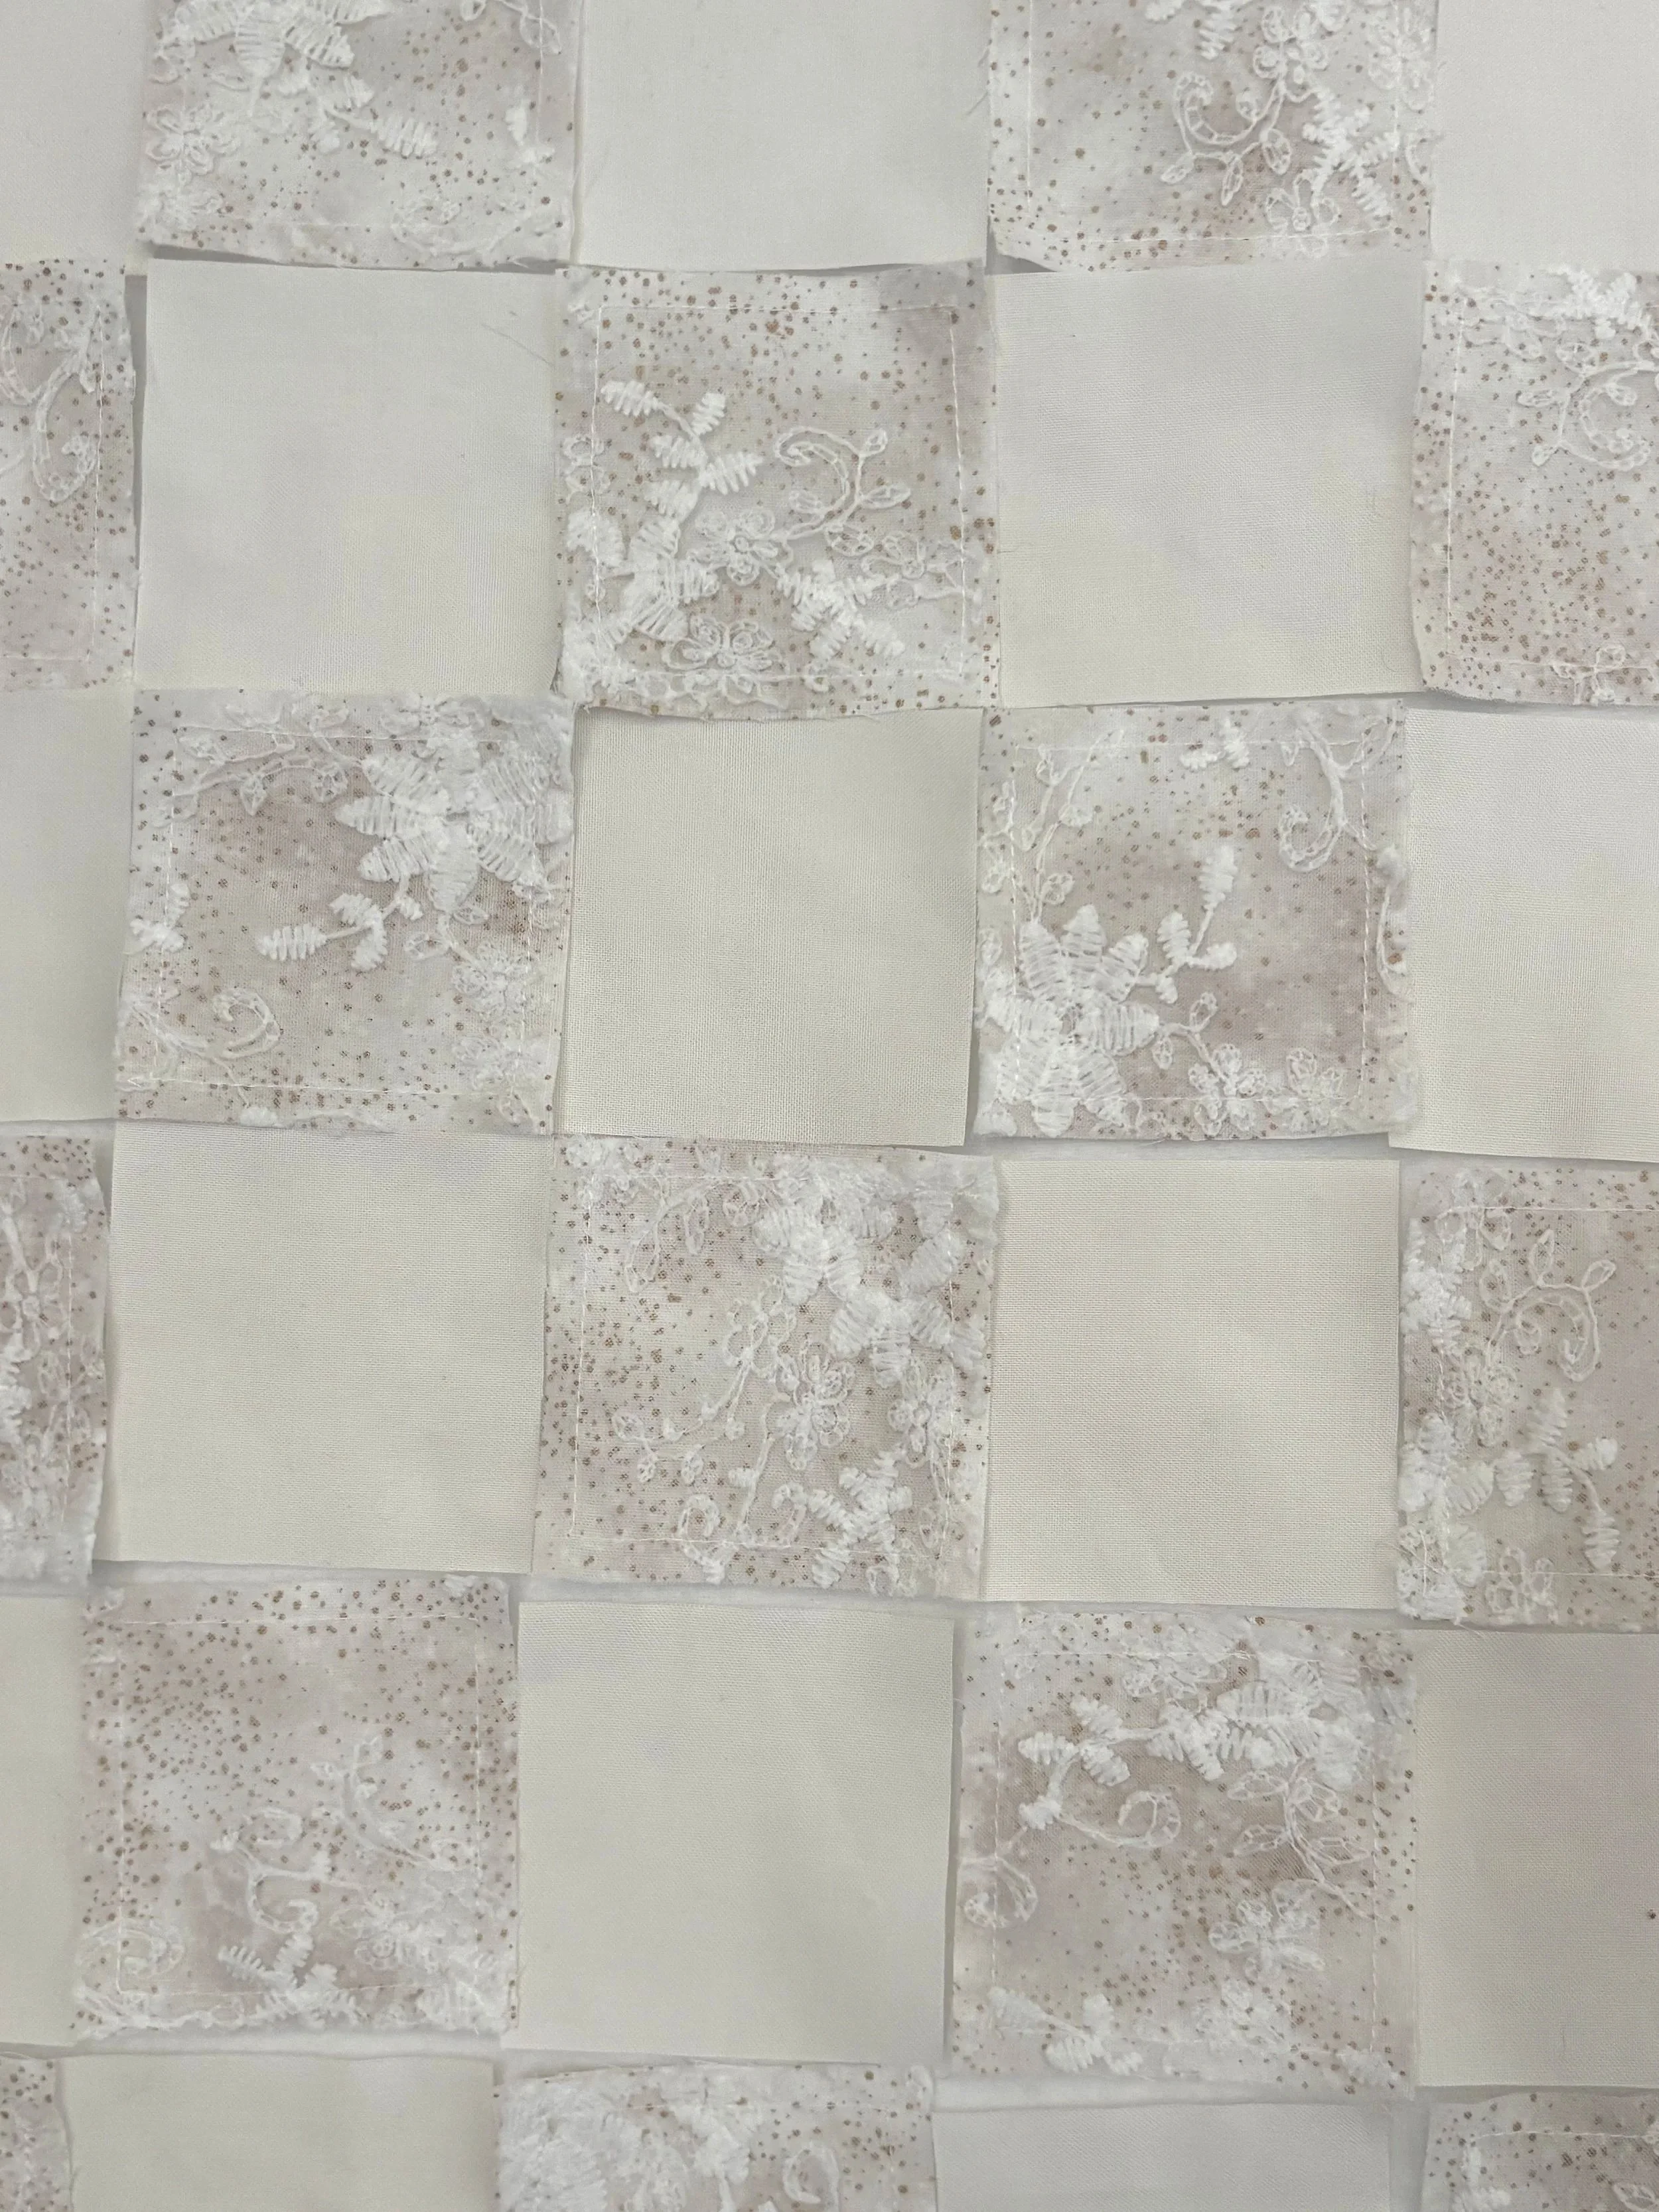
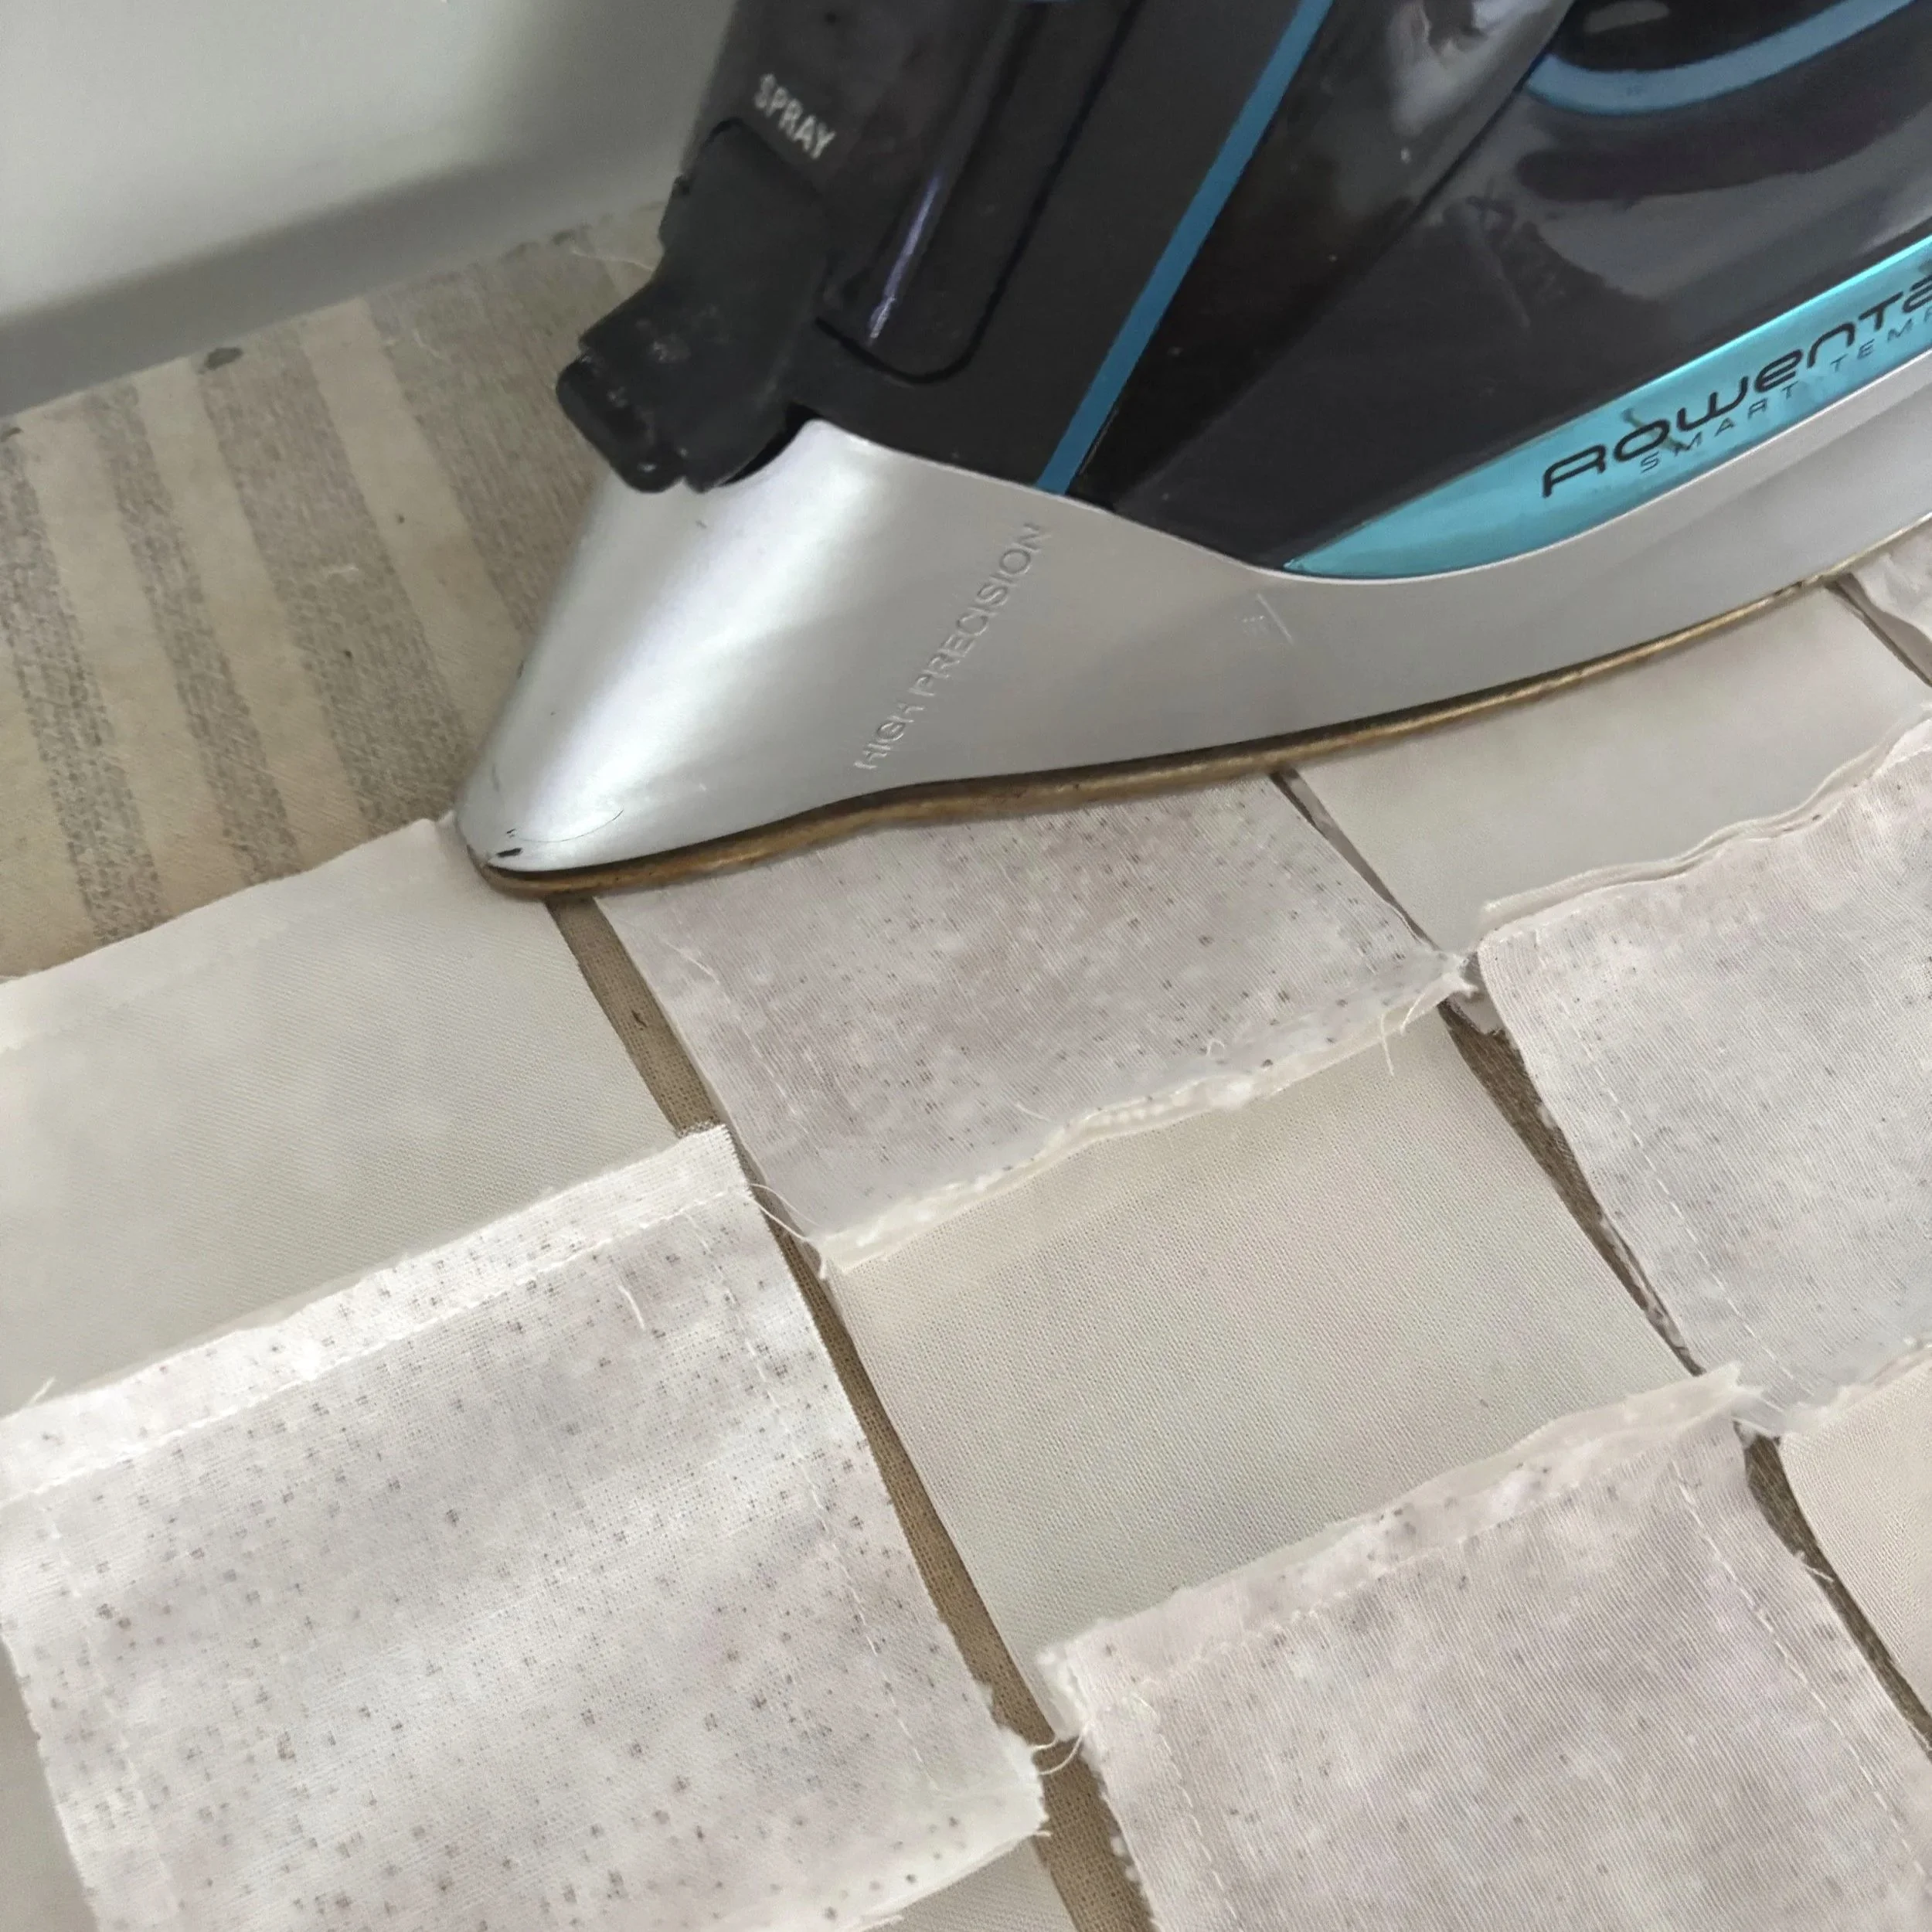
Once all the rows have been assembled together, it’s time to set and press the seams. I highly recommend to set your seams first. It locks your seams in place and releases the tension from your fabric, allowing your pieces to lie completely flat. Then you have two options: press the seams open or press them in alternating directions. For smaller projects, I usually press the seams open. For quilt tops, I prefer pressing the seams in alternating directions so I can nest the seams later for more accurate matching points.
Now all of your pieces are prepped and ready to be sewn into columns—or rows, if you started with columns. Ta-da!