Remember When…
Come August 15, I’ll be releasing my first pattern ever!
This quilt pattern was inspired by a friend from high school. A few months ago, she had reached out wondering if I could make a quilt for her daughter, Sophie. She wanted to use her daughter’s favorite outfits that no longer fit. I suggested that she make the quilt herself as it would mean more to Sophie in the years to come. I told her I could make a pattern for her to follow to help her out. And so… my pattern “Sophia Rose” was born.
I pulled out my daughter’s old clothes from when she was a little girl. I previously thought I had saved my daughter’s clothes from when she was really little—but I guess not. Whoops! Fortunately, I still had some clothes from when she was wearing 3T to 5T clothing. Walking through memory lane with some of these shirts and dresses made me grin and miss my sweet, happy, social little girl with her high lispy voice. I struggled cutting her clothes down to size. It became an emotional moment. It was kinda painful and hard to leave those cherished moments of your kids as littles in the past. However, I know that this way I can keep the sweet memories of her alive as she grows. She loved horses and unicorns—My Little Pony was a common show that was watched at our house. Once she thought some toy ponies gifted to her from her grandparents were from Jesus instead. Haha! It’s strange to think how fast my little girl is growing up!
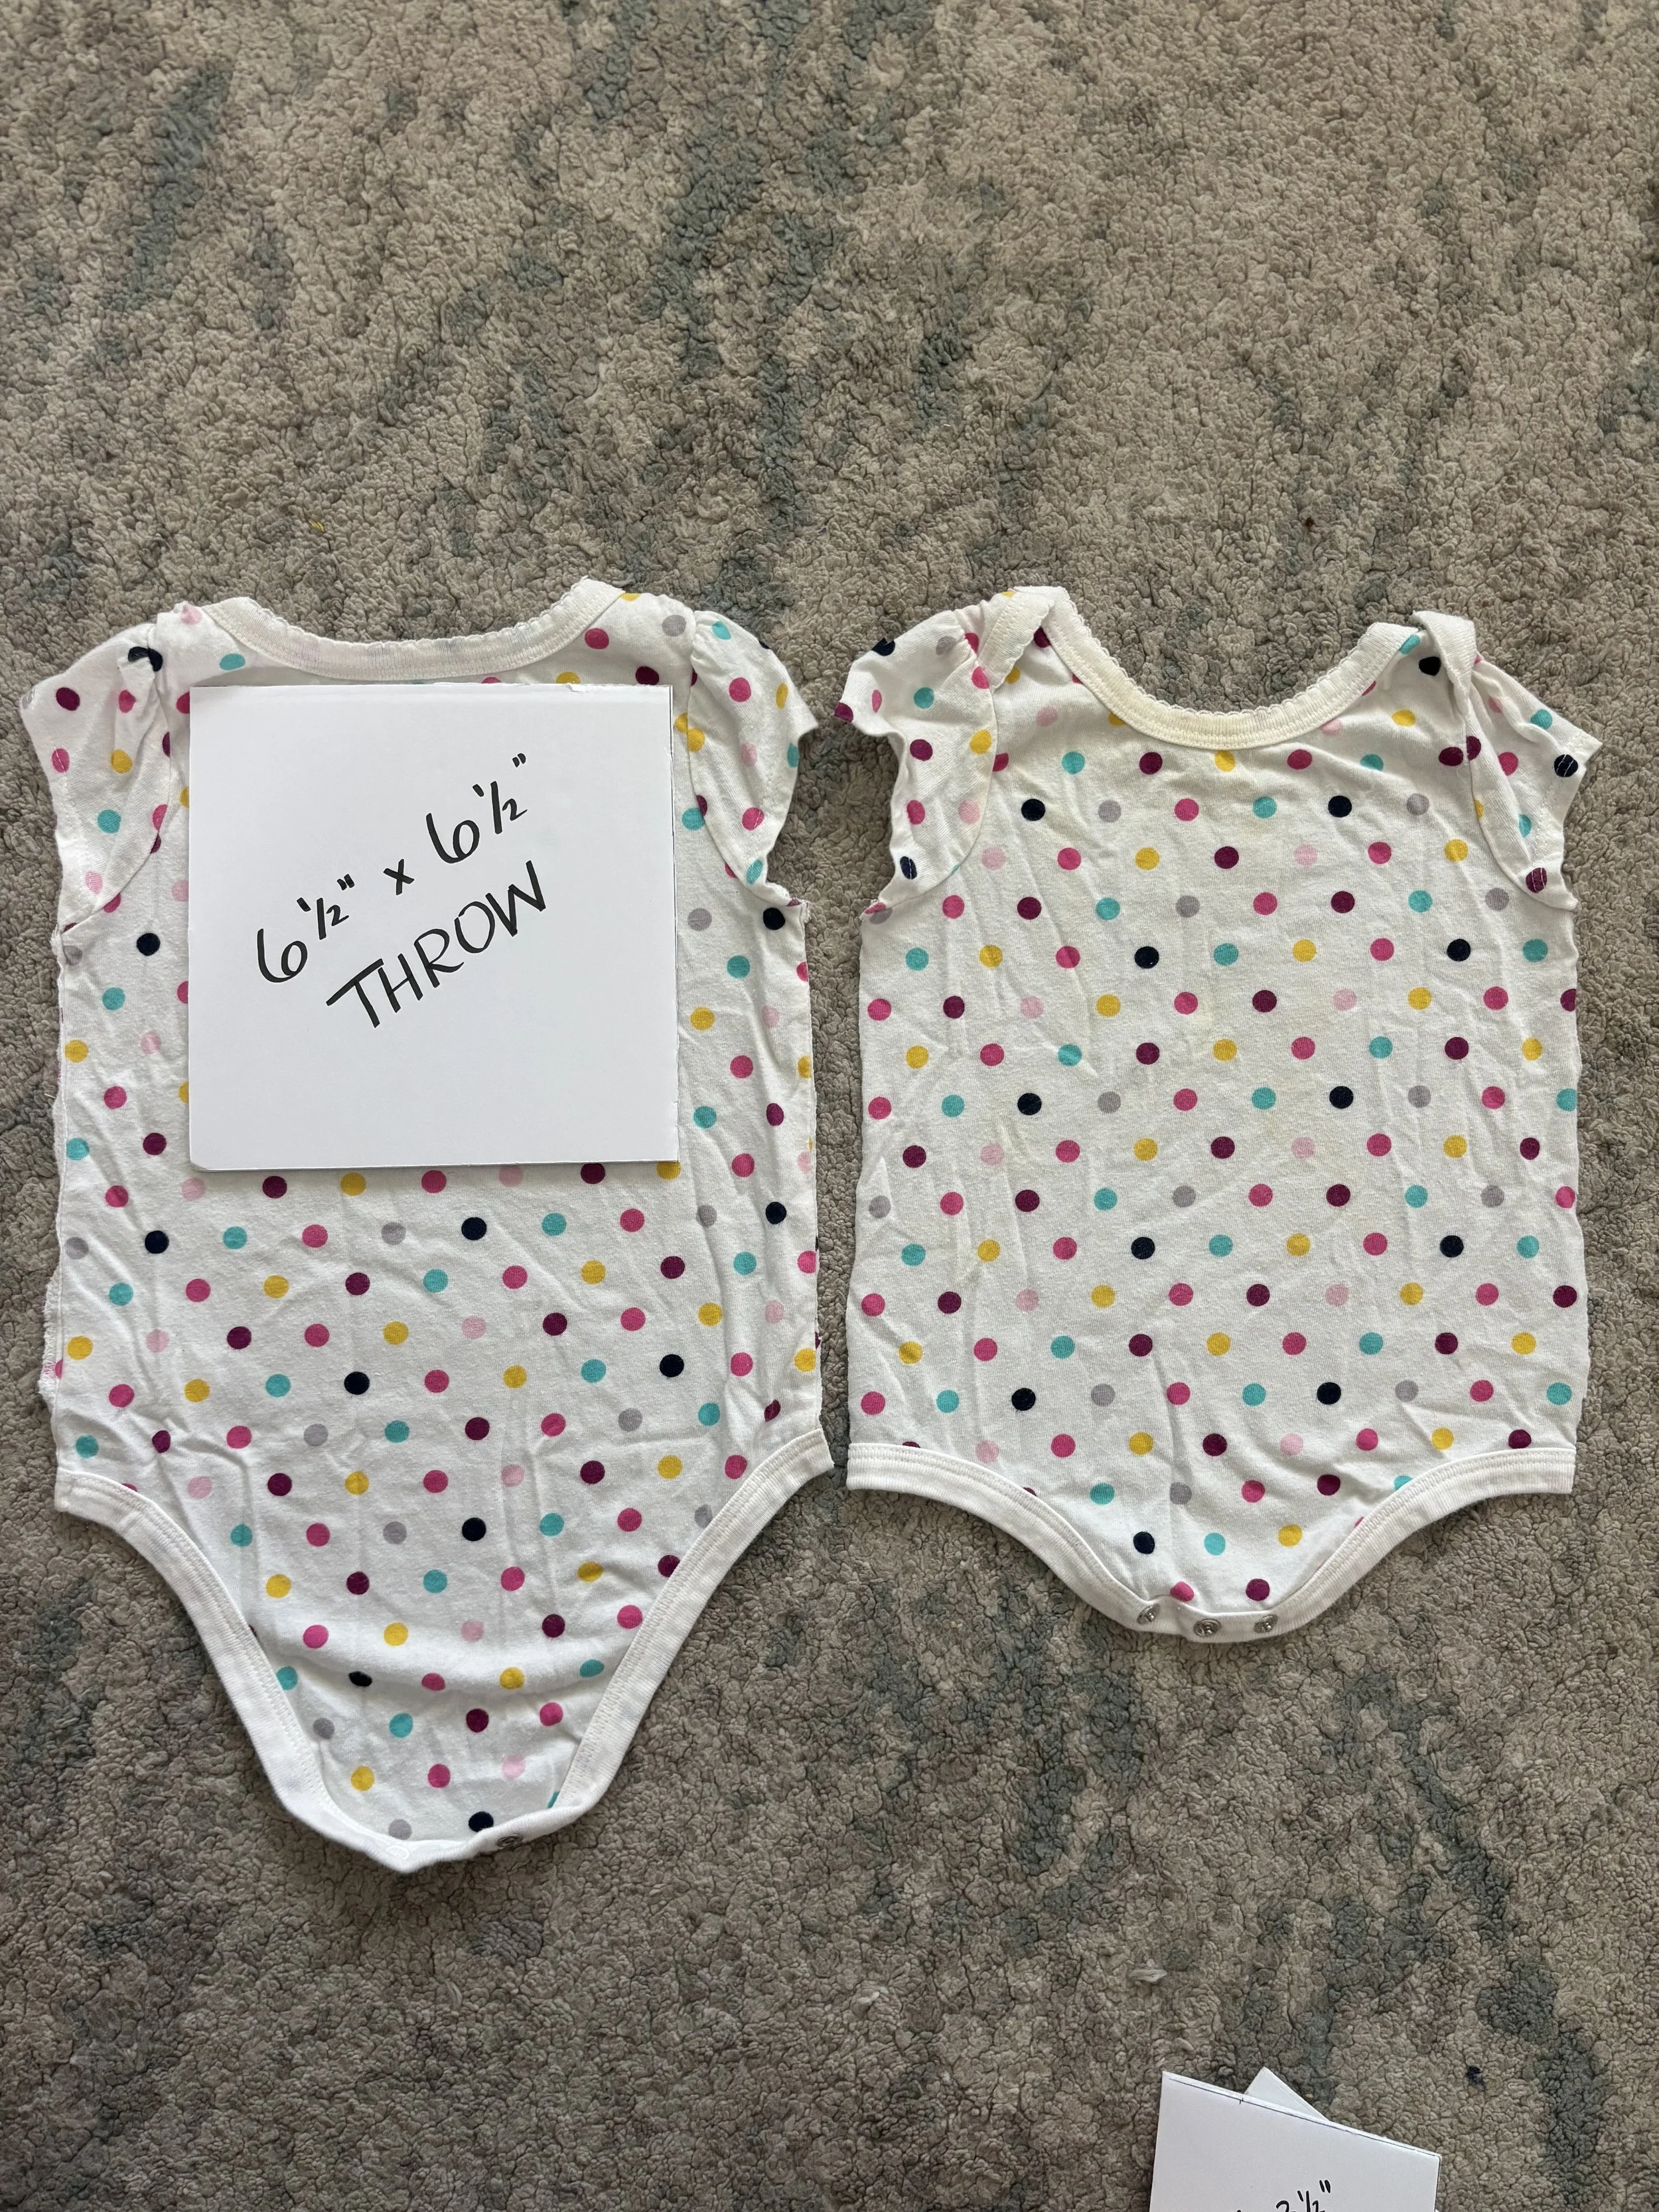
9 month Girls’ Onesie
I figured out templates and measured each template out on the onesies, shirts and dresses that I would use. For sizes I didn’t have access to, I travelled to our local thrift store for some research. Hah! I probably looked very strange to other patrons at the store, but I didn’t care.


Next up in my process, I went about trimming each top down to size. I traced each template I needed for the Throw size on the clothing that I had. Sometimes I used the back side of the onesie or top. Sometimes I got my squares cut out of the skirts from some dresses. It all came down to personal preference.
I traced out each template on the onesies, shirts and dresses that I had from my daughter’s clothing until I the number of large and small squares that I needed.
When Joann’s was closing their doors, I managed to snag a few bolts of lightweight fusible interfacing for cheap! I was really excited! I cut a little more than 5 yards down into strips and then into squares. I fused each interfacing block to the backside of each clothing piece. Then turned my attention to the cotton fabric—cutting it into strips and then down to squares. I couldn’t wait to lay each piece out to create the layout for my quilt top. It was finally coming all together!


I noticed that the cotton fabric color that I purchased wasn’t exactly jiving with me. I hoped it to be more creamy than white when I had ordered it. It was more white.. Oops! So I found some older floral fabric that I remember seeing from my own childhood. For clarification, the fabric itself is not that old. Hah! I had gleaned it from my neighbor who had to be put in an assisted living center. Her stash was enormous! Anyway, I added some blocks from that floral into the quilt top. I can sometimes bite off more than I can chew, so… I went one step further and added a personalized half square triangle block to the bottom corner. On one side of the block, I embroidered my daughter’s name.

She truly is a great big sister to her brothers. We loved these jammies. It was a sad day when she couldn’t fit into them anymore.
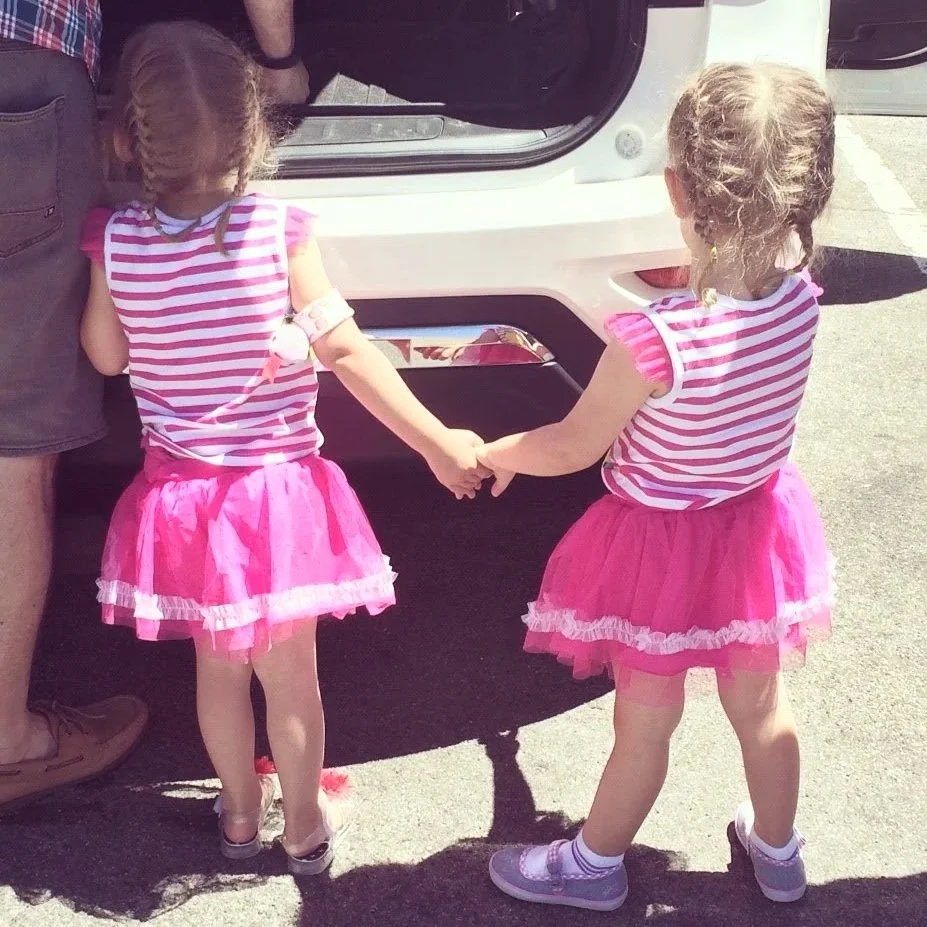
Some of my daughter’s clothes had cute little details such as an attached shirt-skirt or bows or some tulle. I wanted to keep the memory of my little one alive, so I decided to add these embellishments to the actual quilt top. When she was 3 or 4, my sister-in-law got married. One of her main colors was blush pink. All of my nieces had matching dresses as shown below. I remember my daughter and my niece dancing and playing, as little girls do, having the time of their lives as though the wedding reception was just for them. They wore these darling pink and white floral dresses with a creamy silk flower embellishment along the waist. I can figured out a way to remove it from the quilt, as needed, so it doesn’t get ruined when the blanket gets washed. I’ll call that a win!

Cousins make the best of friends!
These two are still as thick as thieves years later.
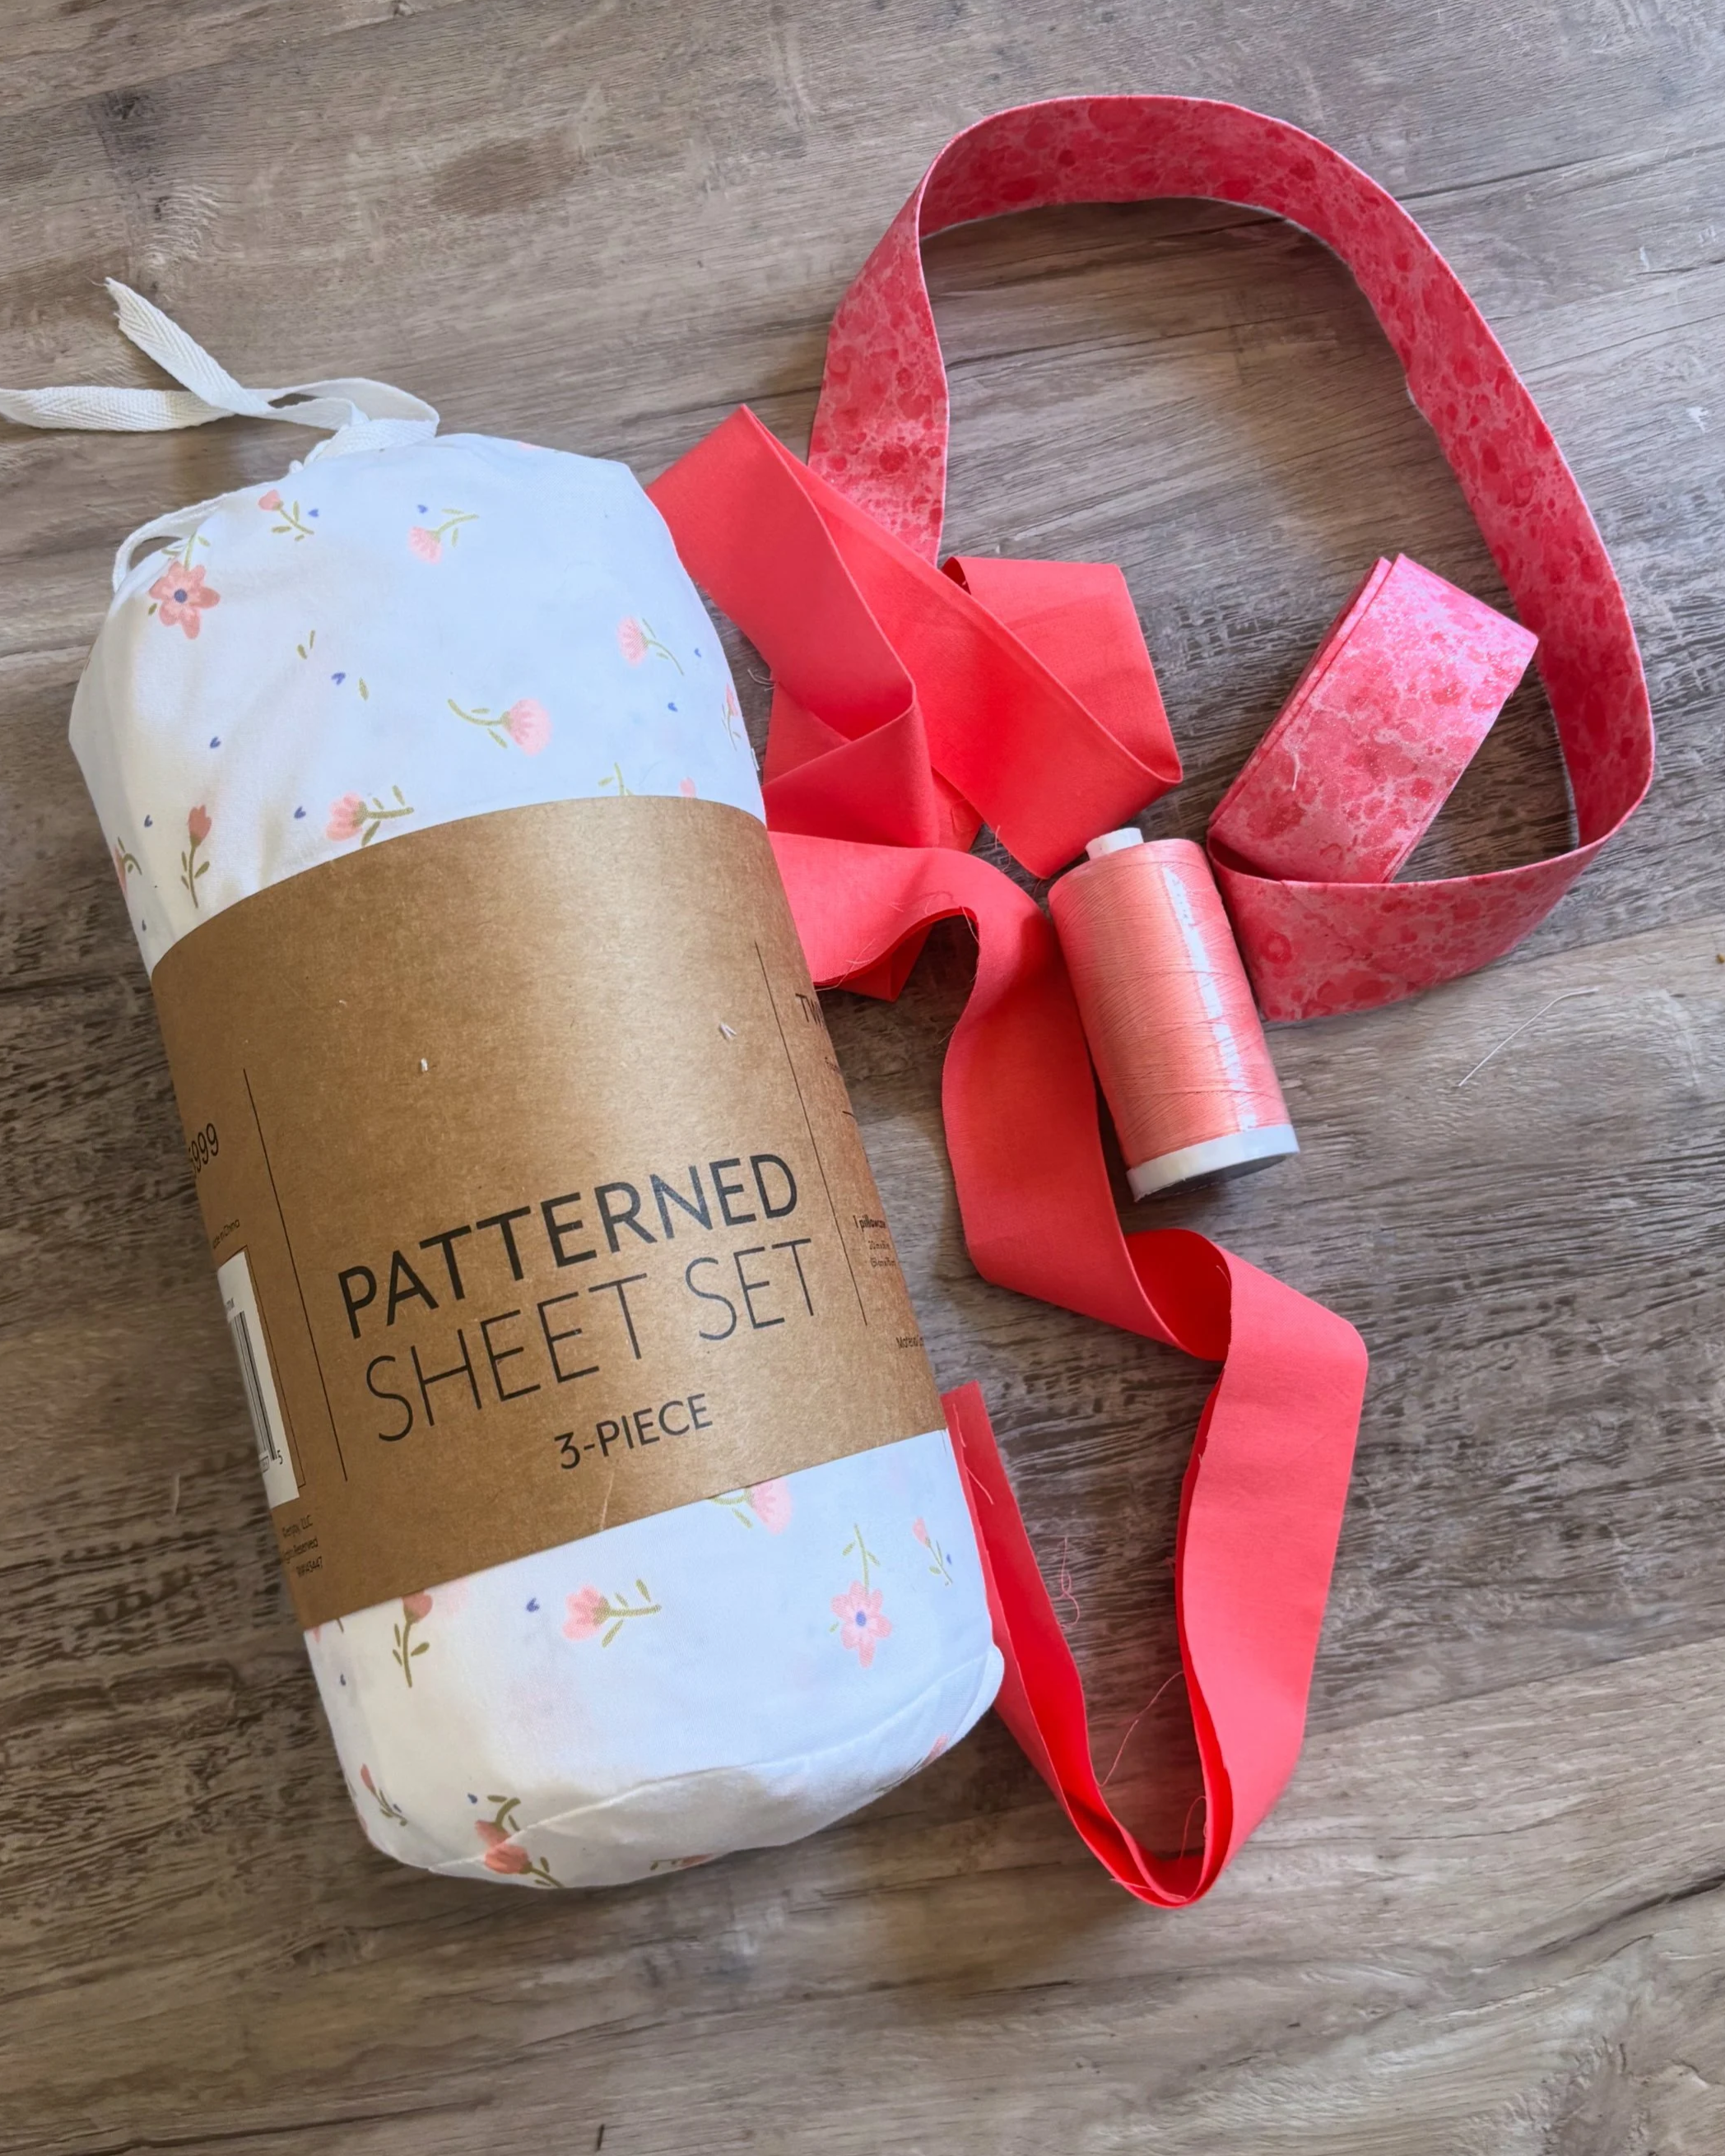
After arranging each block as I wanted, it was time to assemble everything together. I first made the little four-square blocks that are in the corners and center of the quilt top. I sewed each of the blocks into columns and then sewed each column together. For the backing, I used a twin sized floral flat sheet that I got from Target. For the binding, I dug through my fabrics scraps for some pinks that I had used in a project when she was little. I had to impatiently wait for my desired thread and batting to arrive in the mail. But once I got my hands on them, I quickly set about sandwiching it all together so I could quilt it on Stella (my sewing machine).


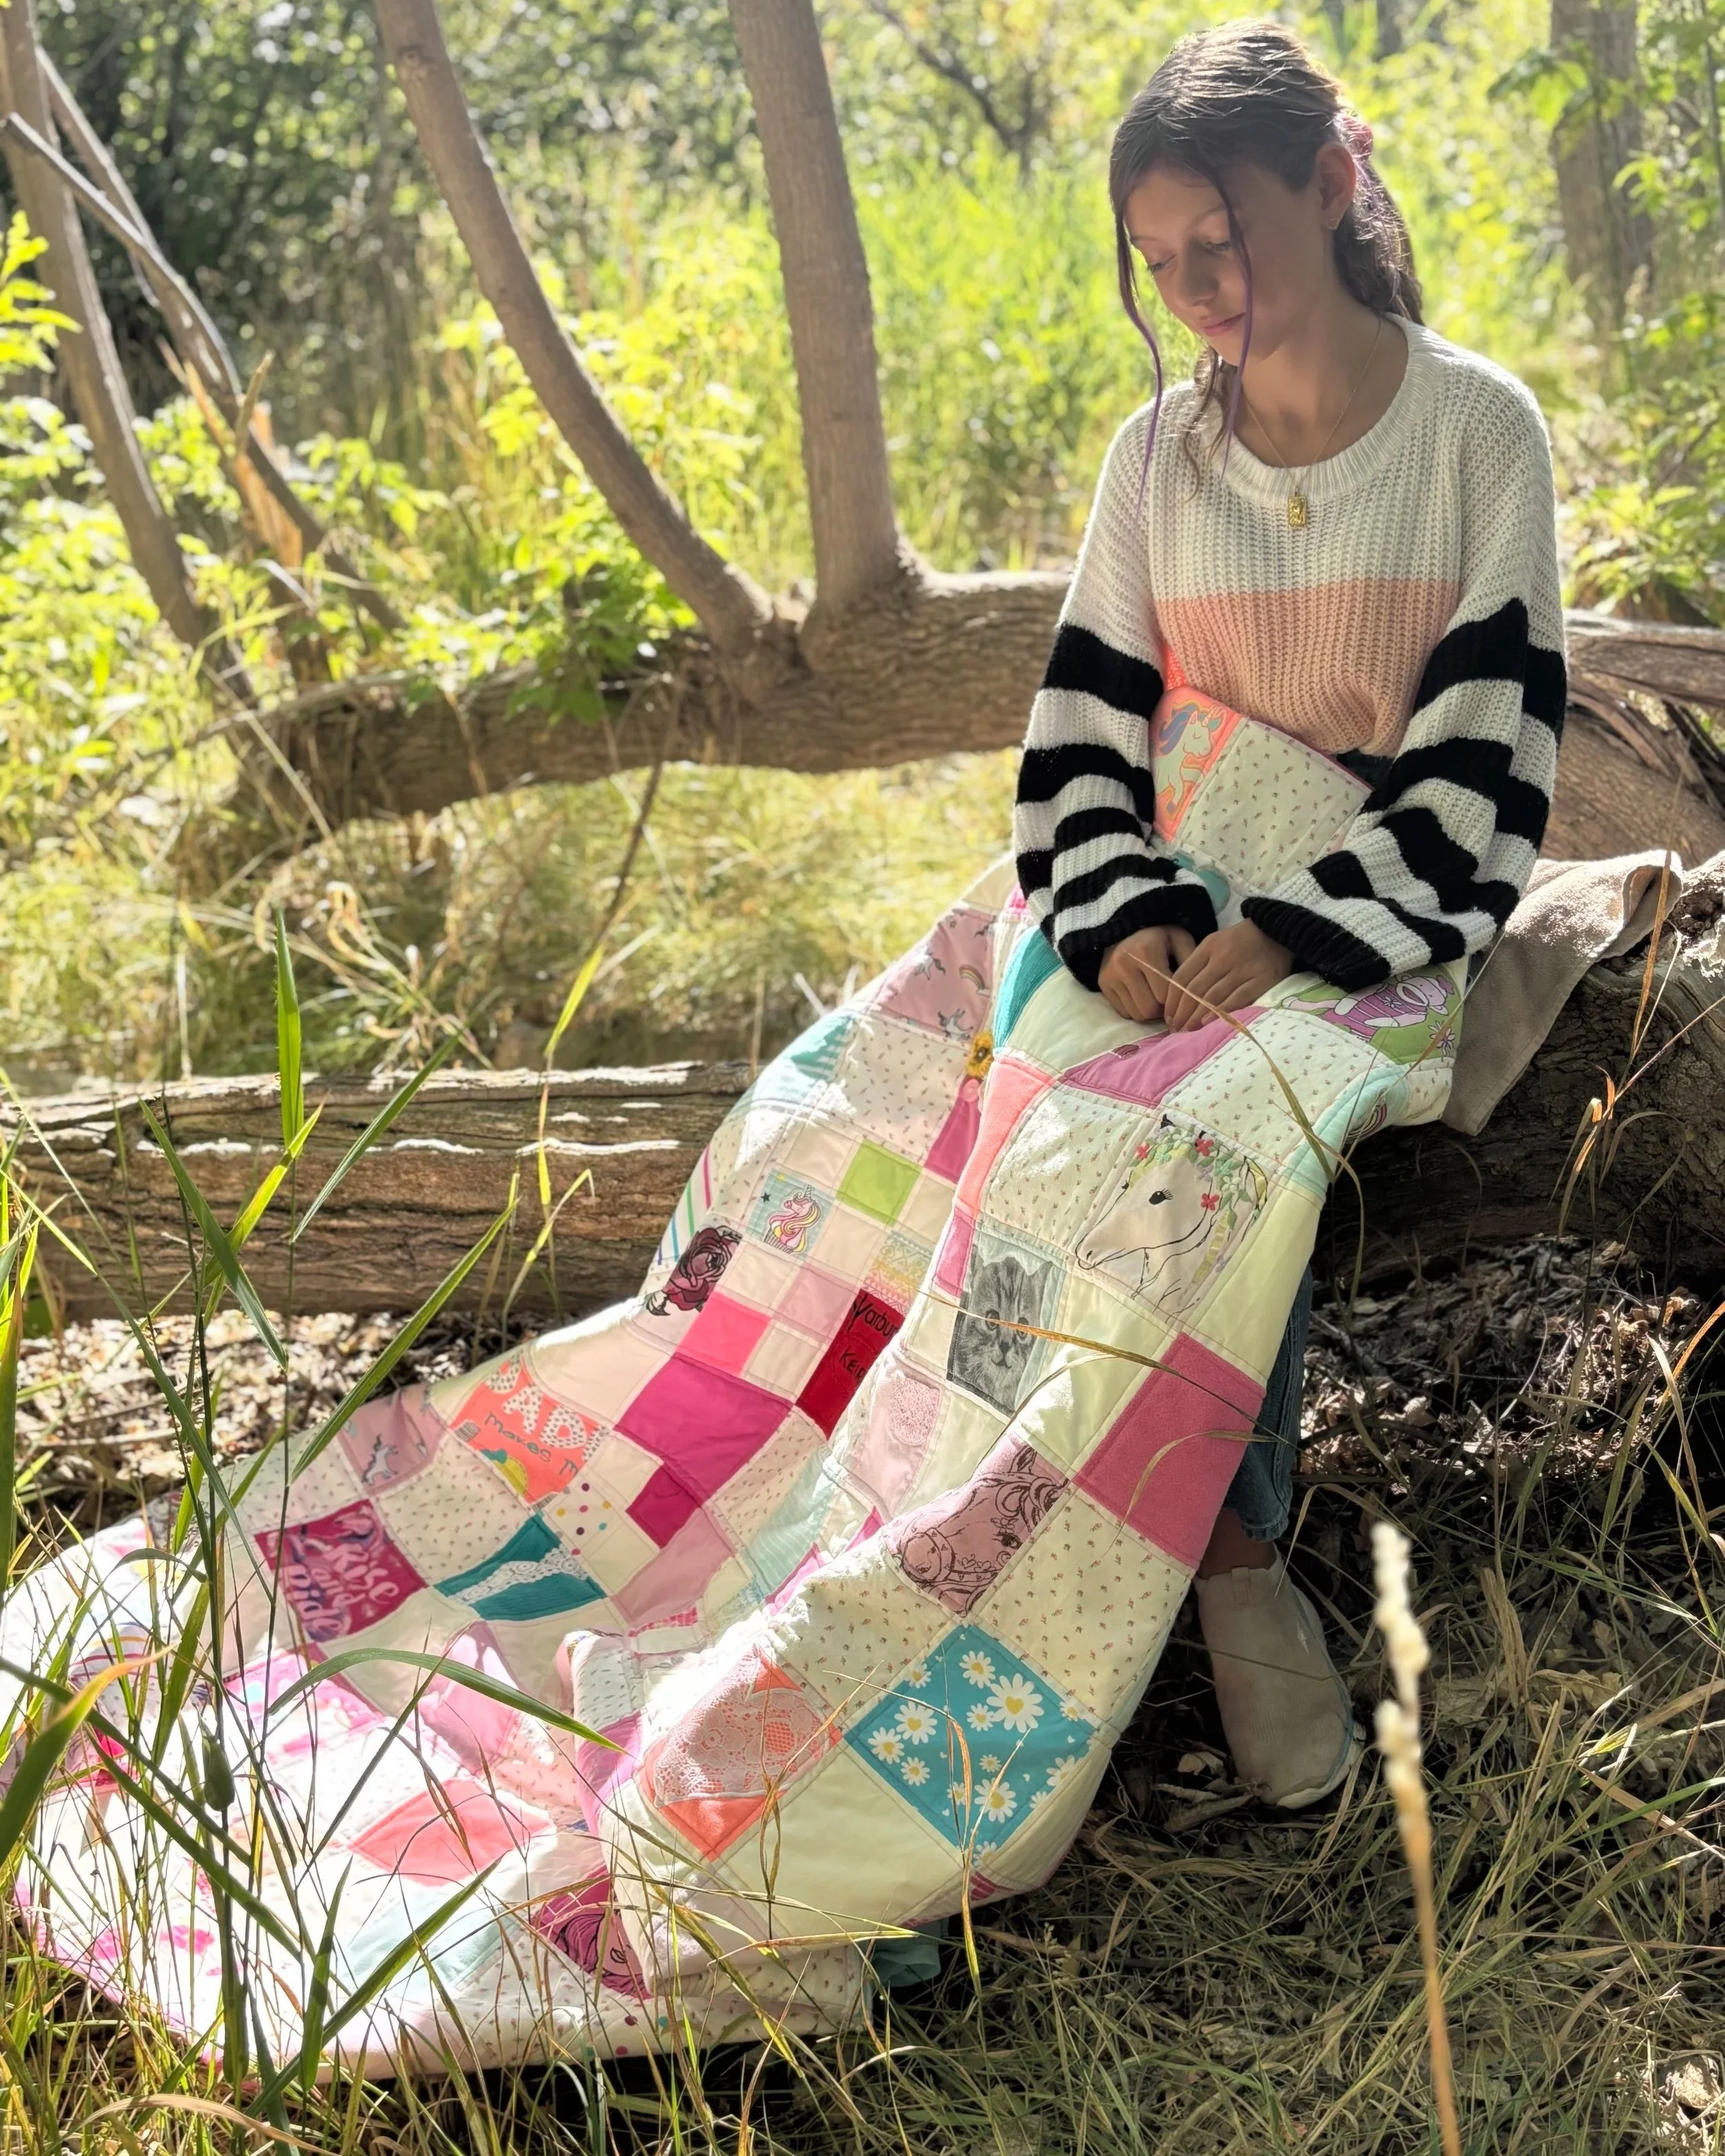


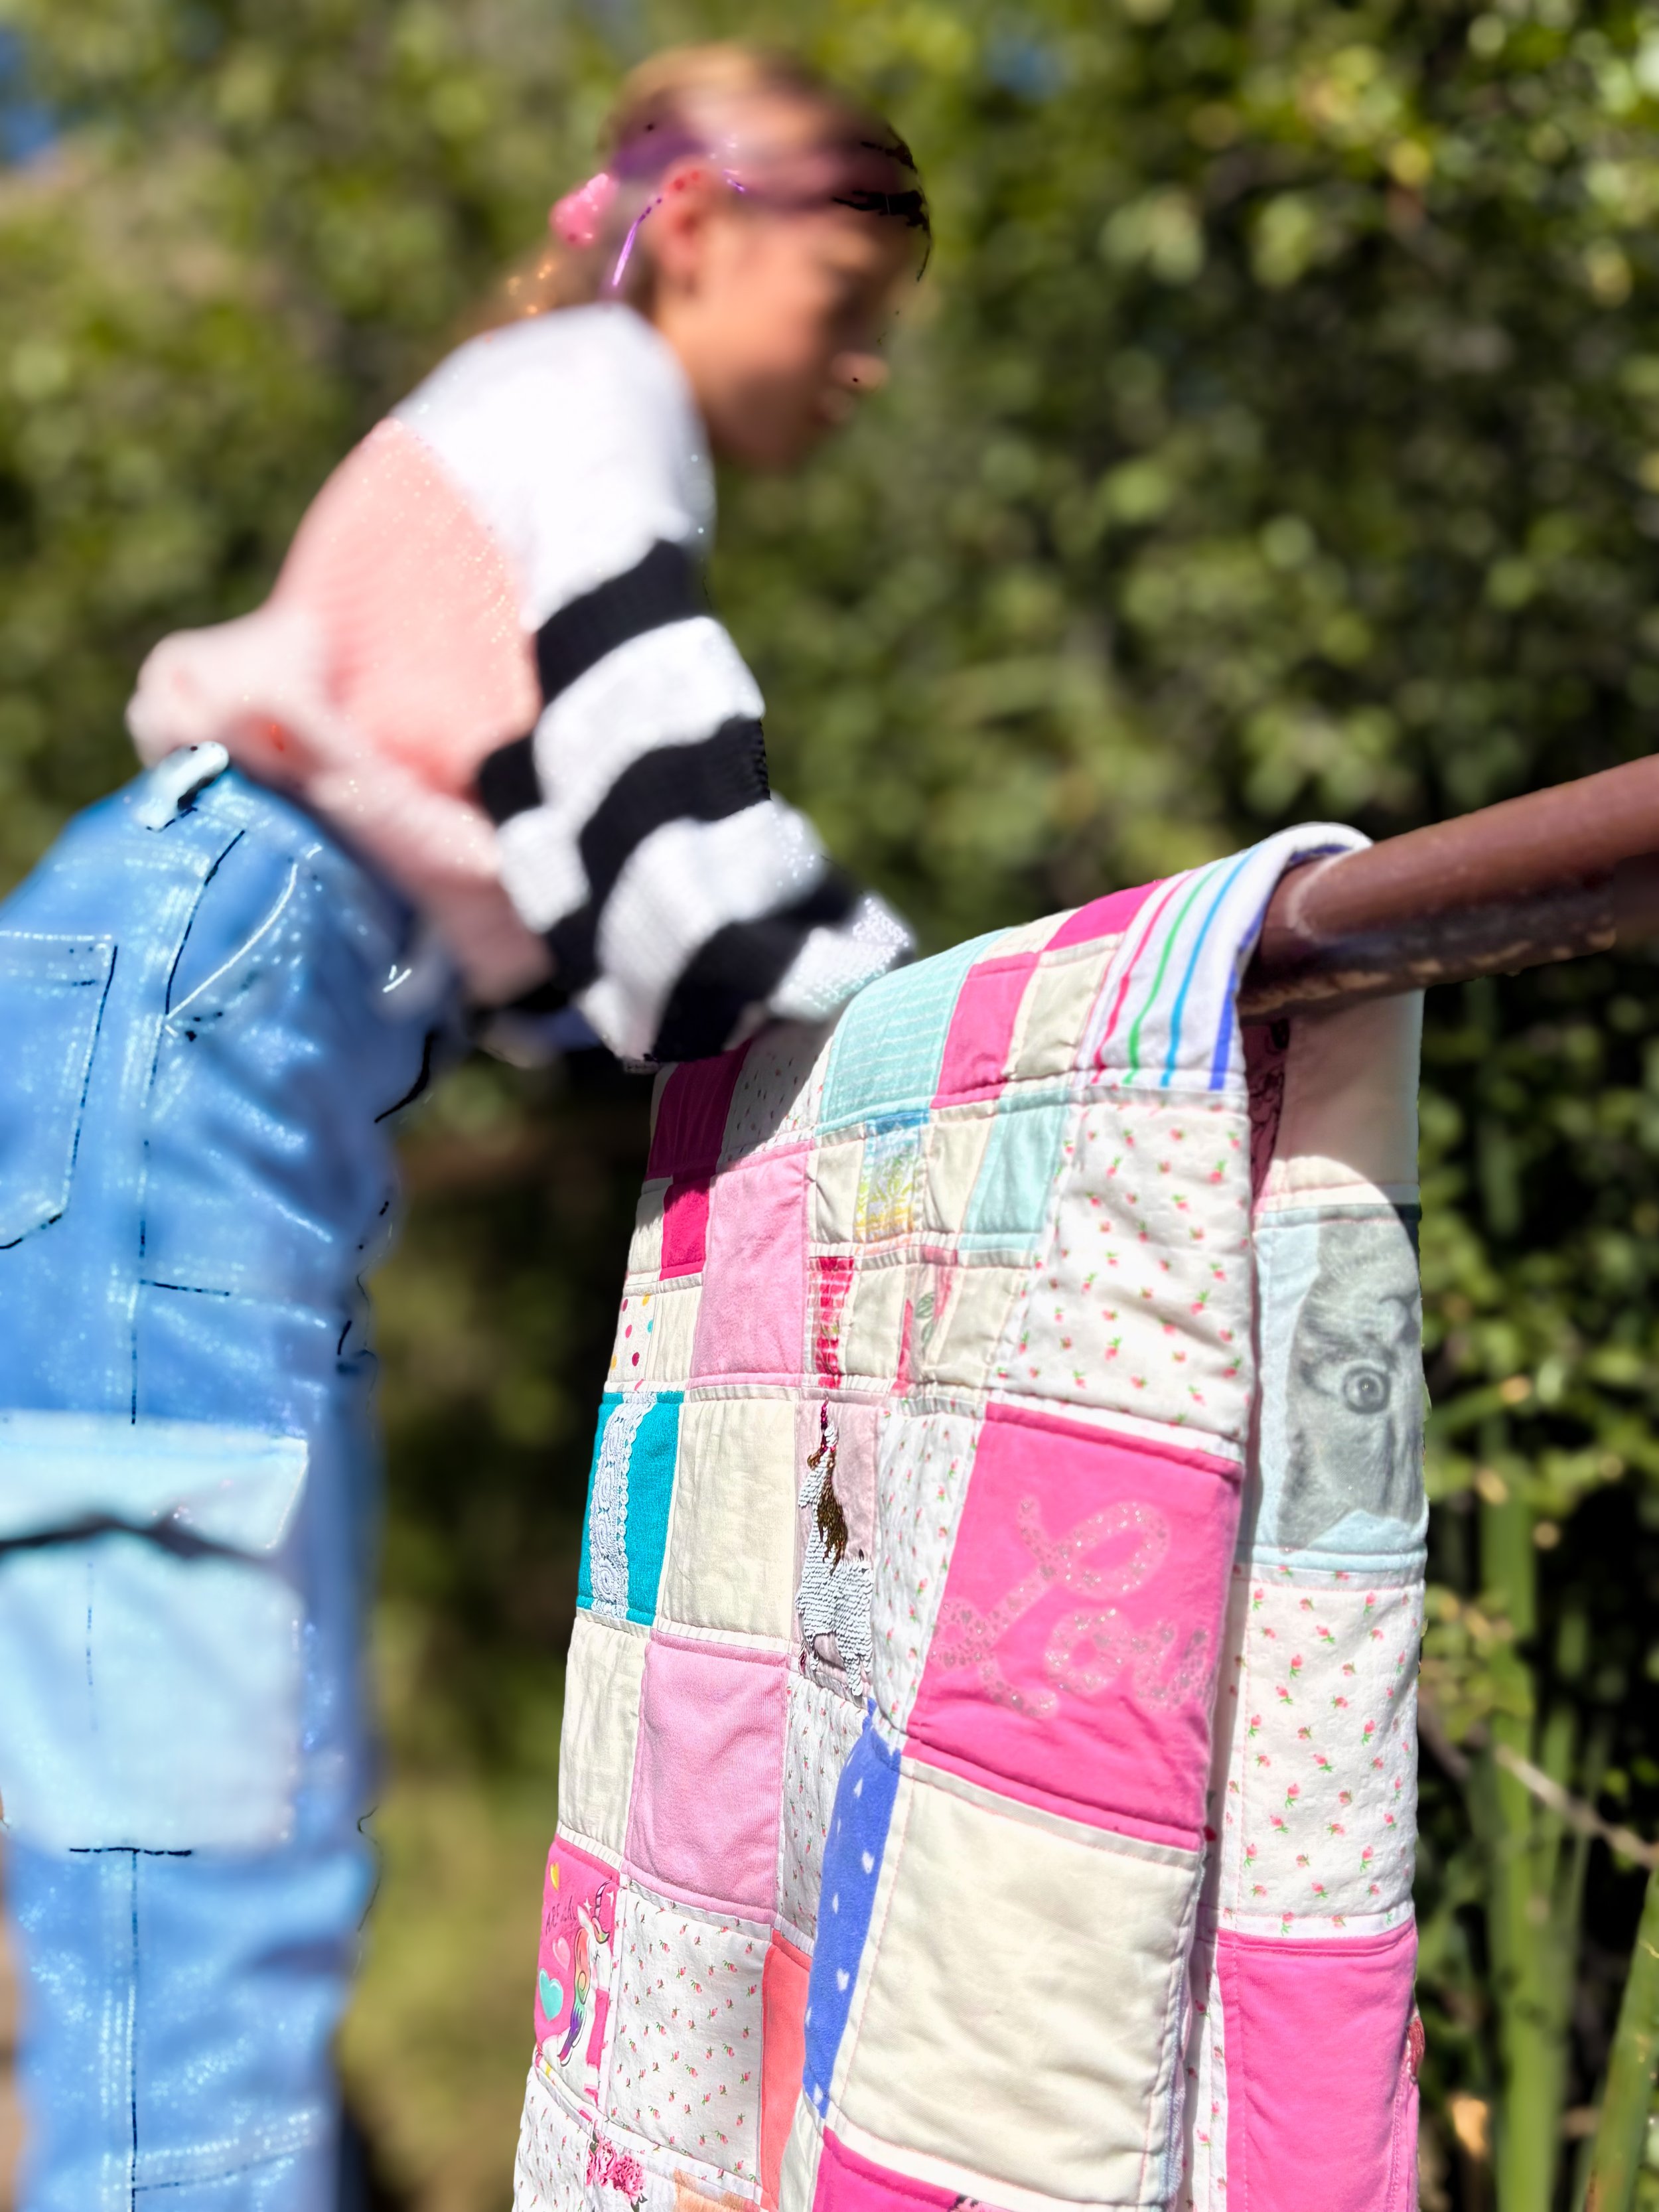


I can’t tell you how overly excited I was to quilt it all together. I may have been a bit too hasty it getting it sewn together correctly with my excitement. There are definitely mistakes in my stitches, but I’m okay with it. It’s going to add character to her quilt top. I know it will probably attest to my daughter’s spunky little personality when she was younger. It’s about the journey, right? Once finished, I went about attaching the binding and using Stella to rest of the finishing touches. I’m over-the-moon with how it all turned out!