
Trimming Flying Geese
Let’s be real, flying geese have a reputation. One of the most common pieces you’ll see in my patterns are flying geese. Most people run for the hills when addressing a pattern that has flying geese in them.
I get it. They can look tricky. There are triangles. There are bias edges. You may think a simple stitch-n-flip (SNF) method would be easier than trying to create flying geese.
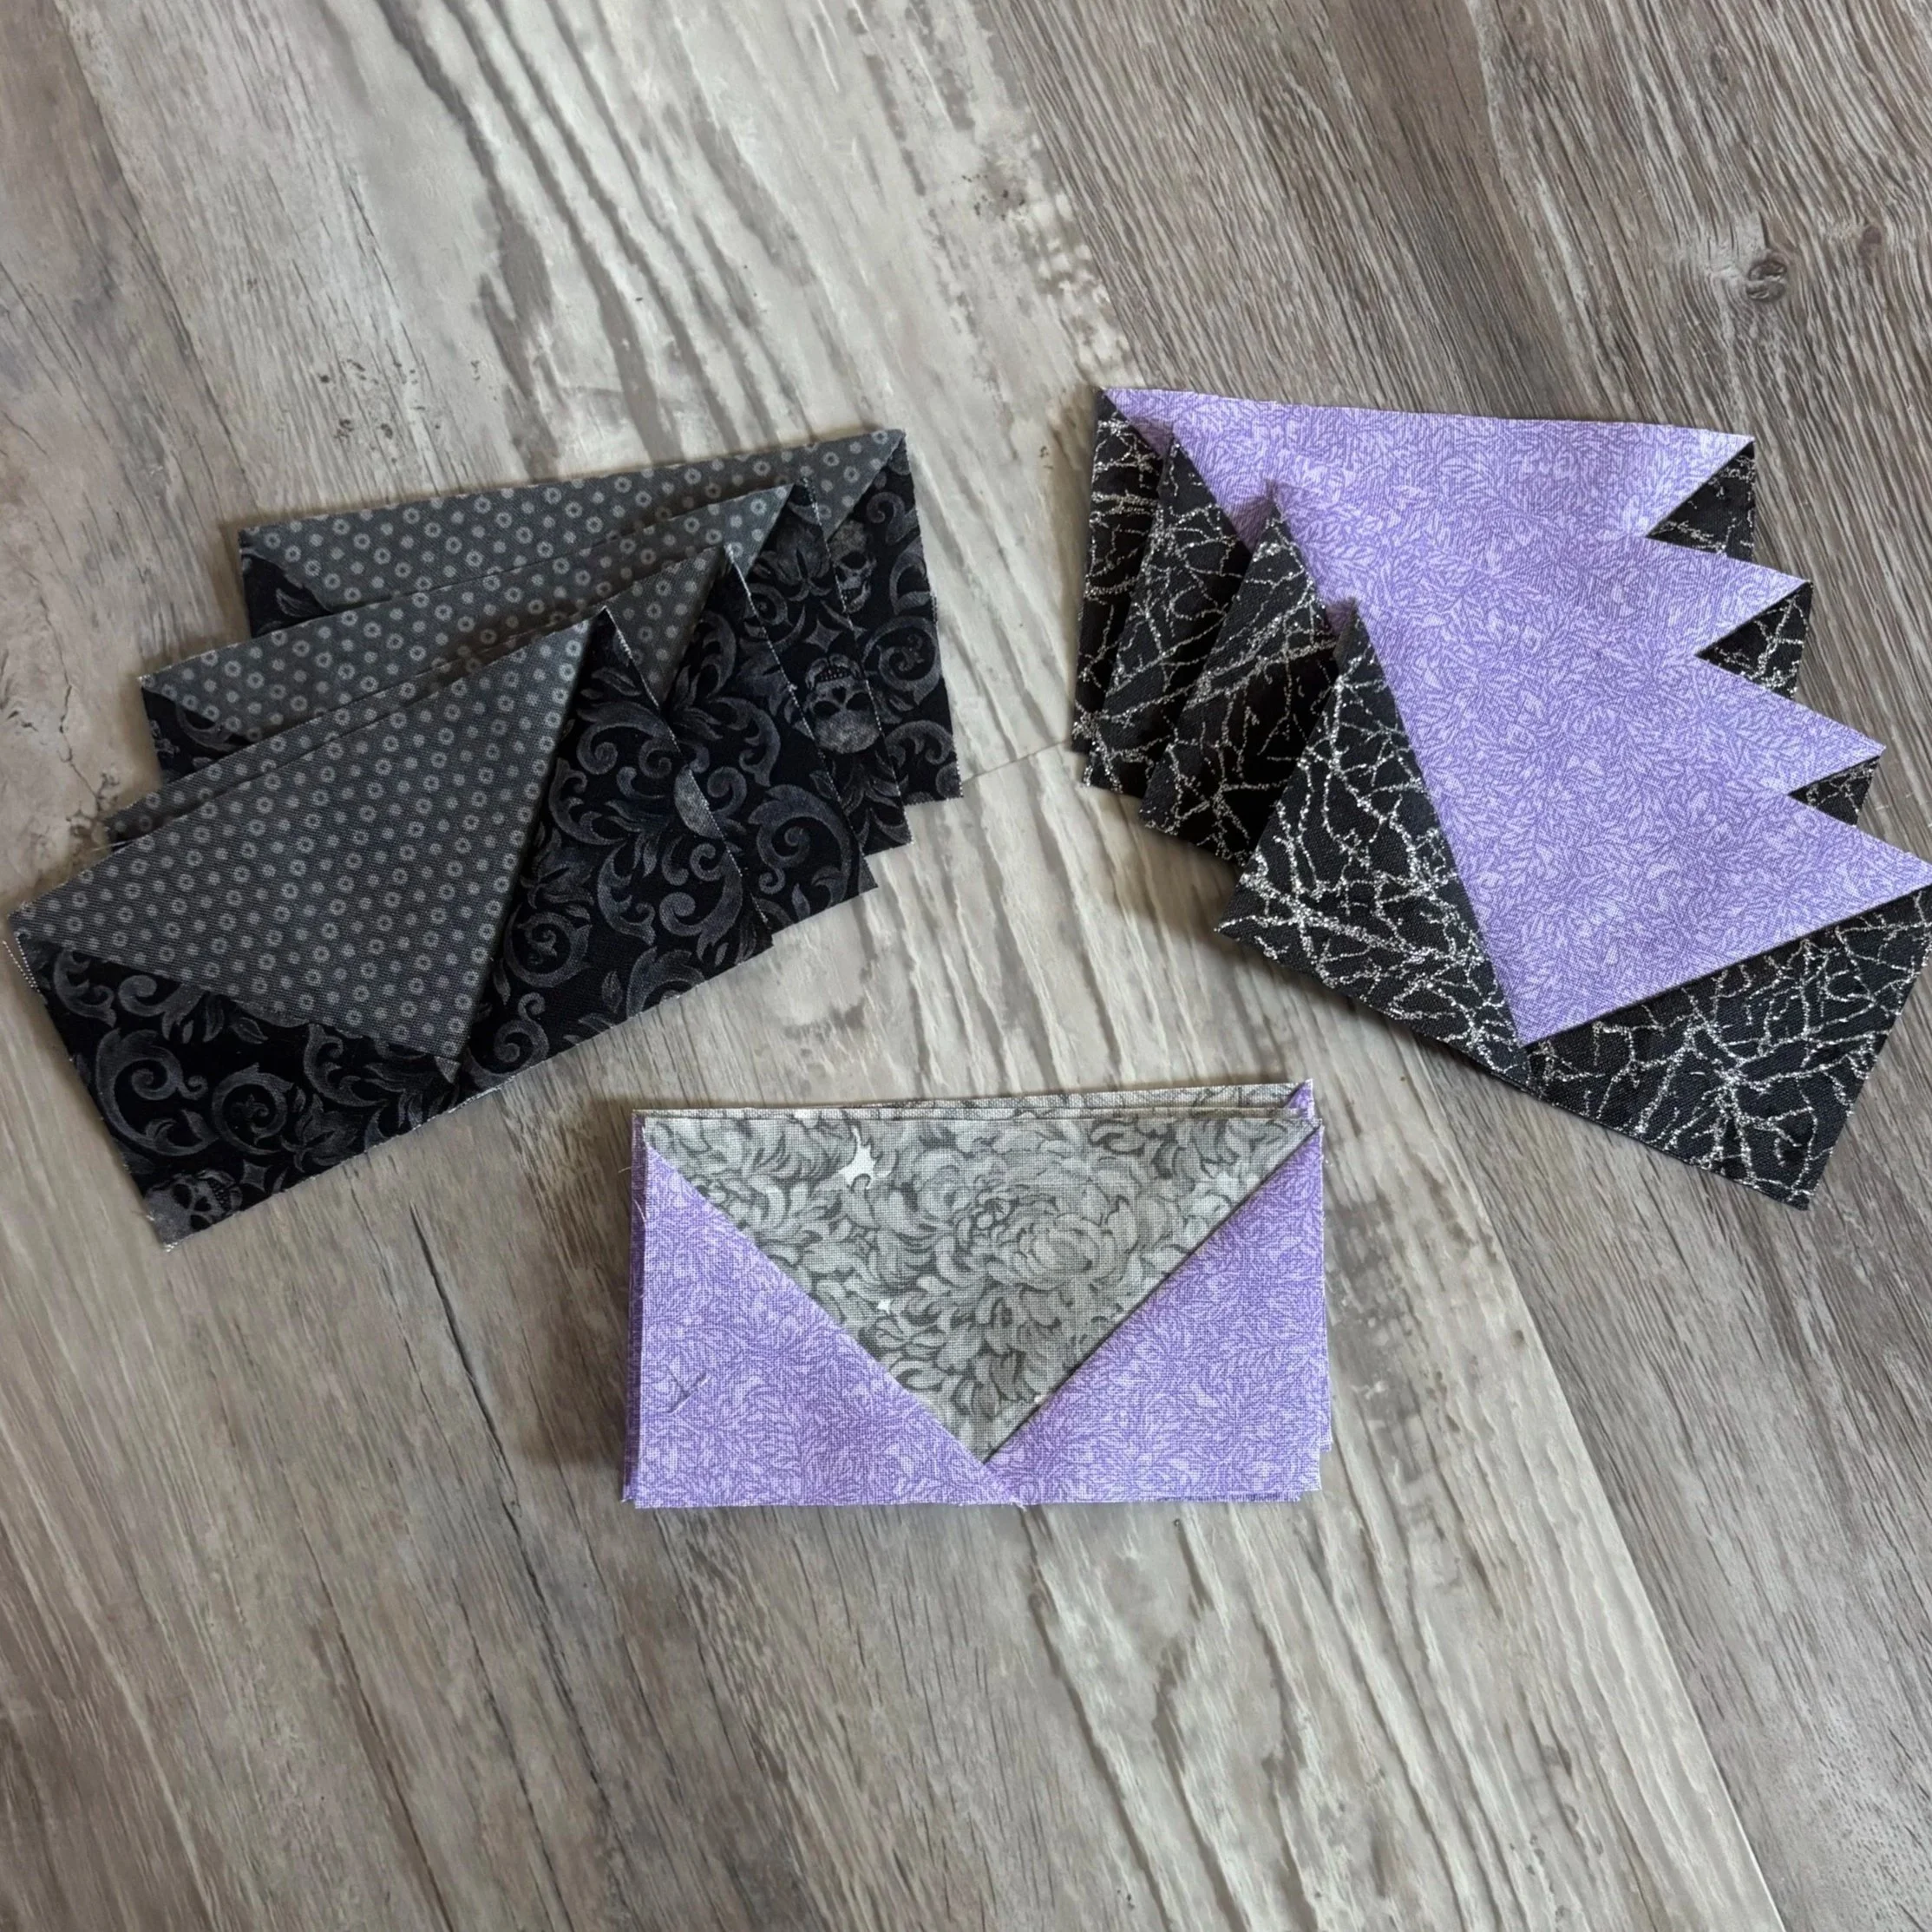
Make 4-at-a-time!
My favorite strategy to use as I often find myself needing 4 flying geese for one block.
But here’s the thing: flying geese don’t have to be scary. With a little patience and some strategic trimming, they become one of those pieces that get easier and easier the more you make them. Practice is everything, right?
Think of it this way, by trimming isn’t about making every piece perfect as much as it is about helping you in the long run. Trimming correctly helps you to have consistent block sizes, helps points line up when sewn together with other pieces and gives you some grace when the points are exactly perfect. You don’t need to sew perfectly to end up with beautiful flying geese in your project. Remember, precise points will take practice and time to achieve. Plus most people won’t even notice if your points aren’t EXACTLY precise every time.
Before trimming, make sure you press your flying geese really well. I personally use a clapper to make sure to get those crisp seams.
Key step—When you trim, make sure you trim to the unfinished size, not the finished size. The unfinished size is the size of your piece BEFORE it’s sewn into place, whereas the finished size is the opposite. The finished size is what the measurement of your piece should be AFTER it’s sewn into place.
How I trim my flying geese:
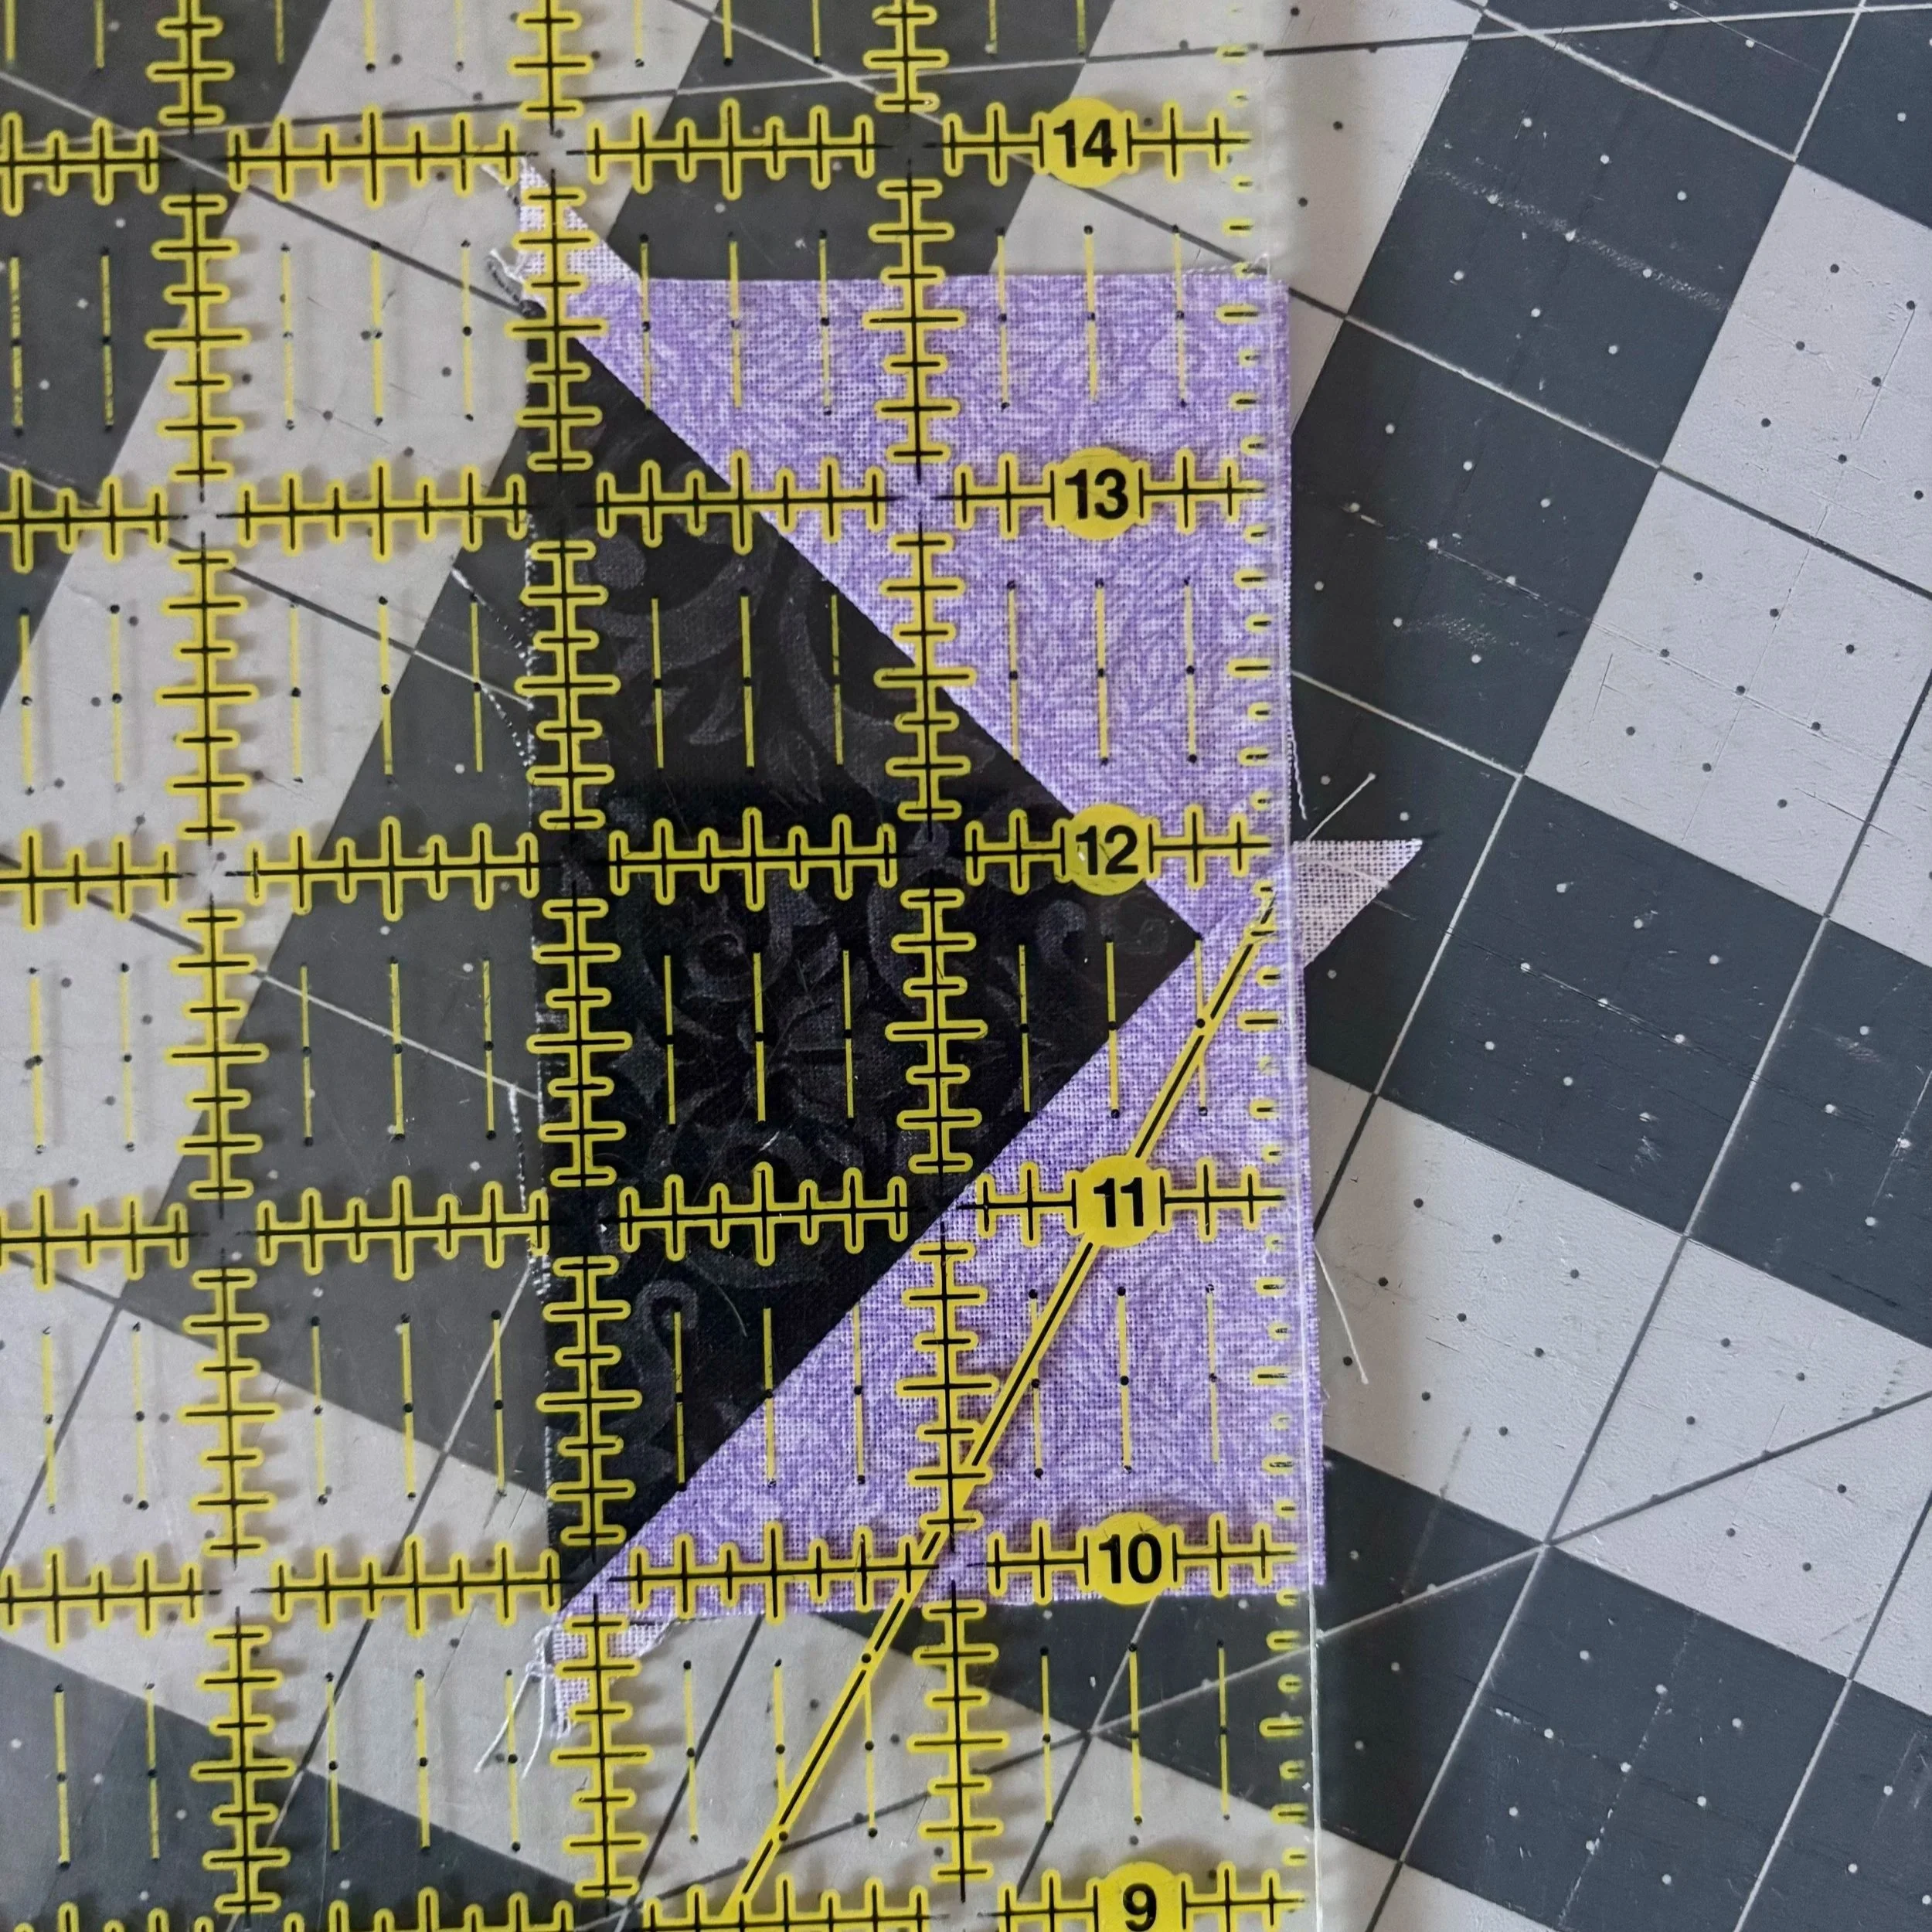
Line up the center point with a 1/4” mark on my clear ruler. This is to make sure I have enough space above the point to account for the standard 1/4” seam allowance. I also do my best line up the seam on a 45 degree angle with the ruler. I then trim off any extra fabric.
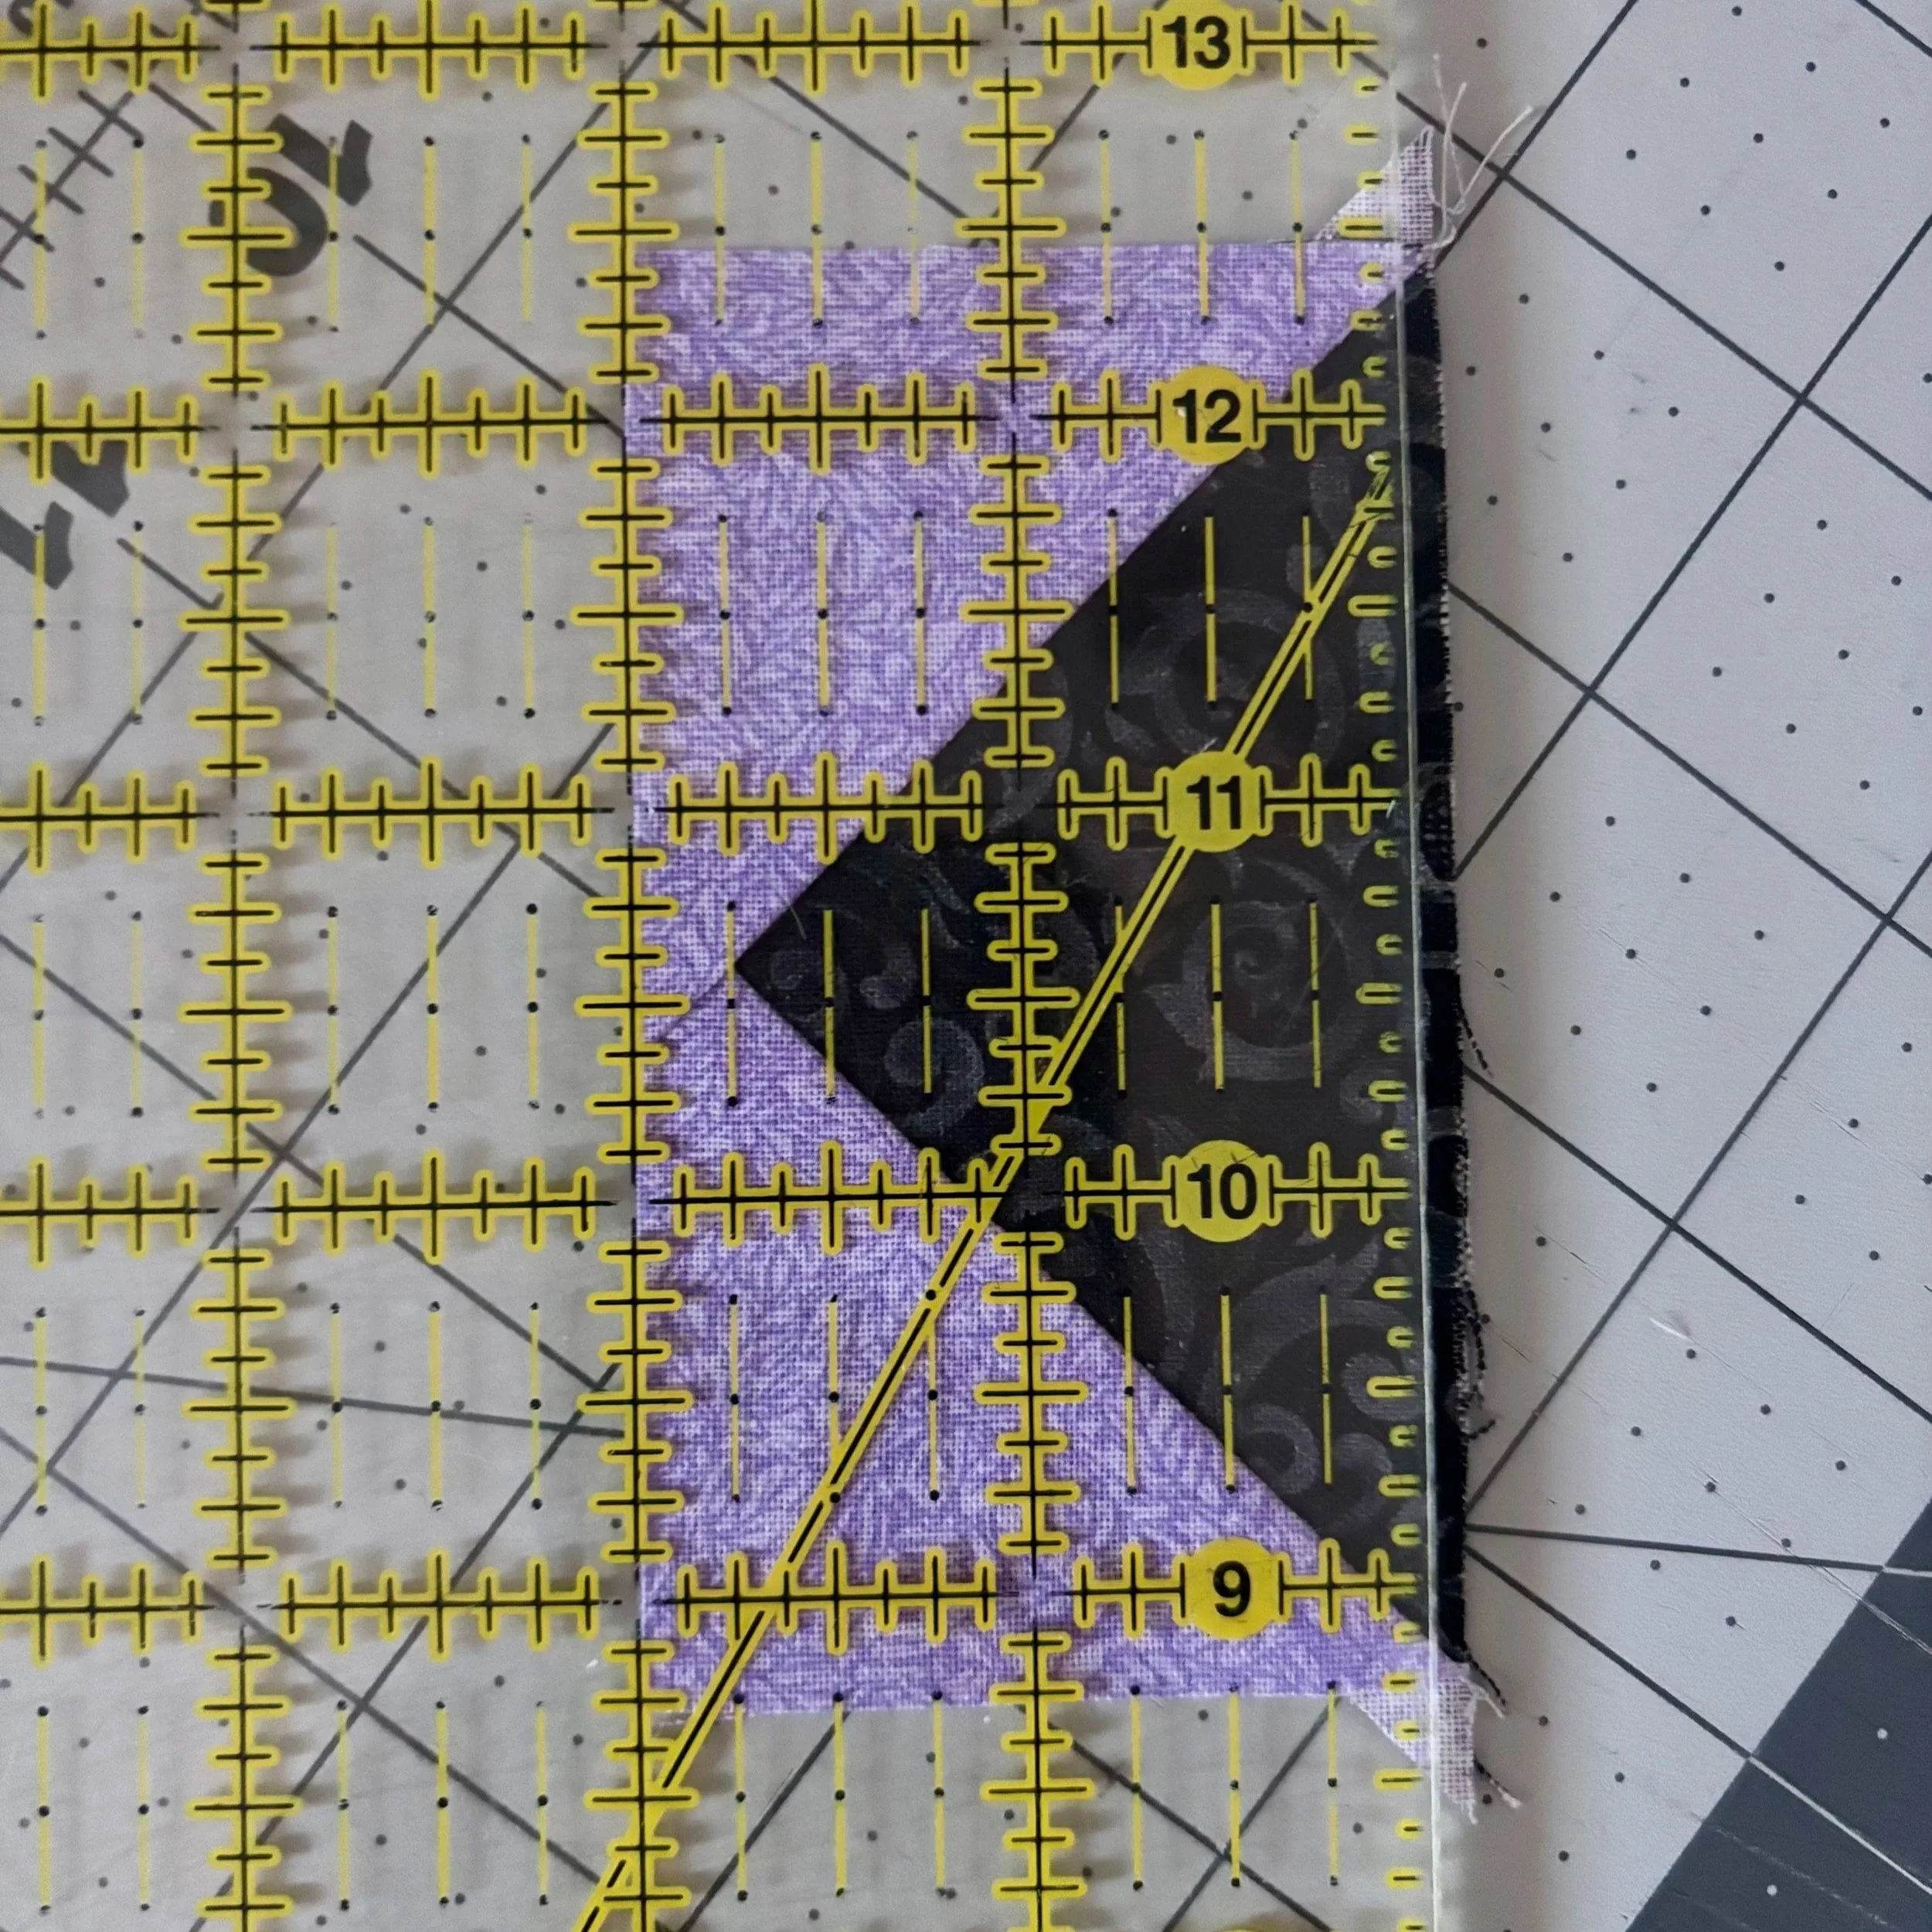
Rotate the flying geese and to trim the opposite side. line it up the ruler for the required the unfinished width. Trim off any extra fabric.
Now for the sides! Center the point at the halfway mark for the unfinished size. For example, if my flying geese piece is 2 1/2” x 4 1/2” (unfinished), my center point should line with half of the 4 1/2” length—which would be 2 1/4”. Line up the top and bottom of the flying geese with your ruler so that the 45 degree angle of the seam on one side is preserved. Trim off the excess and dog ear off the side. Take your time here. A few extra seconds spent trimming accurately can save you frustration later.
Rotate the flying geese again, this time lining up the flying geese piece for the required unfinished length. Trim off the excess and dog ear on the remaining side.
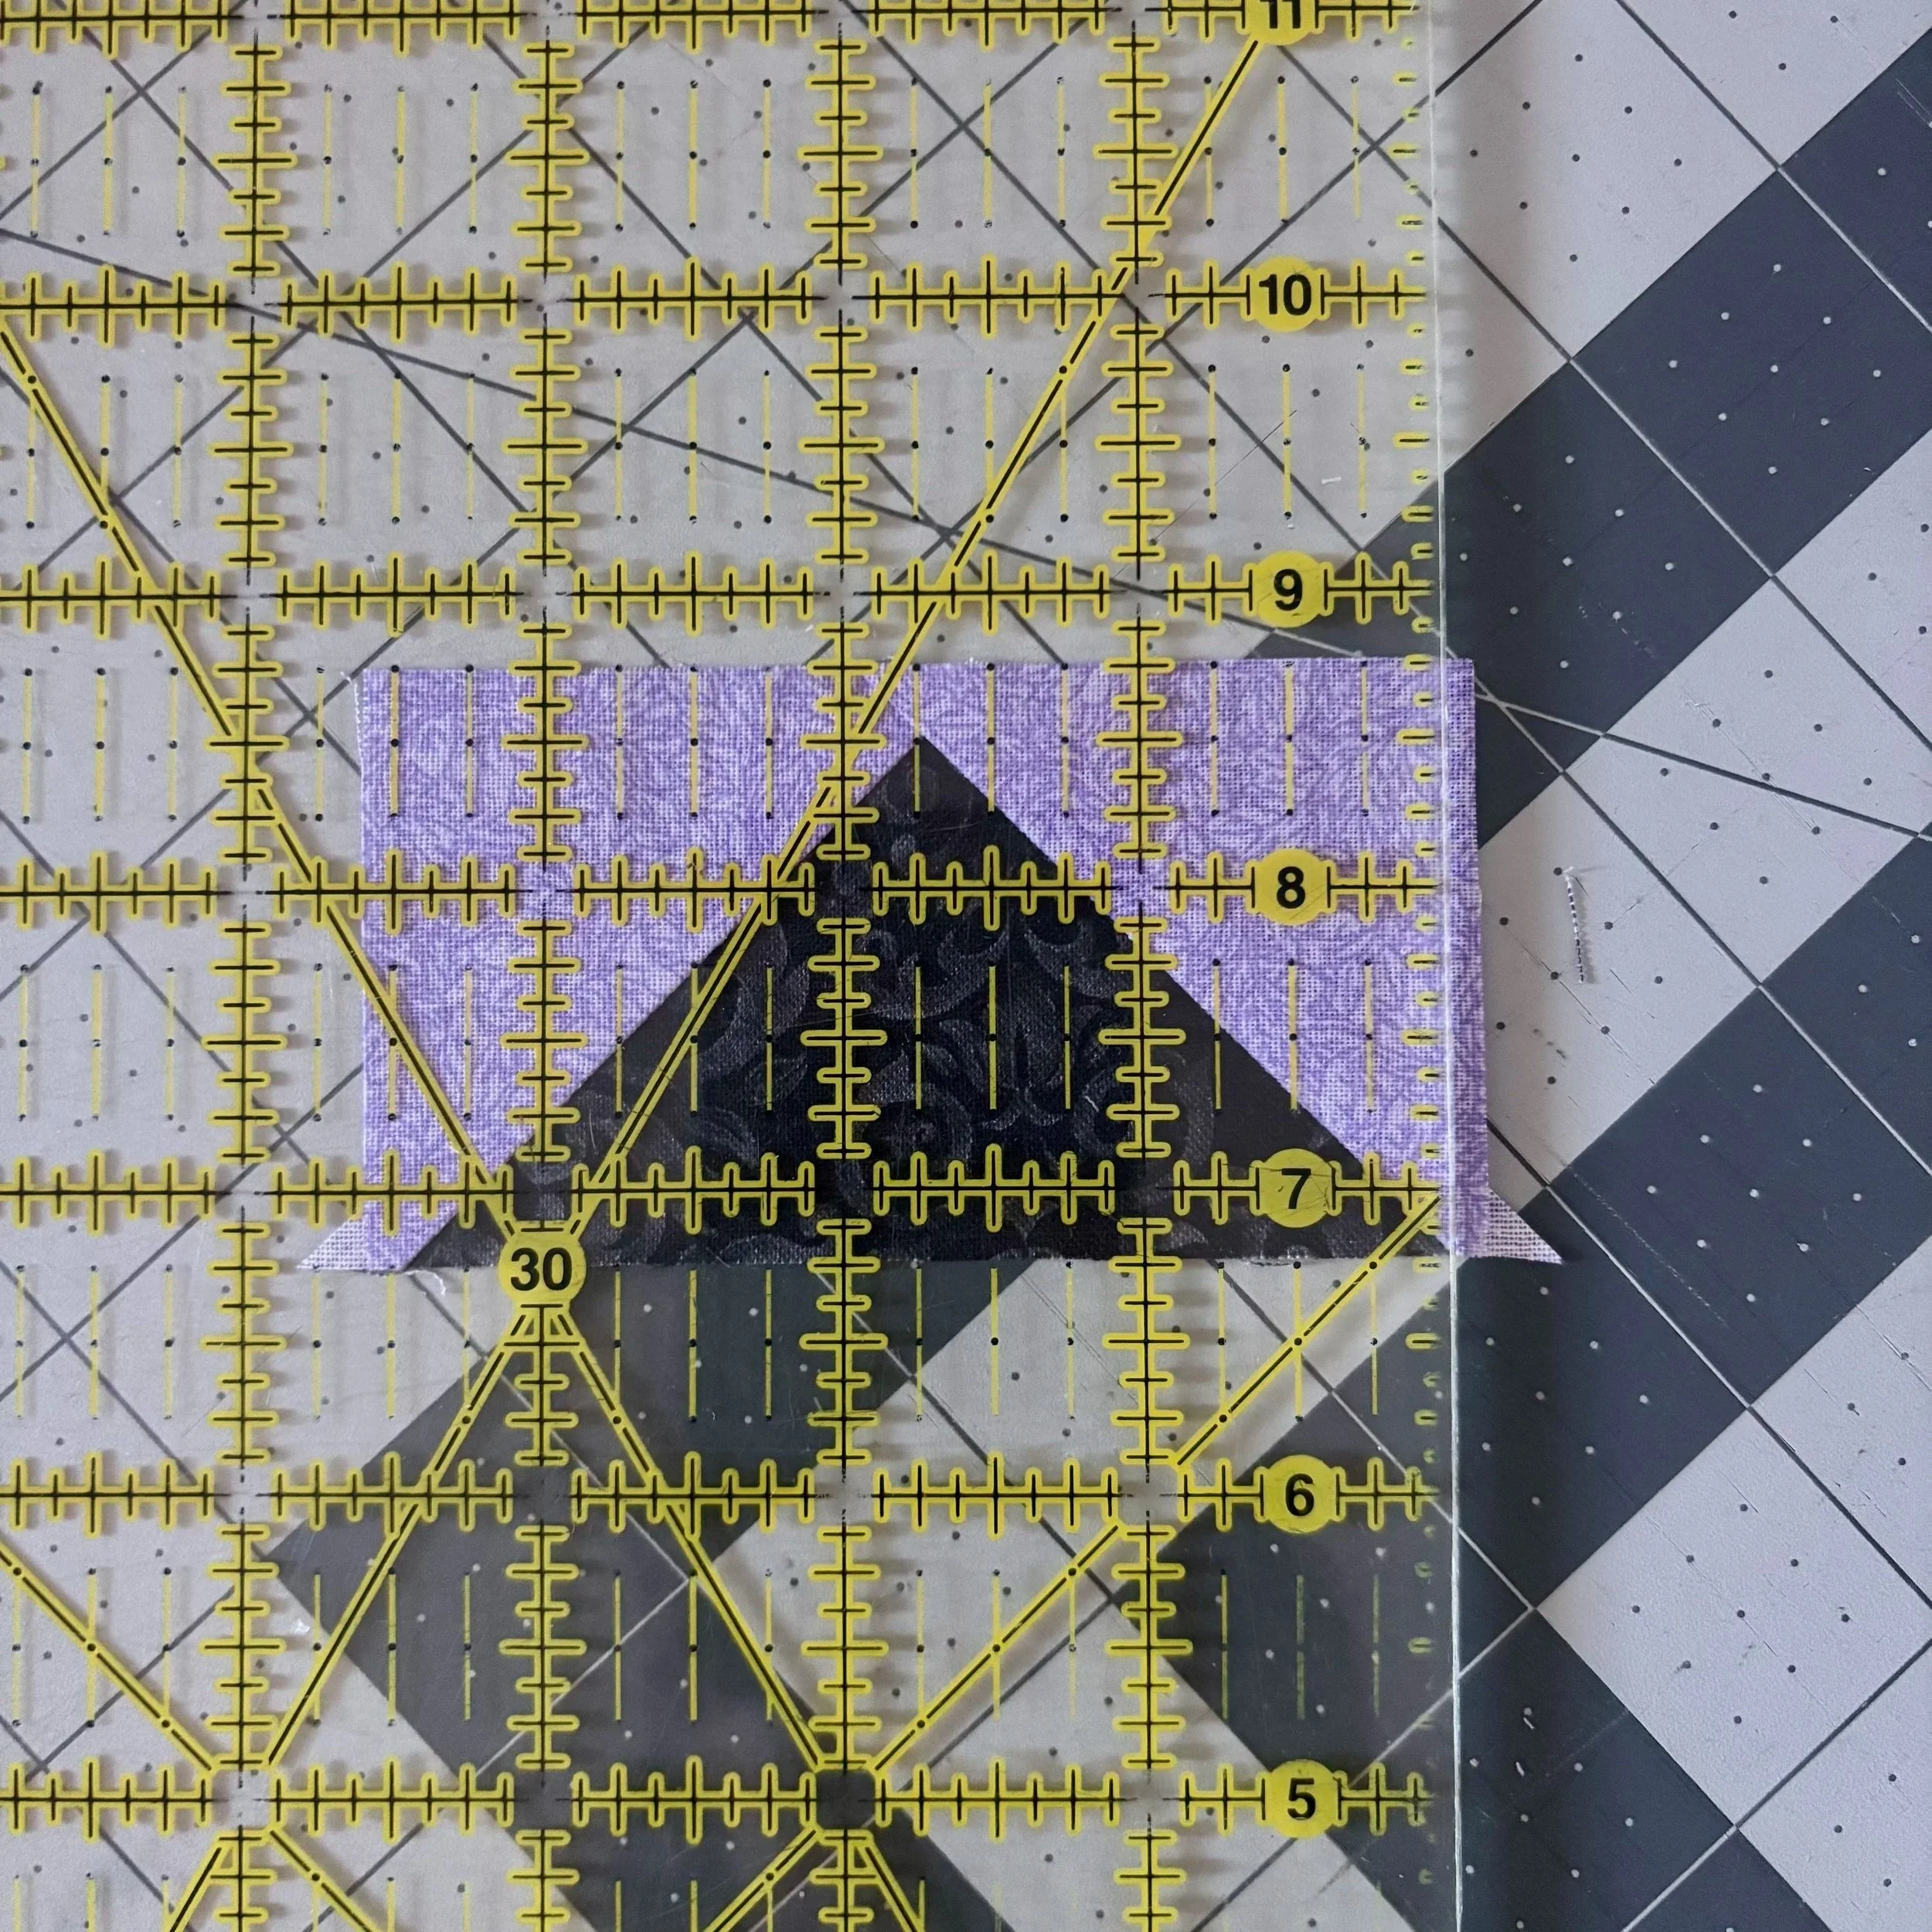
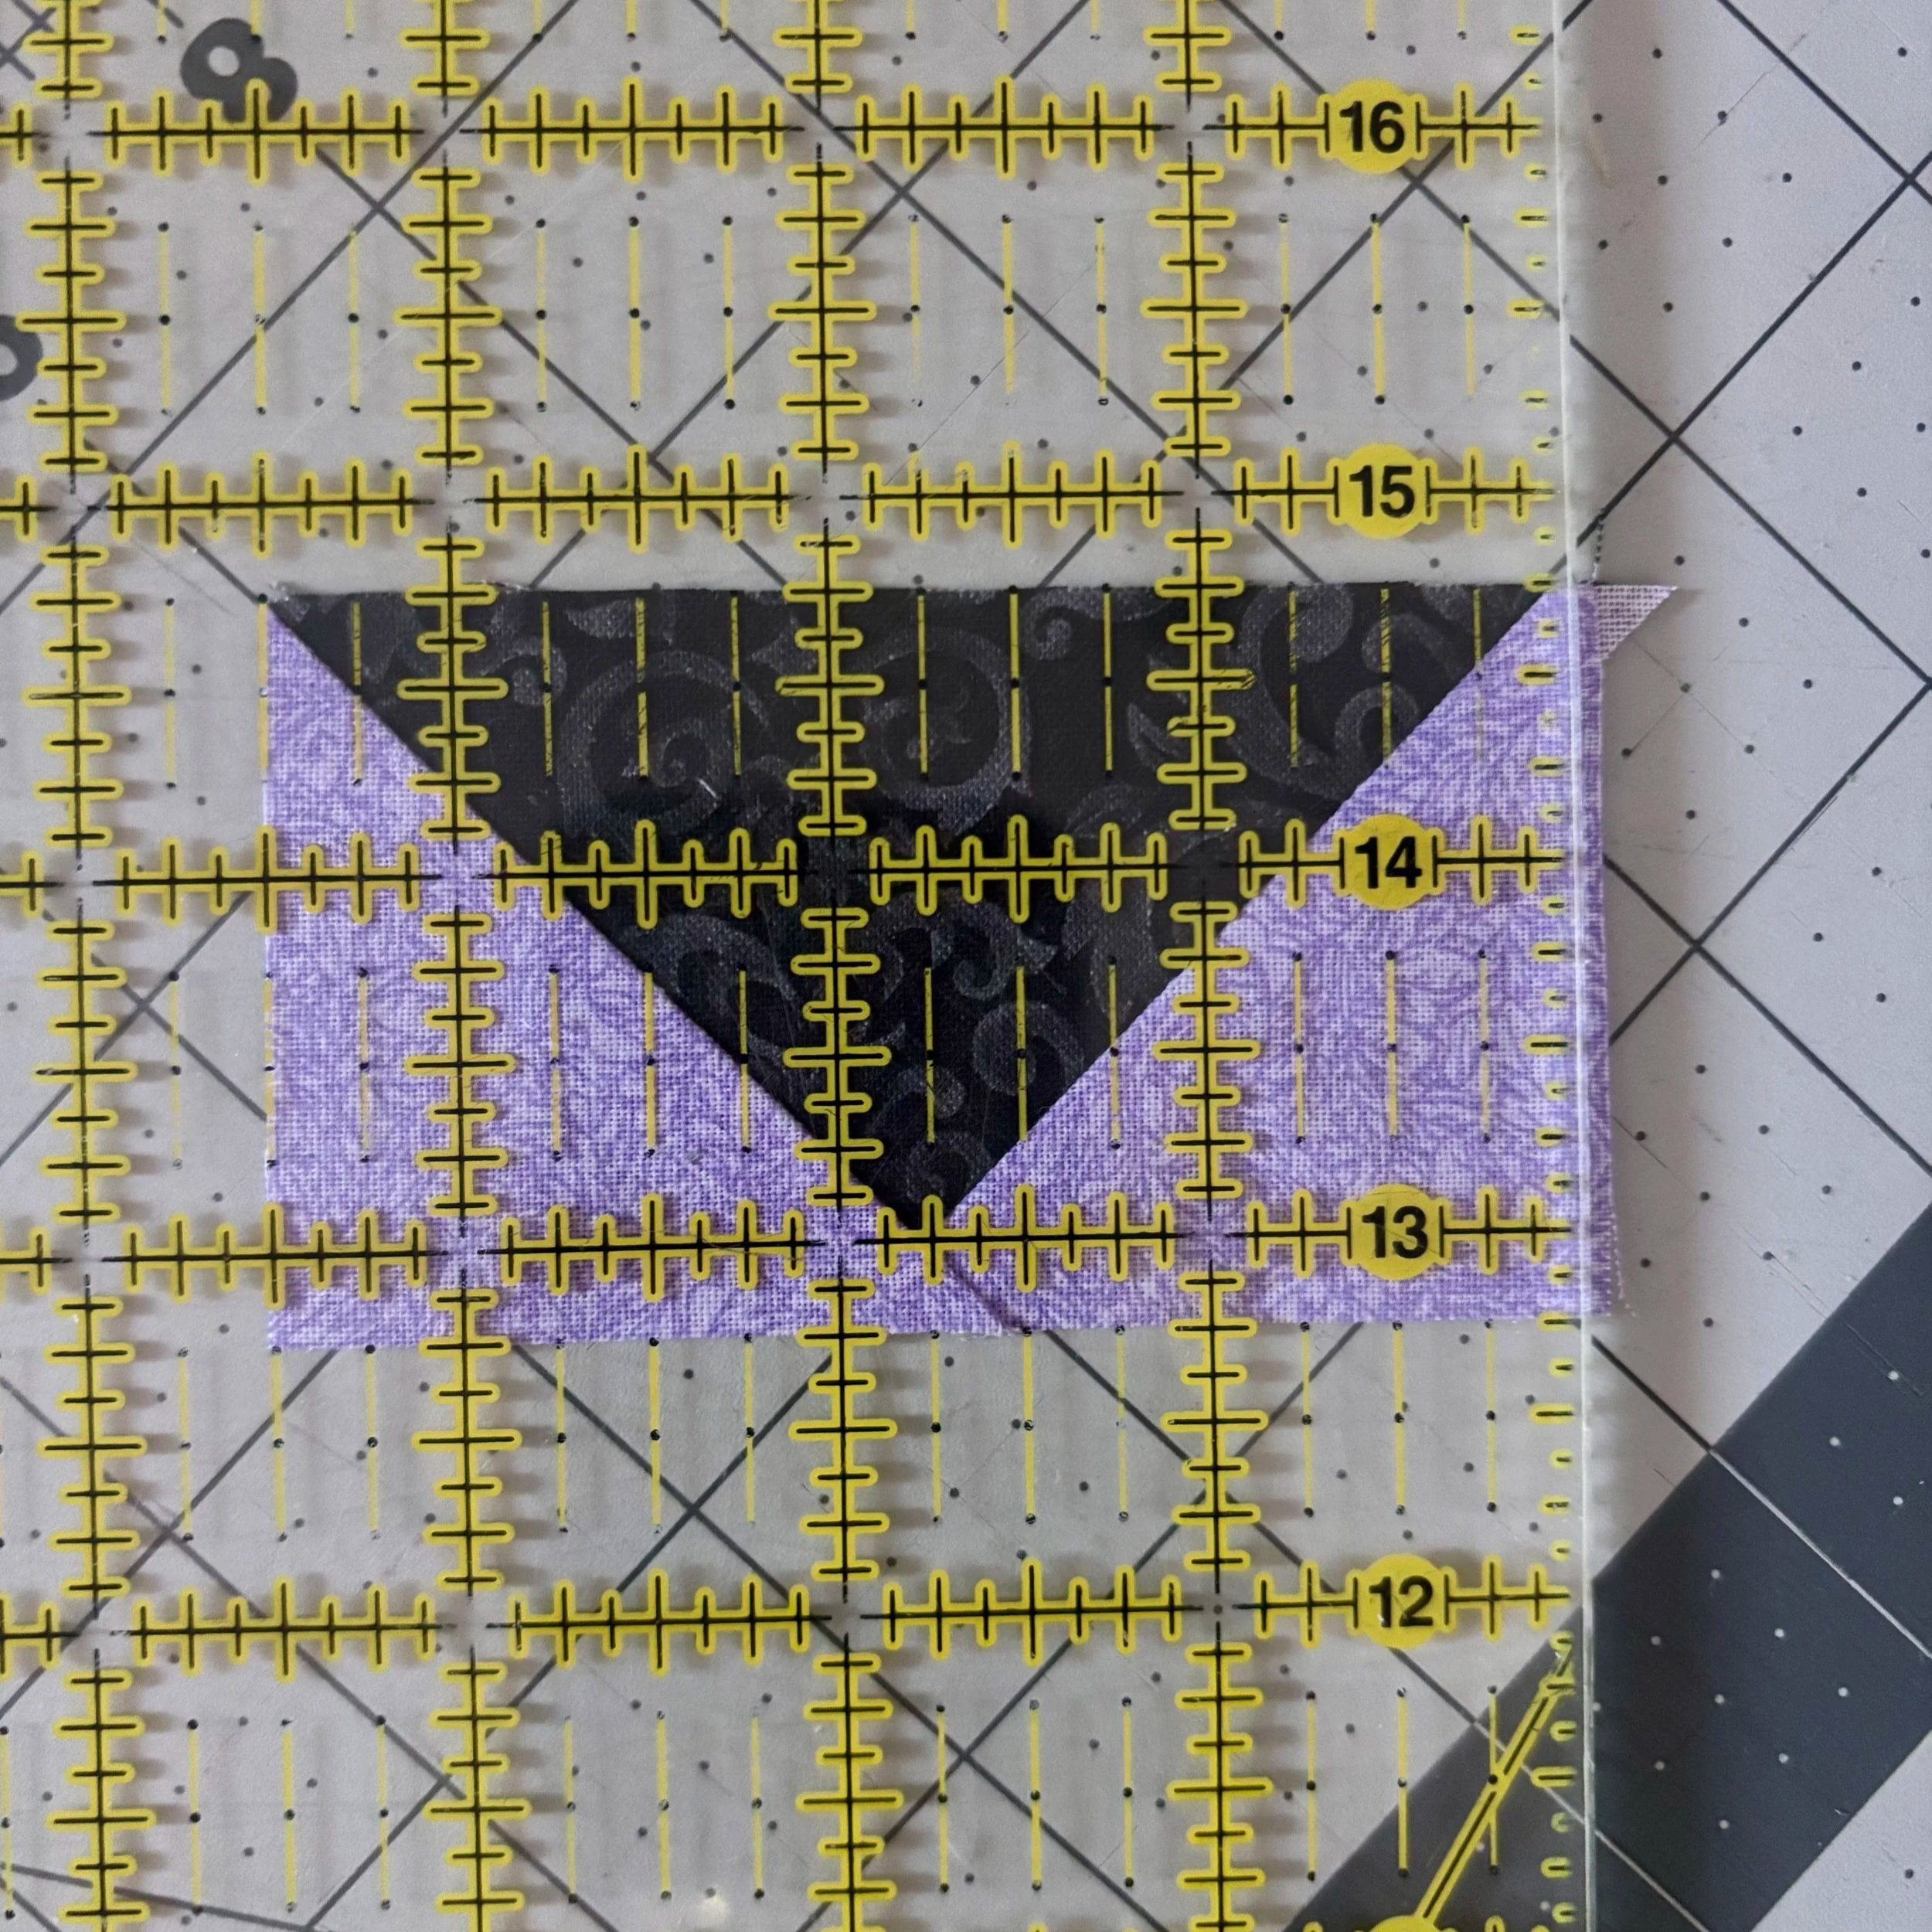
Once they're trimmed, it's time to put those little geese to work. Match your points, sew slowly, and remember that they don't have to be absolutely perfect.
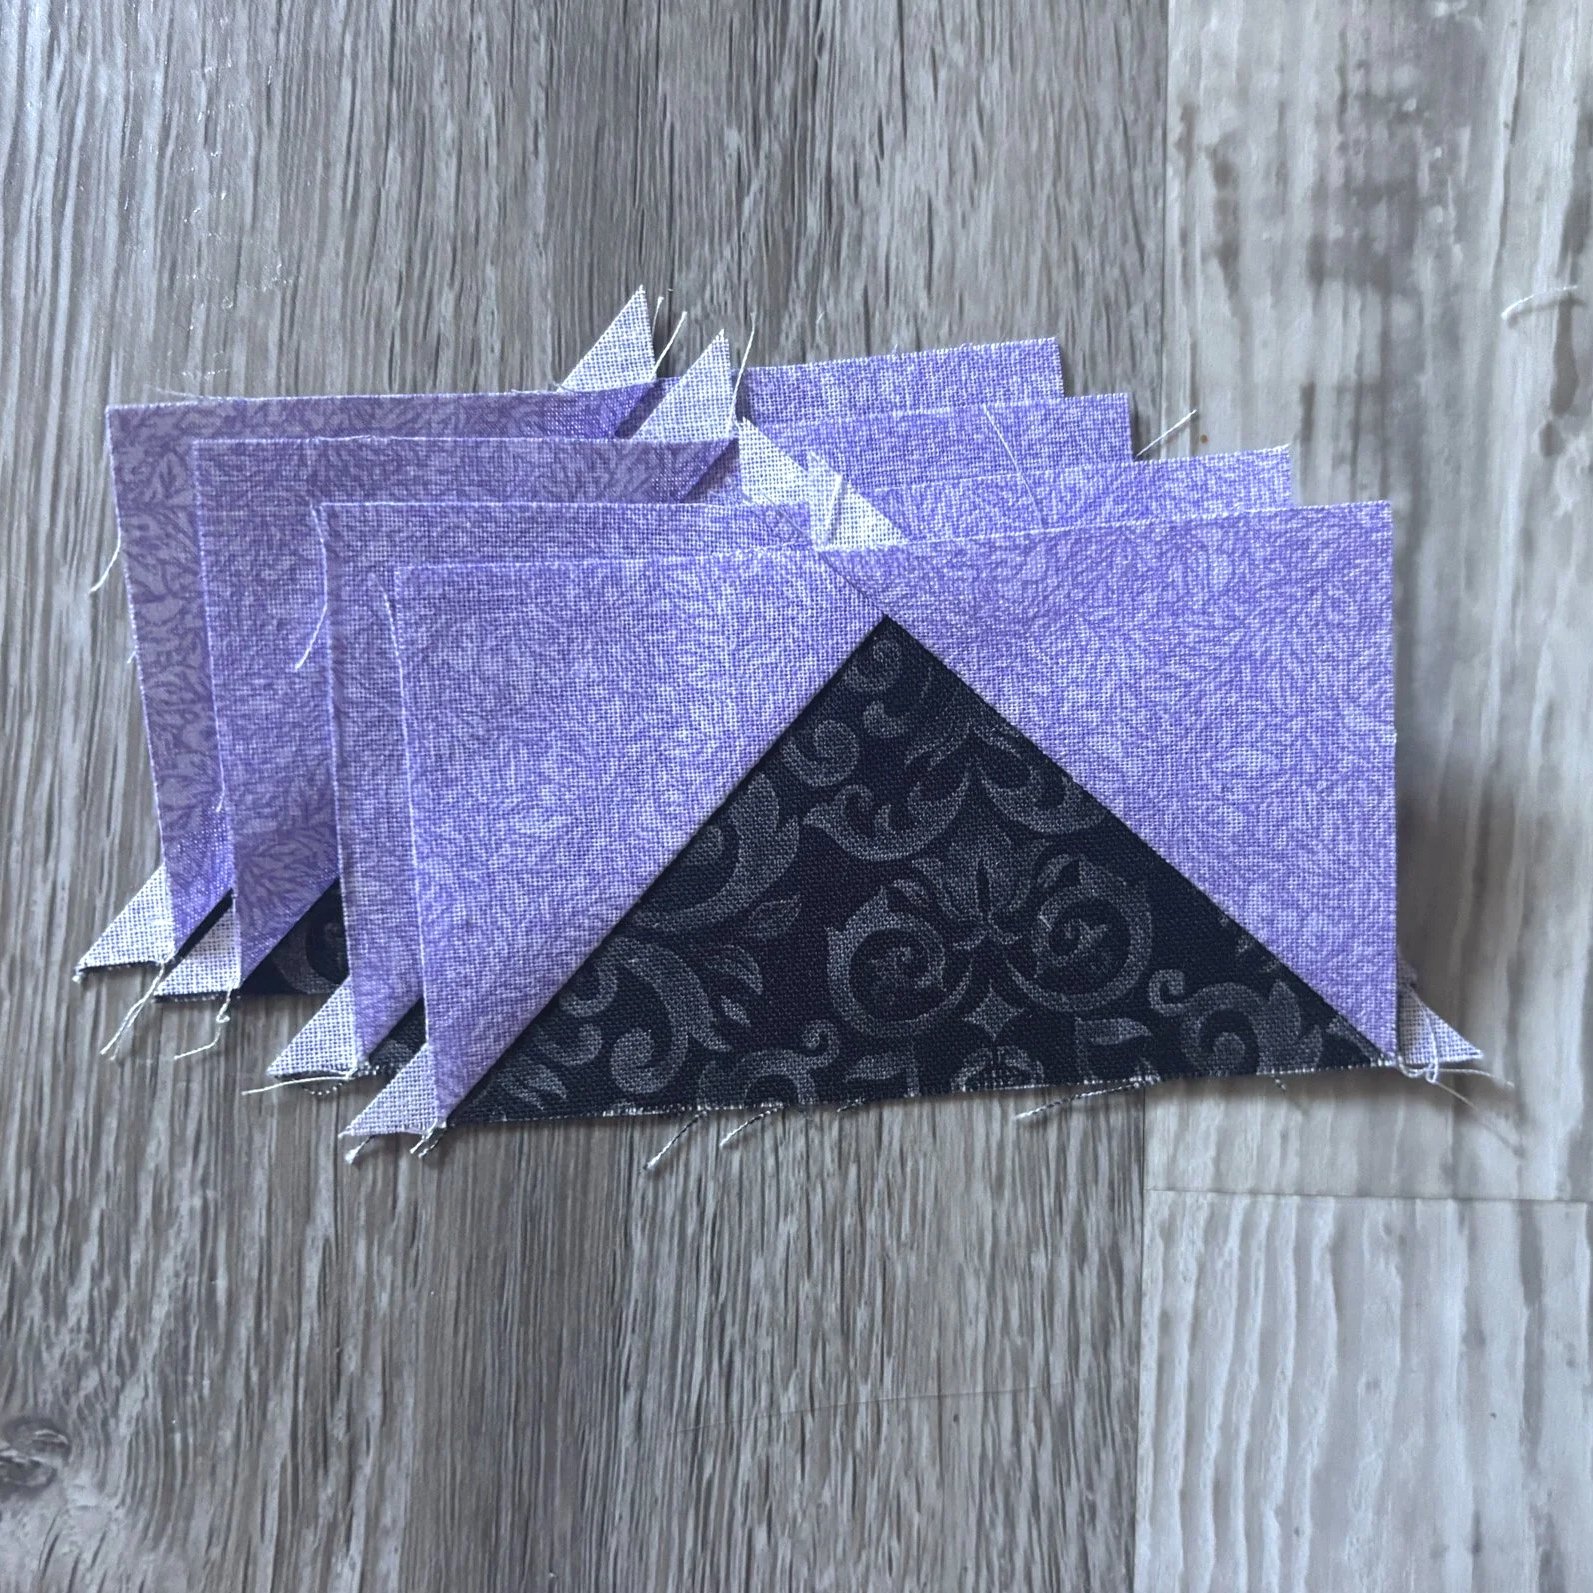
Give it a try.
Flying Geese don’t have to be scary!
A little imperfection doesn't mean you've failed. It means you've made a quilt with your heart and hands. 💛
Flying geese might look intimidating, but don't let them scare you away from a pattern you love. The more you make, the more comfortable you'll become. And before long, you might even stop running for the hills. Hah!
Check out the following patterns where you can practice your flying geese skills!
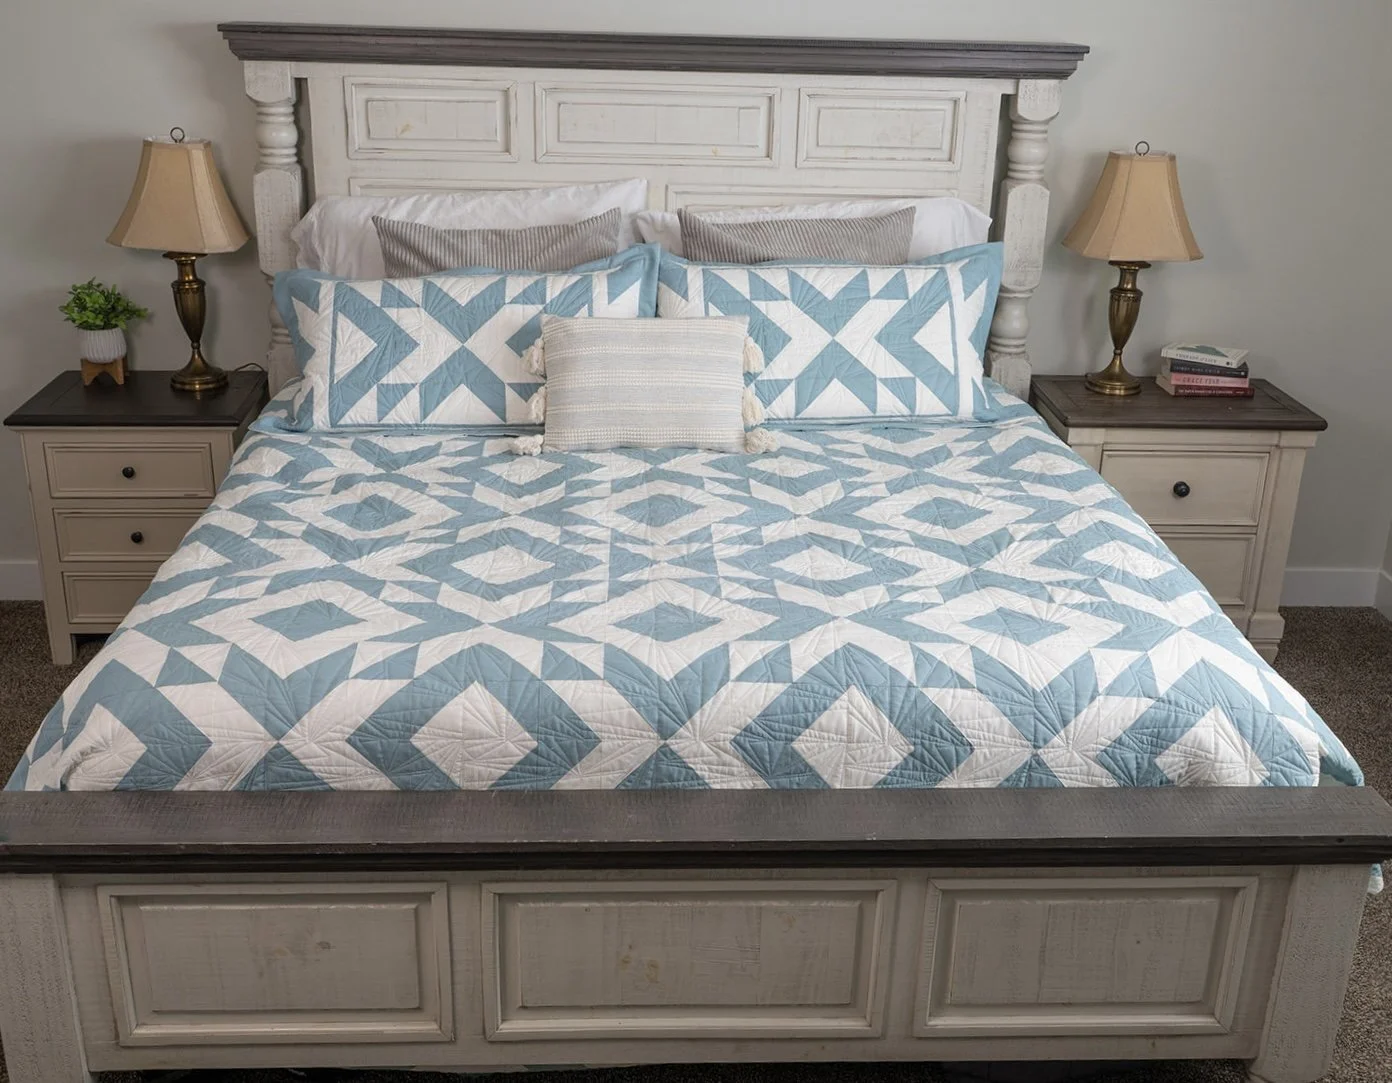
My family means everything to me. I hope to create a safe space and home for my children for years to come. String Cheese is just that—a piece of home.
Sizes:
Lap 48” x 60” (w/ borders 60” x 72”)
XL Throw 60” x 72” (w/ borders 72” x 84”)
Twin 72” x 84” (w/ borders 84” x 96”)
Skill Level: Advanced Beginner or Intermediate
Tools: Basic quilting supplies.
A Coloring Page is included.
This product is a digital PDF download and not a physical item. After purchase, you will be sent an email with a link instantly download your PDF quilt pattern. If you do not receive an email, please check your spam folder first: then email me at hello@livininstitches.com
Please save the downloaded PDF to your non-mobile device immediately. The link will expire after 24 hours.
Copyright 2026 Livin’ In Stitches, LLC