Easy, Simple Rice Pack
From aches and pains, to cramps and injuries, my family uses rice packs quite often—I could probably amend that to I use rice packs quite often. Especially when I was pregnant with my children or had a rough time-of-the-month.
Let’s make one together! Truthfully, you can make whatever size you want for a rice pack, however, the bigger you go, the more it loses its shape without assistance. I wouldn’t go larger than 9” × 9”, finished.
Using scraps or (1) fat quarter (FQ), trim to (2) 7” x 9” rectangles.
Placing rectangles RST (right sides together), pin 3 of the 4 sides together. Place a pin near each corner on the open shorter side, leaving a smaller space in the middle open for stuffing.
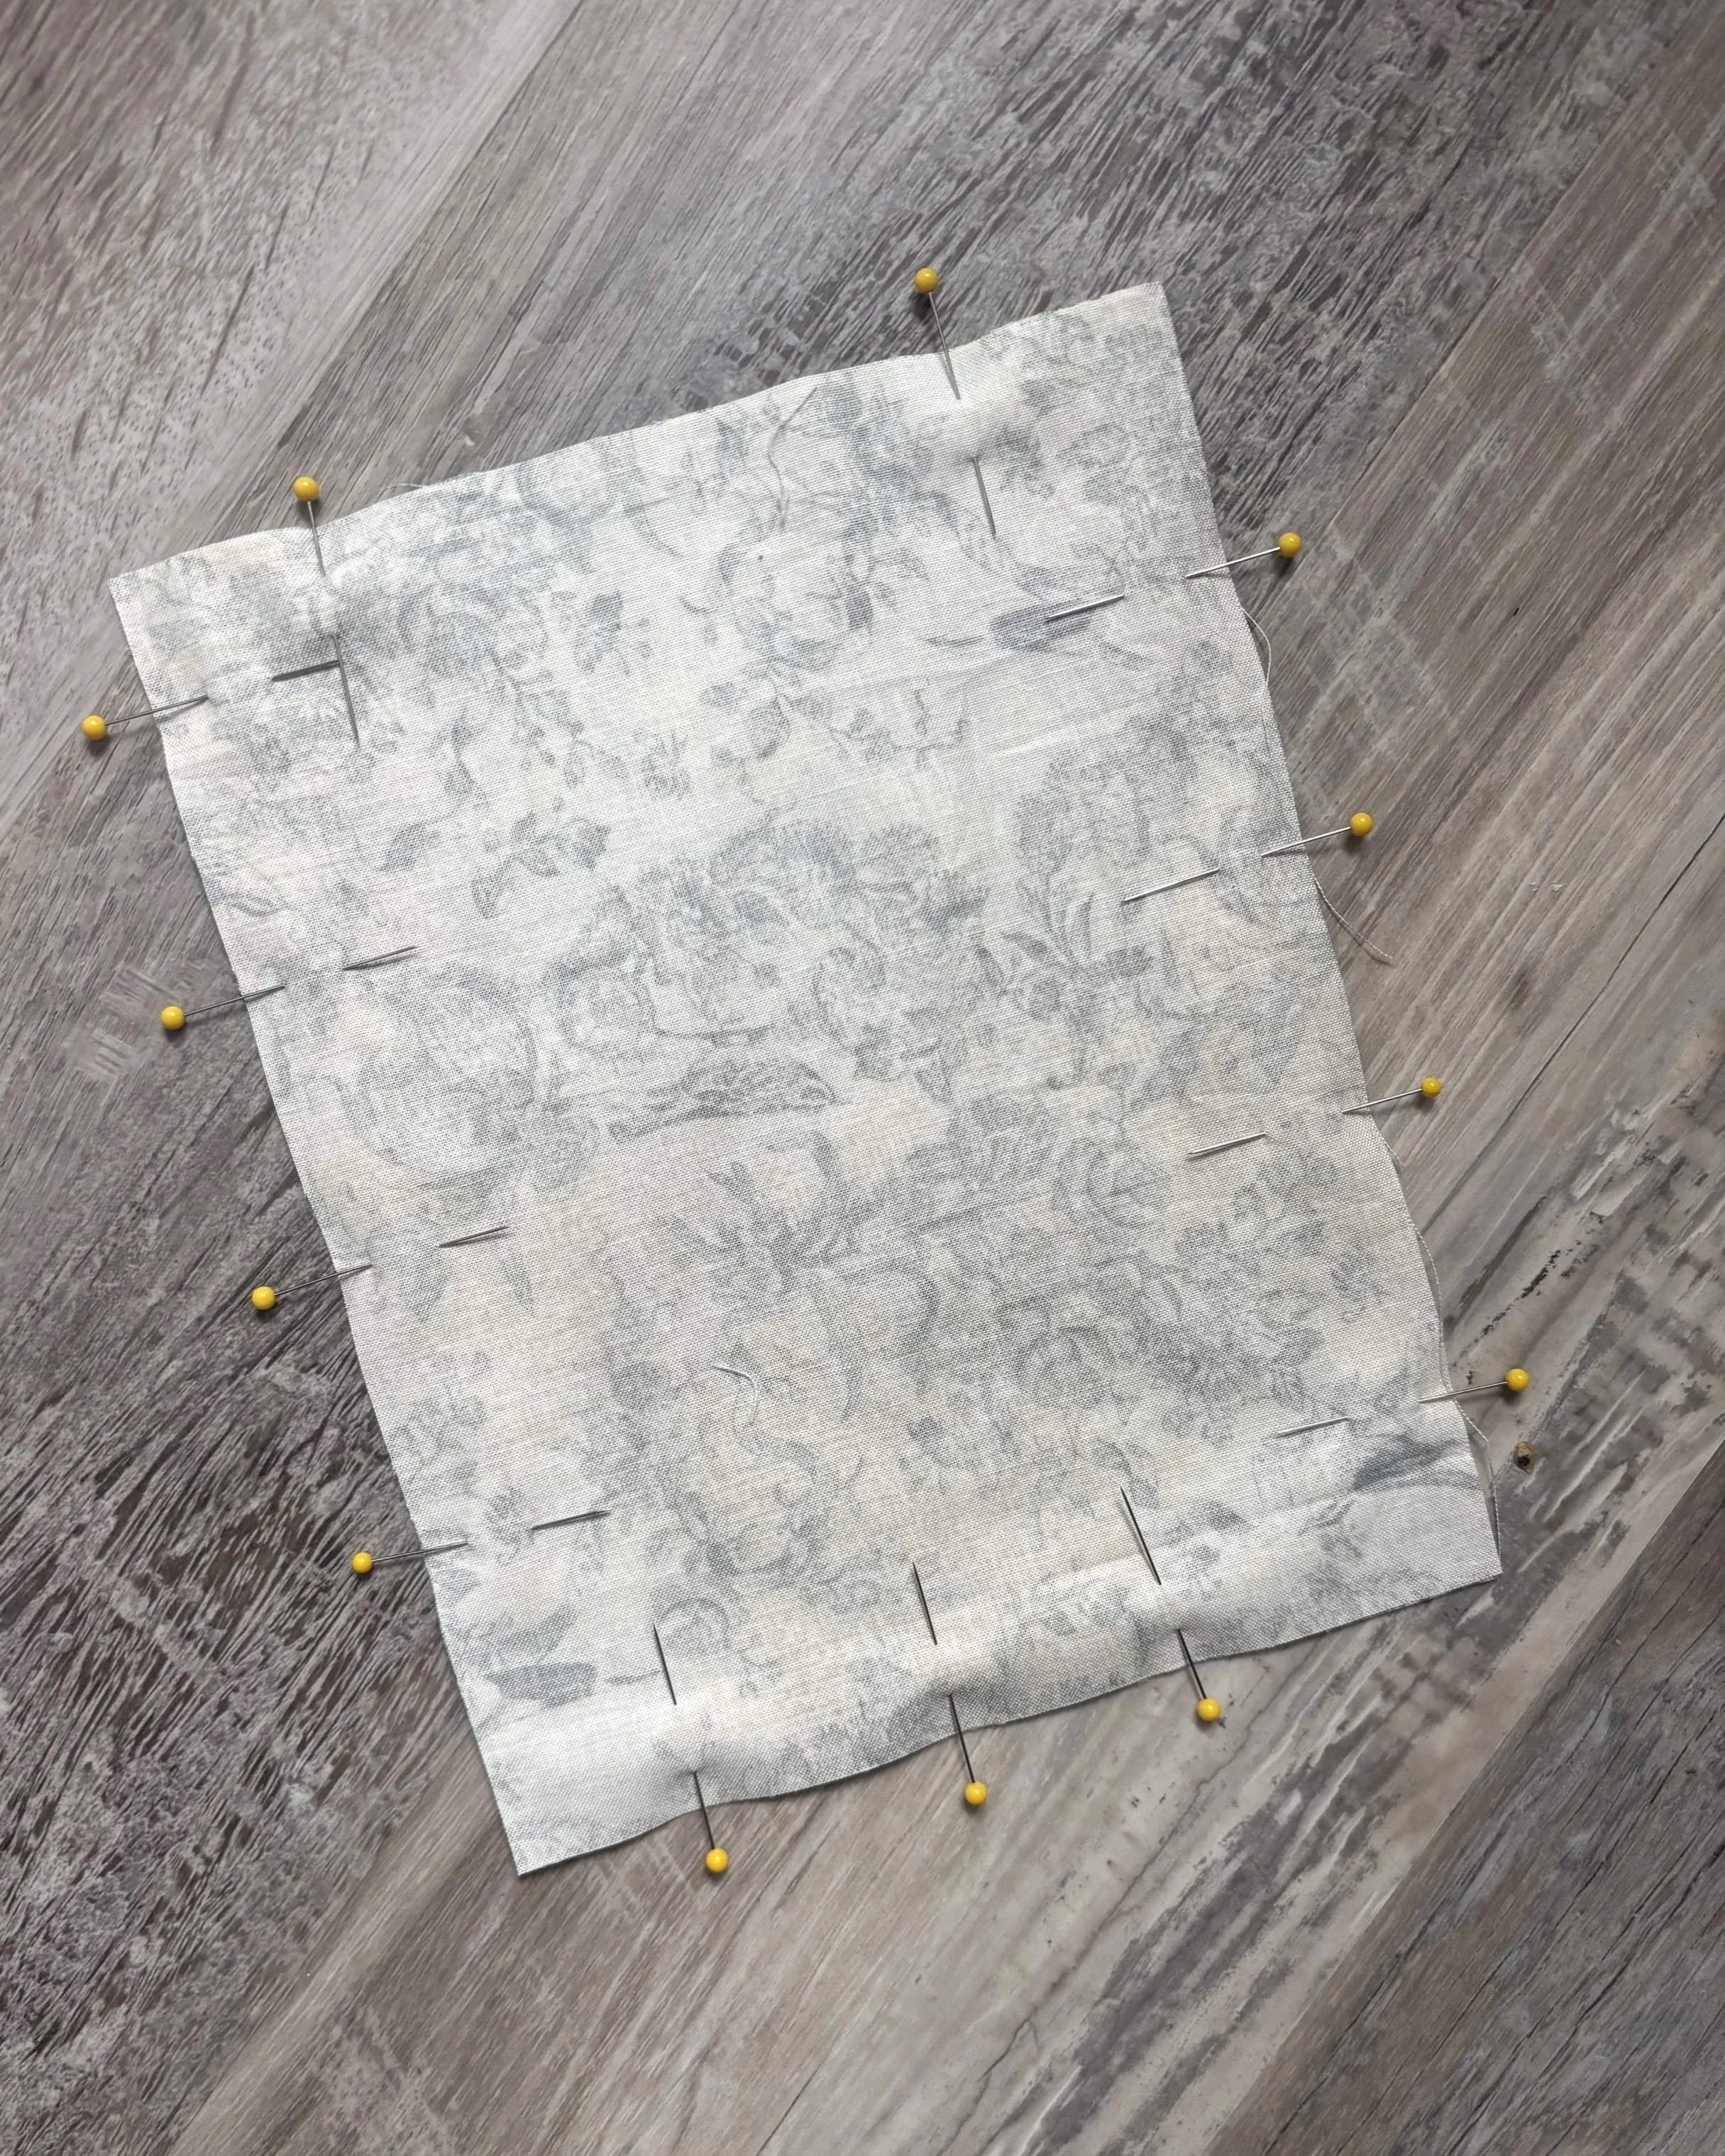
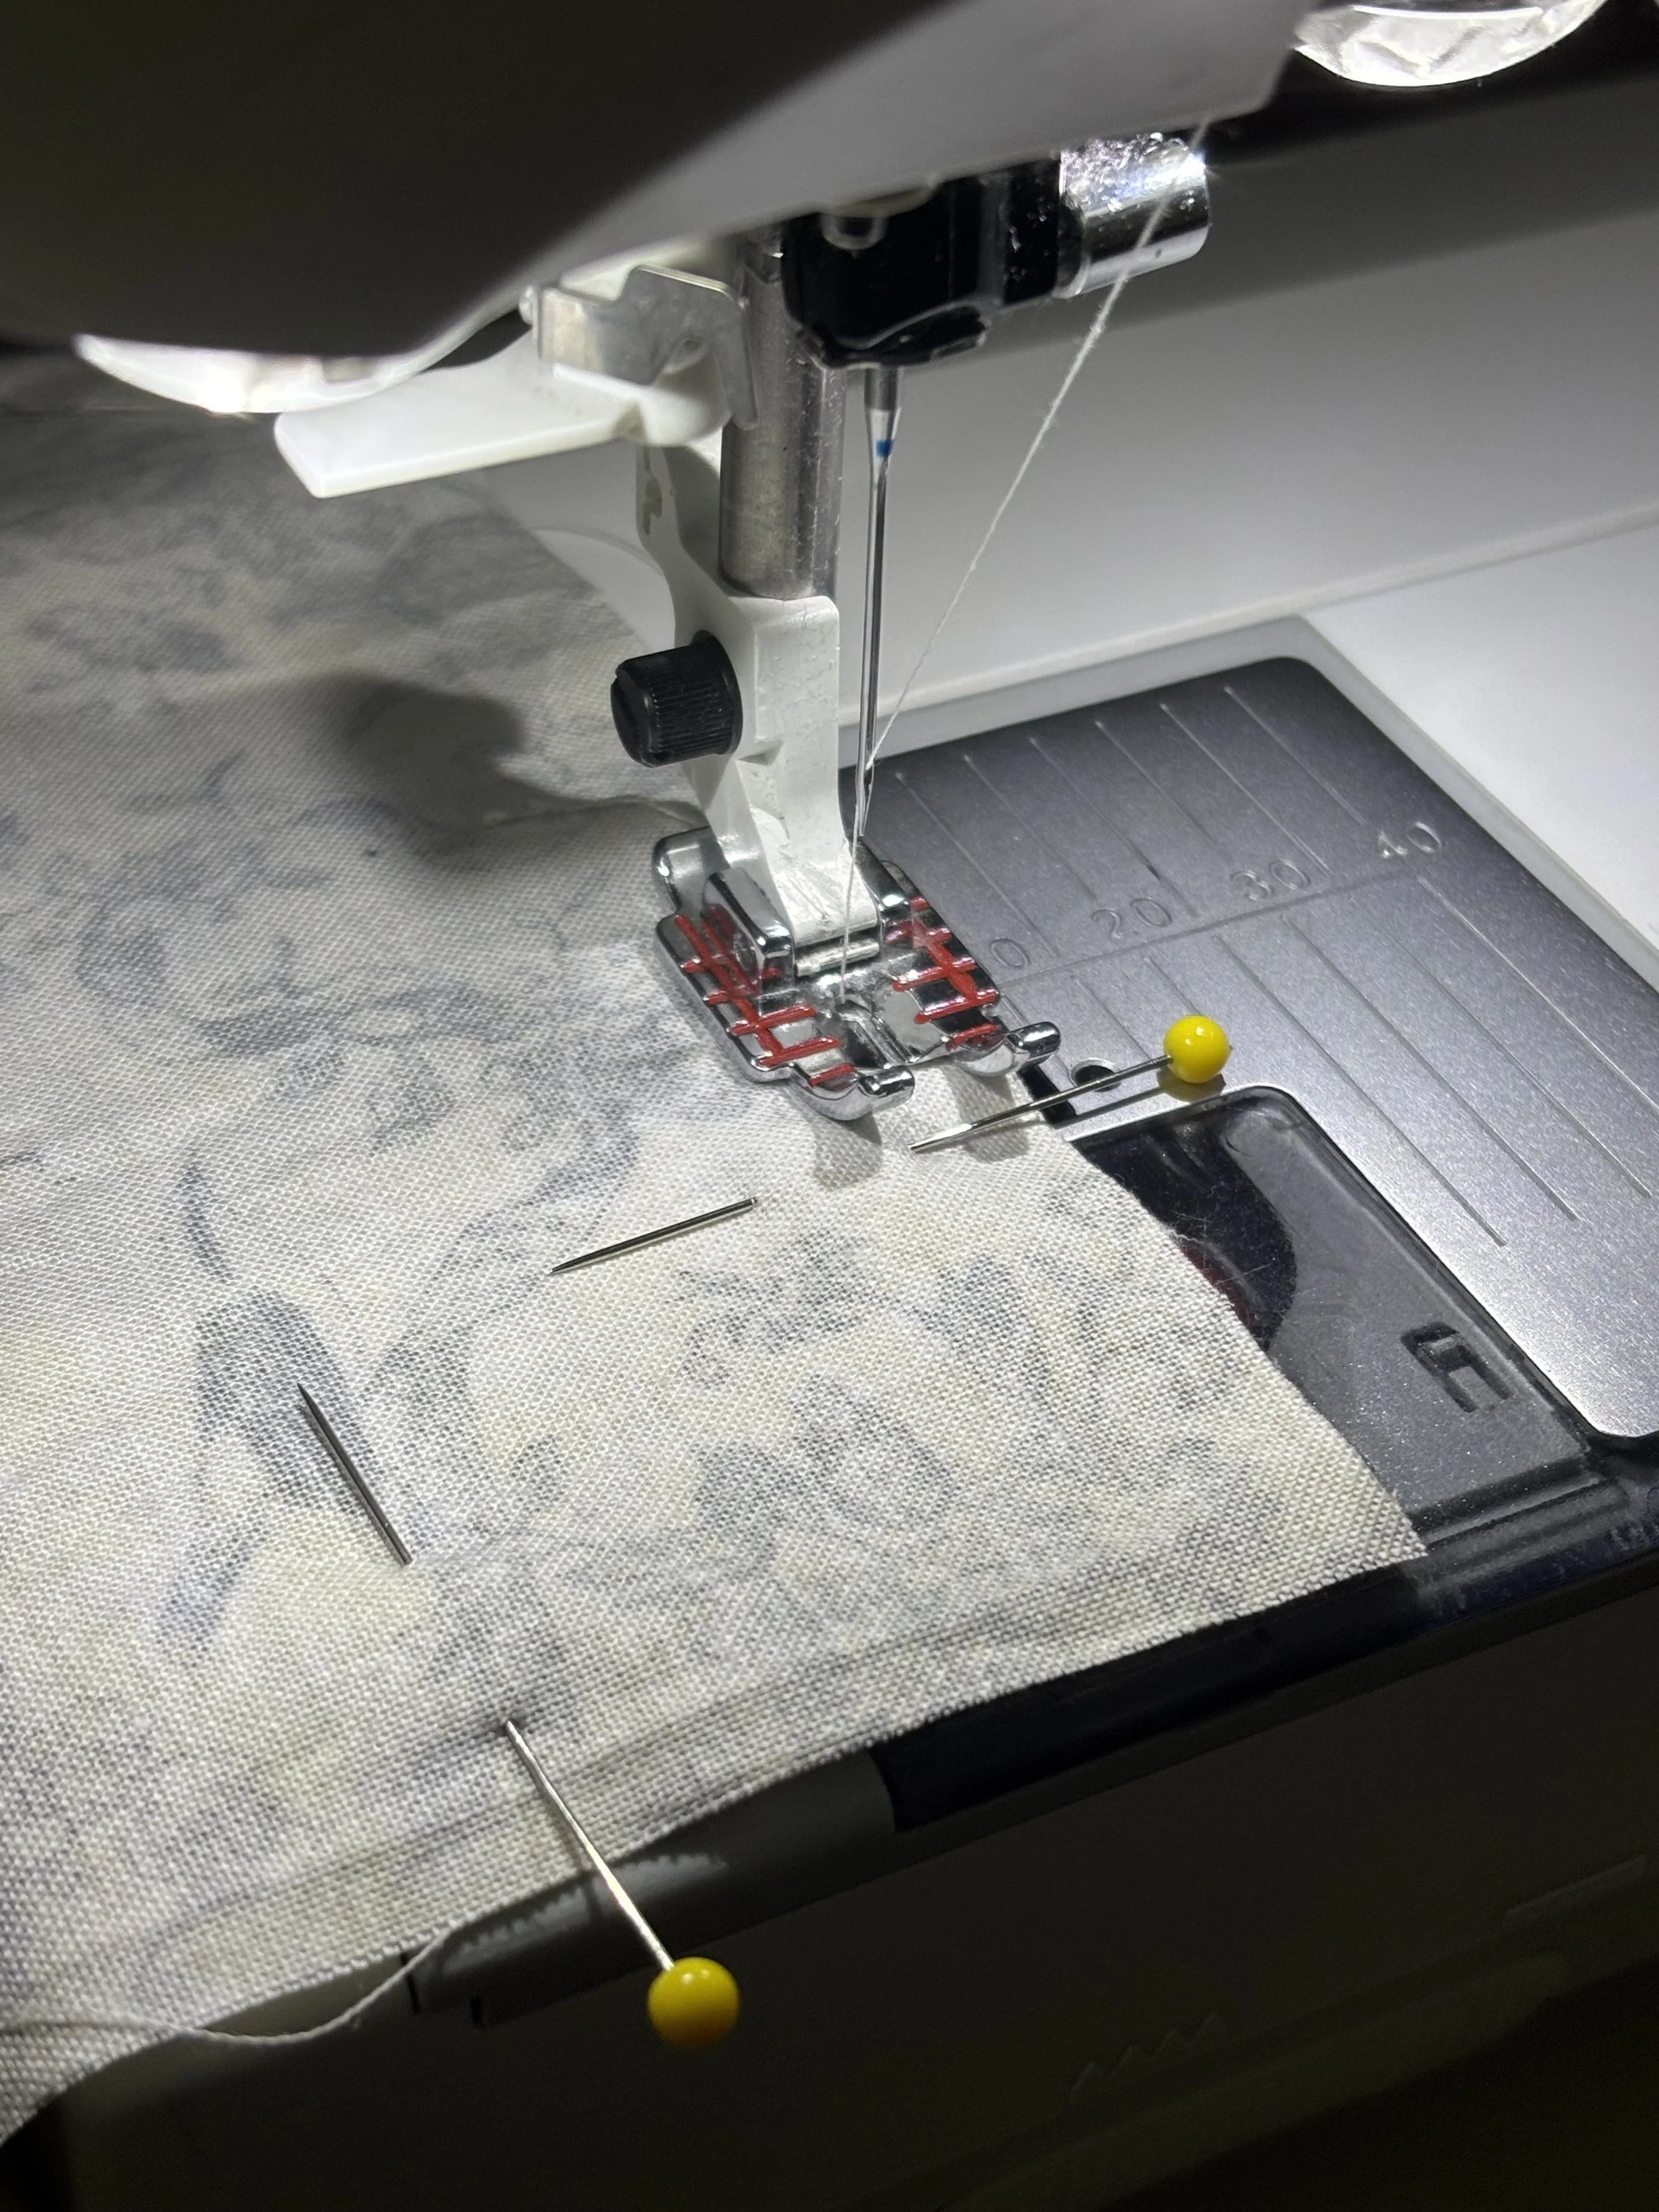
3. Starting near one corner of the open side, sew the two pieces together. Stop just after the last corner. Make sure to backstitch near the opening so as not to lose your seam.
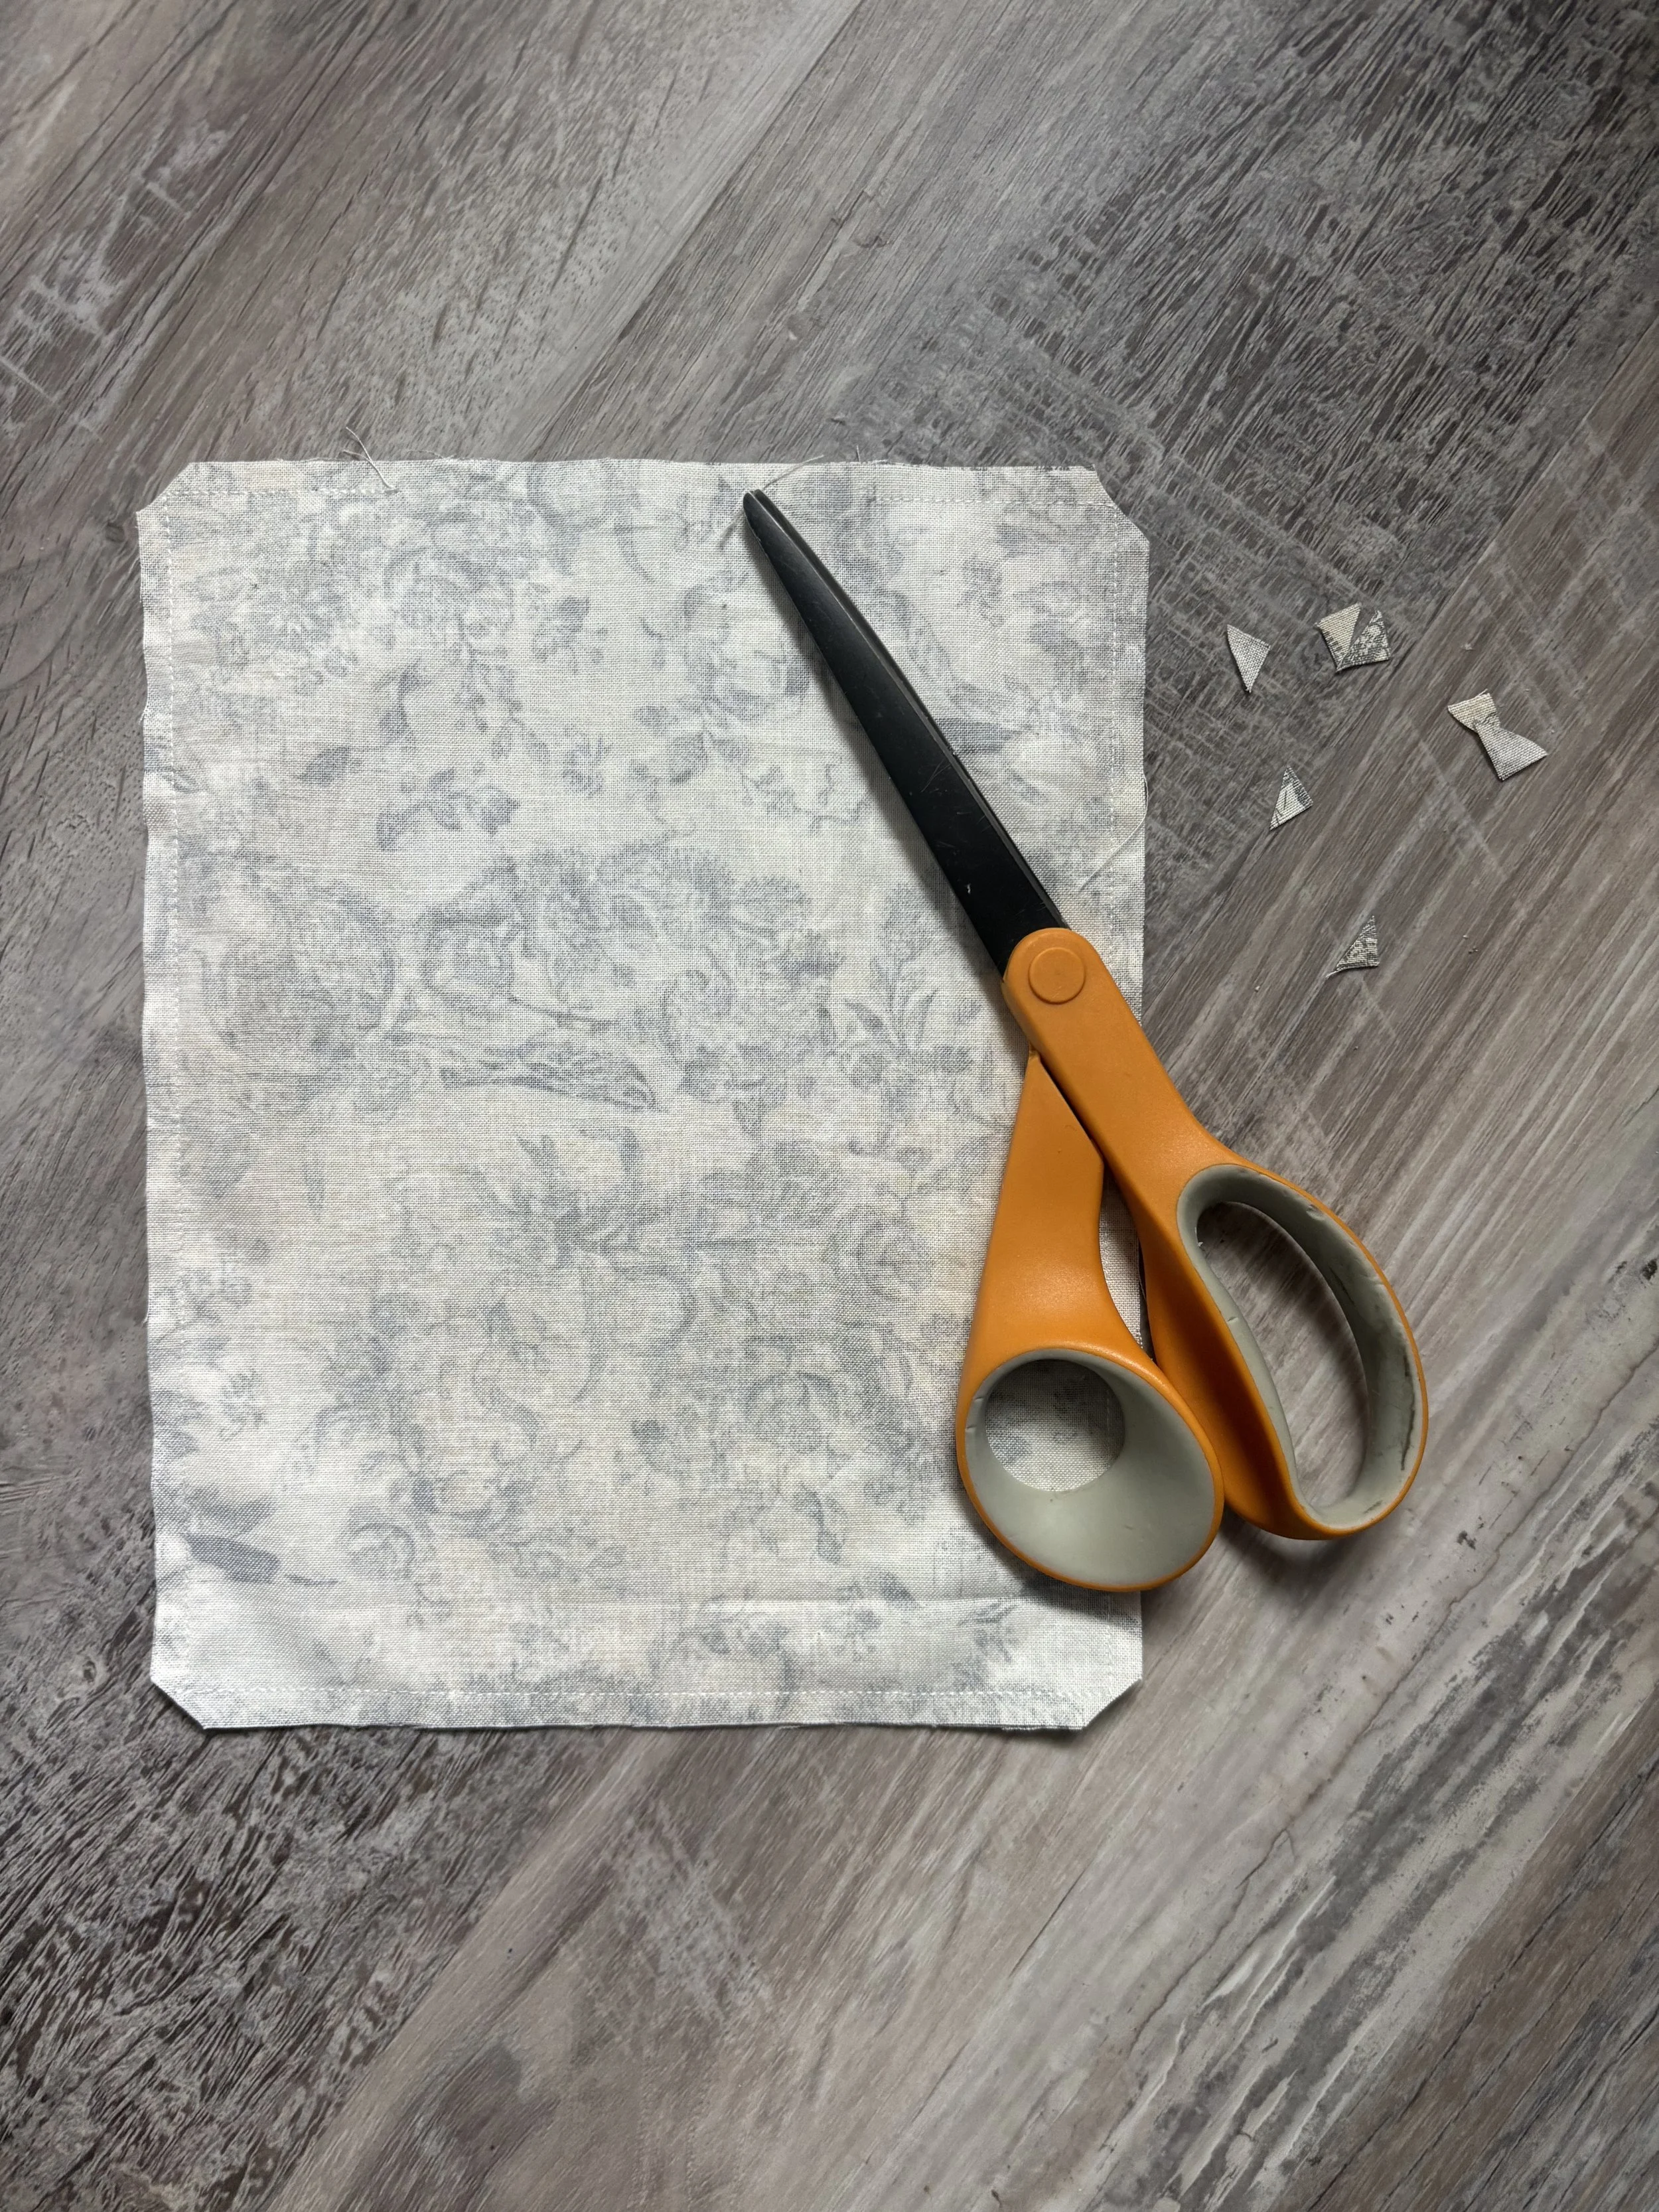
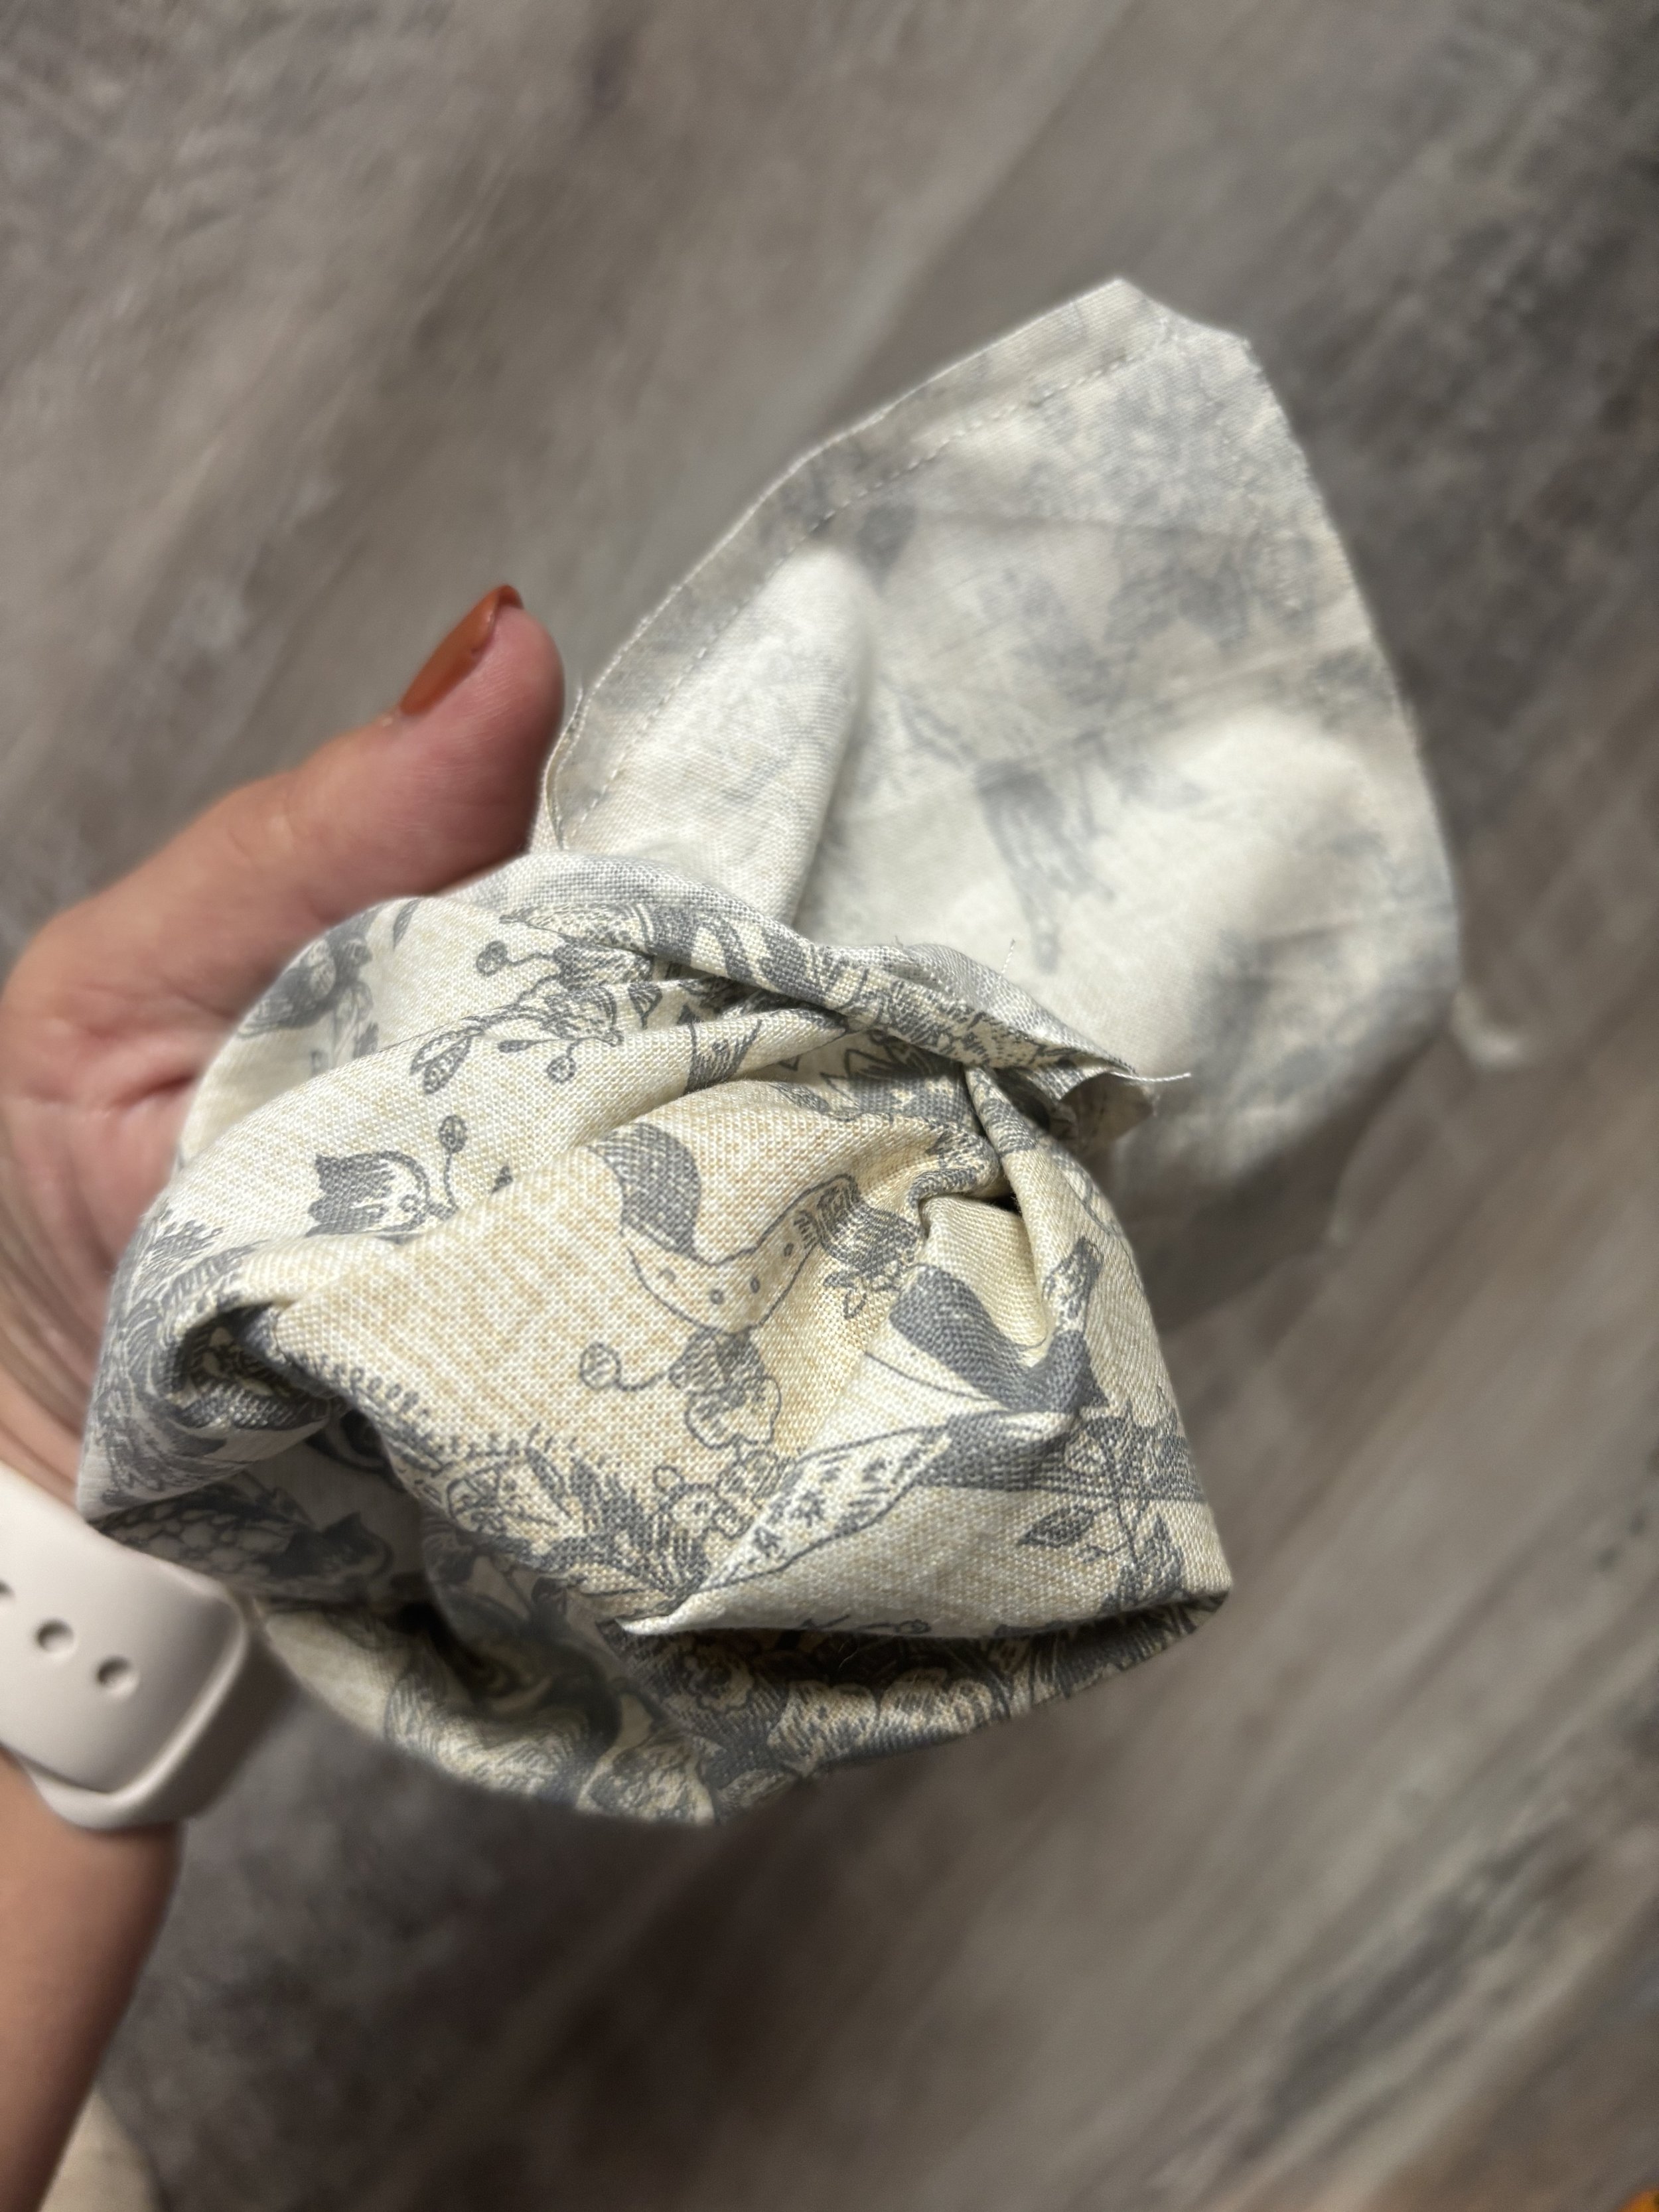
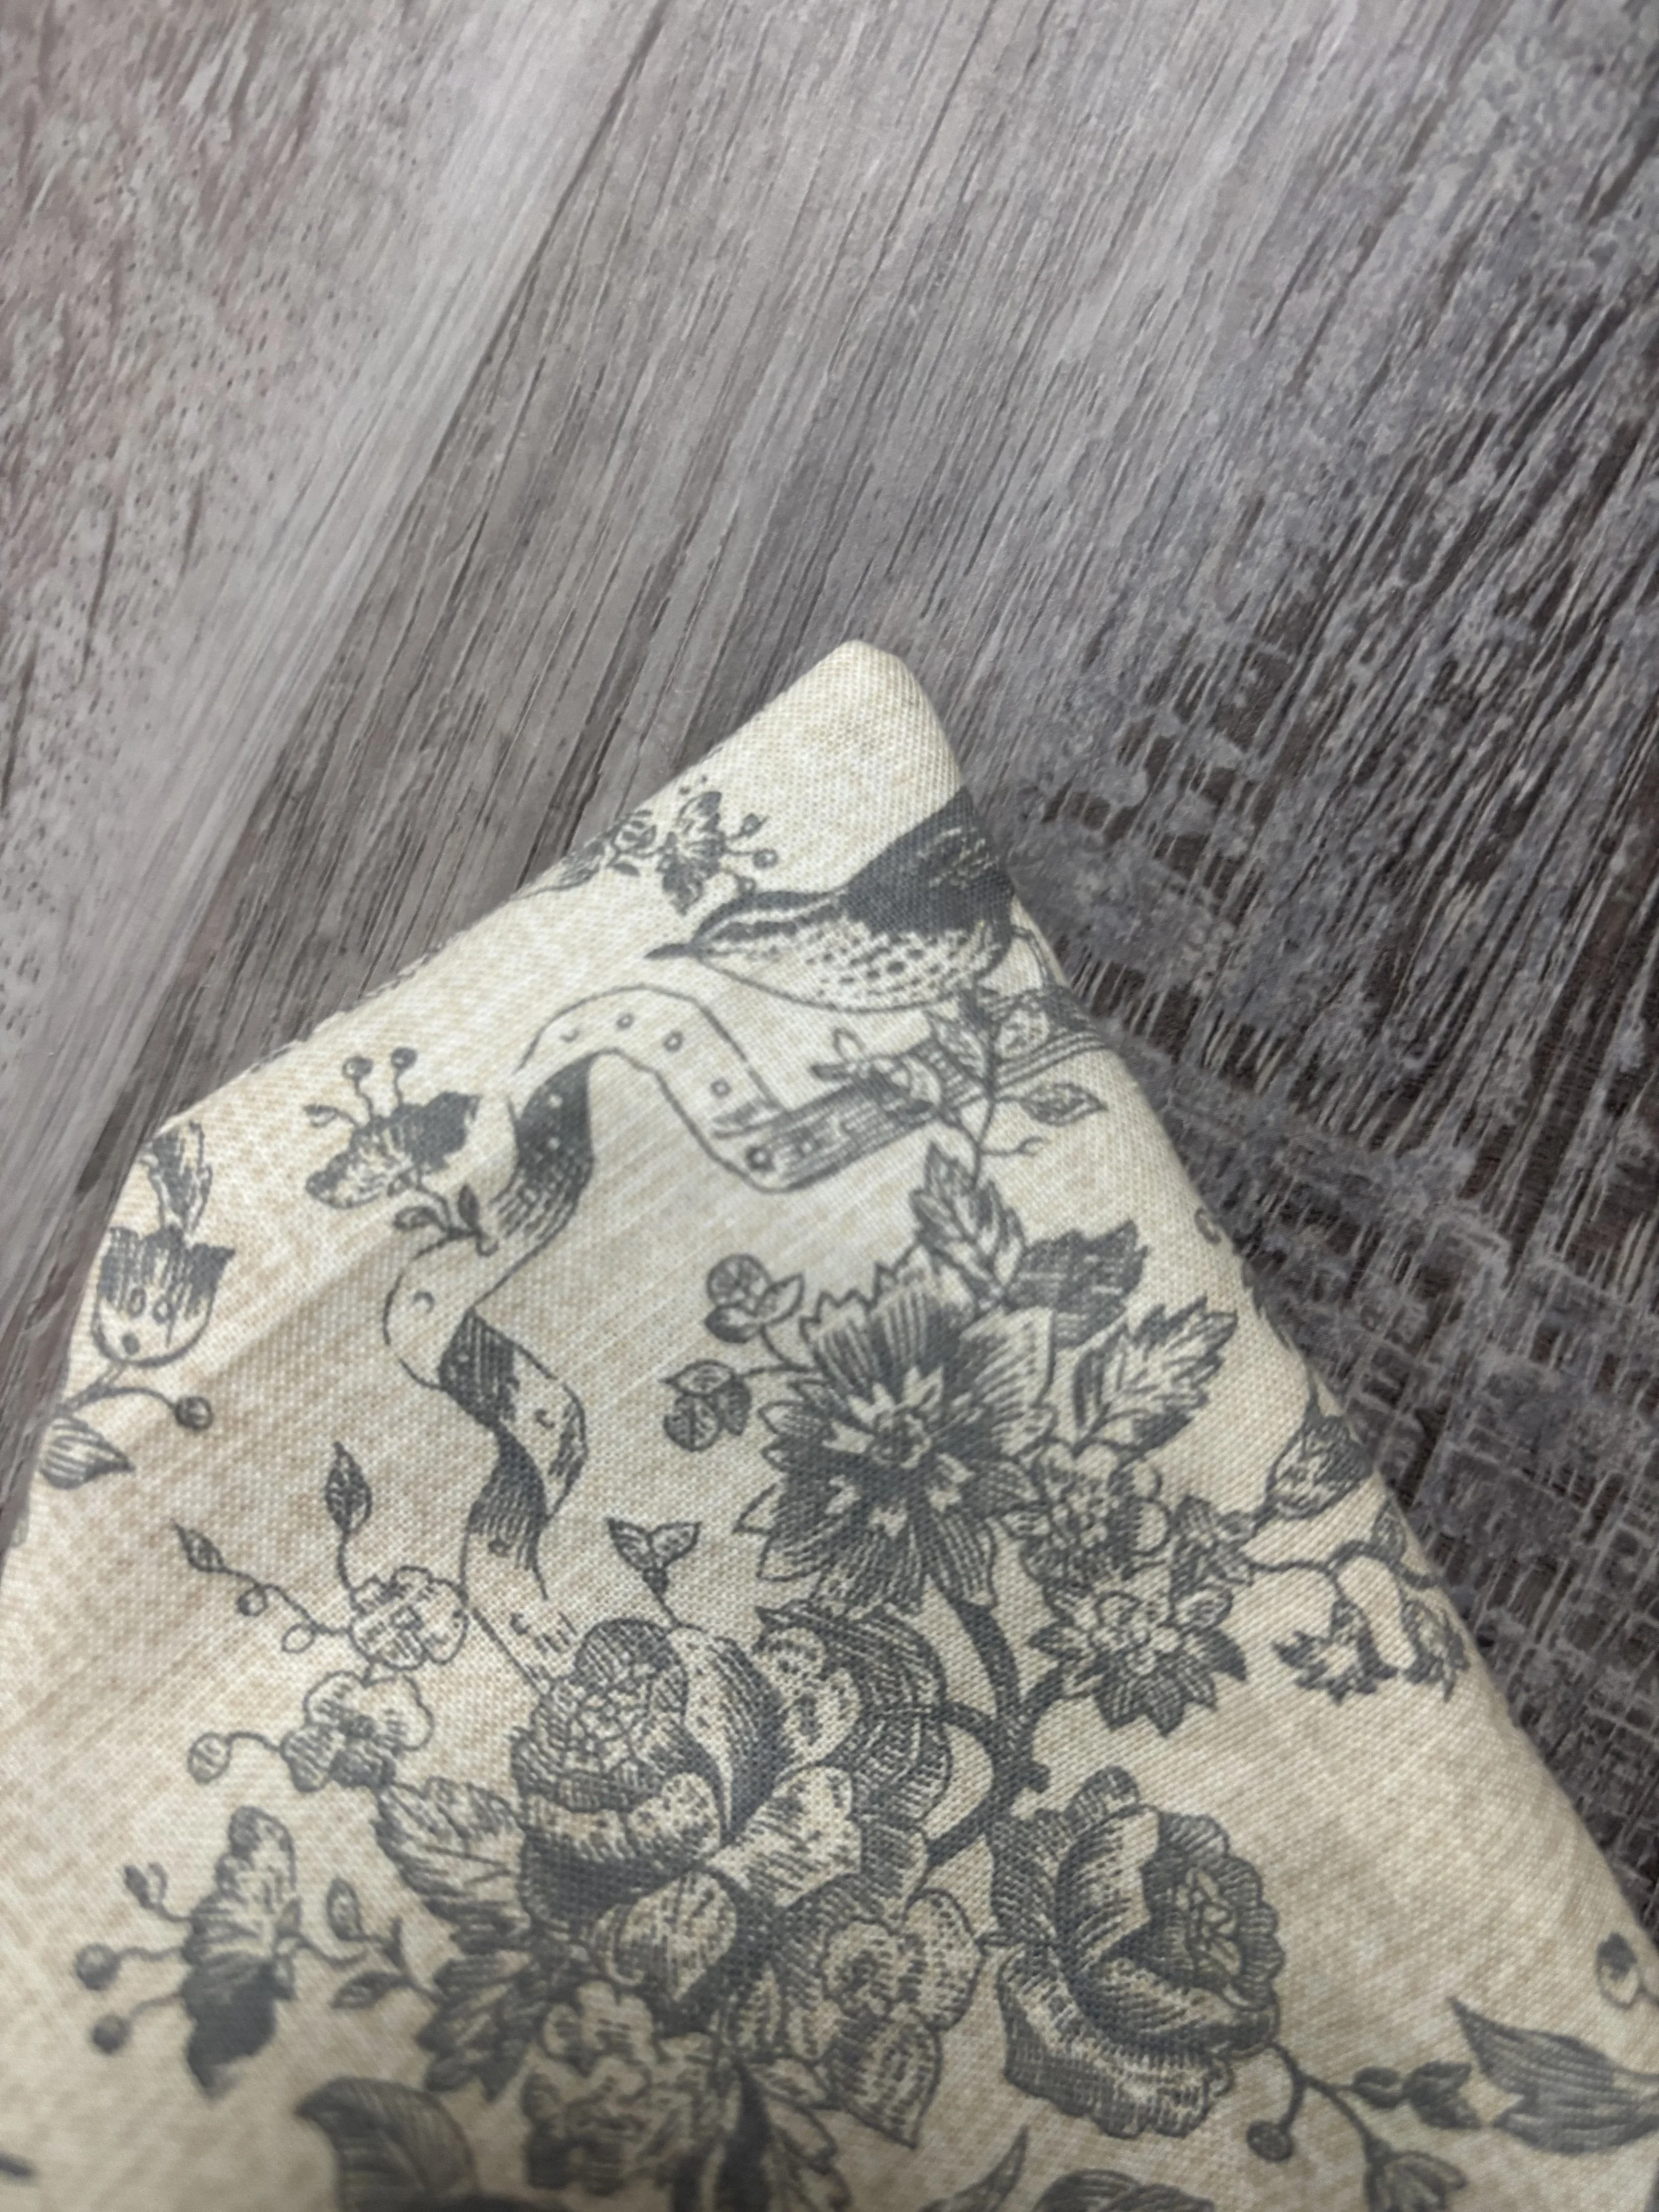
4. Trim each corner, making sure not to snip off any stitches. Turn your rice pack right side out.
5. Press the seams, including the opening in the rice pack where a seam will go.
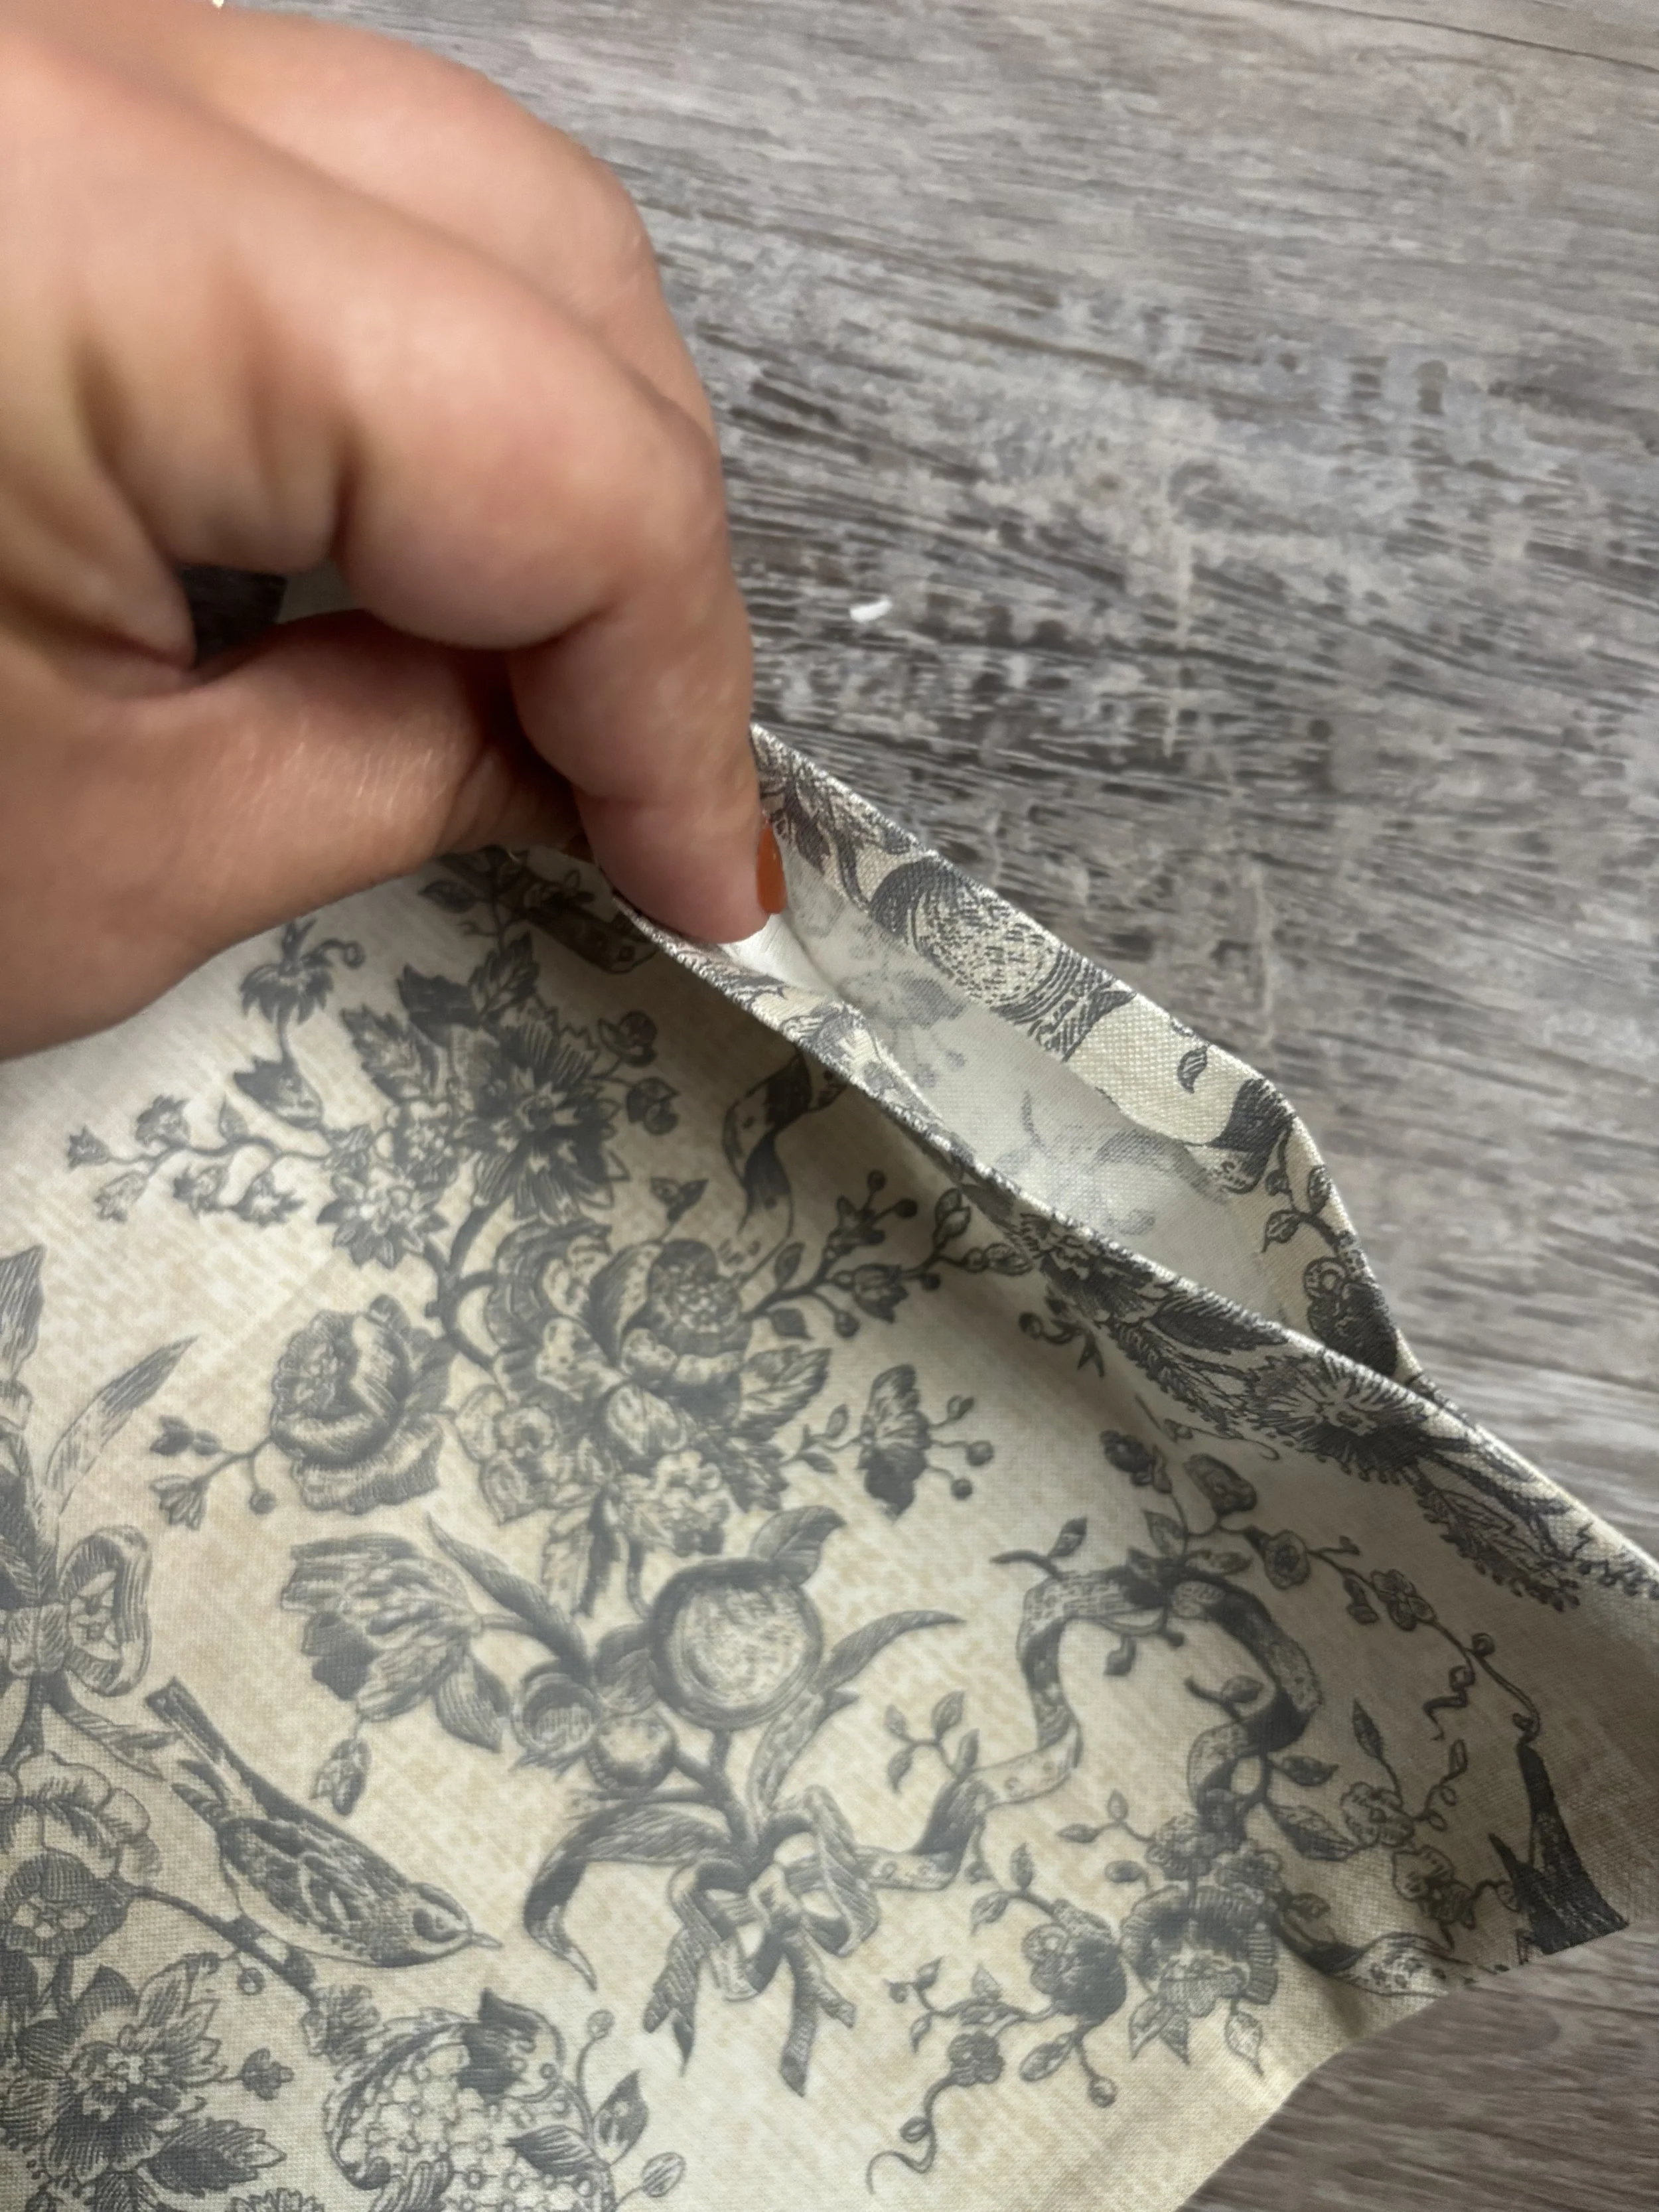
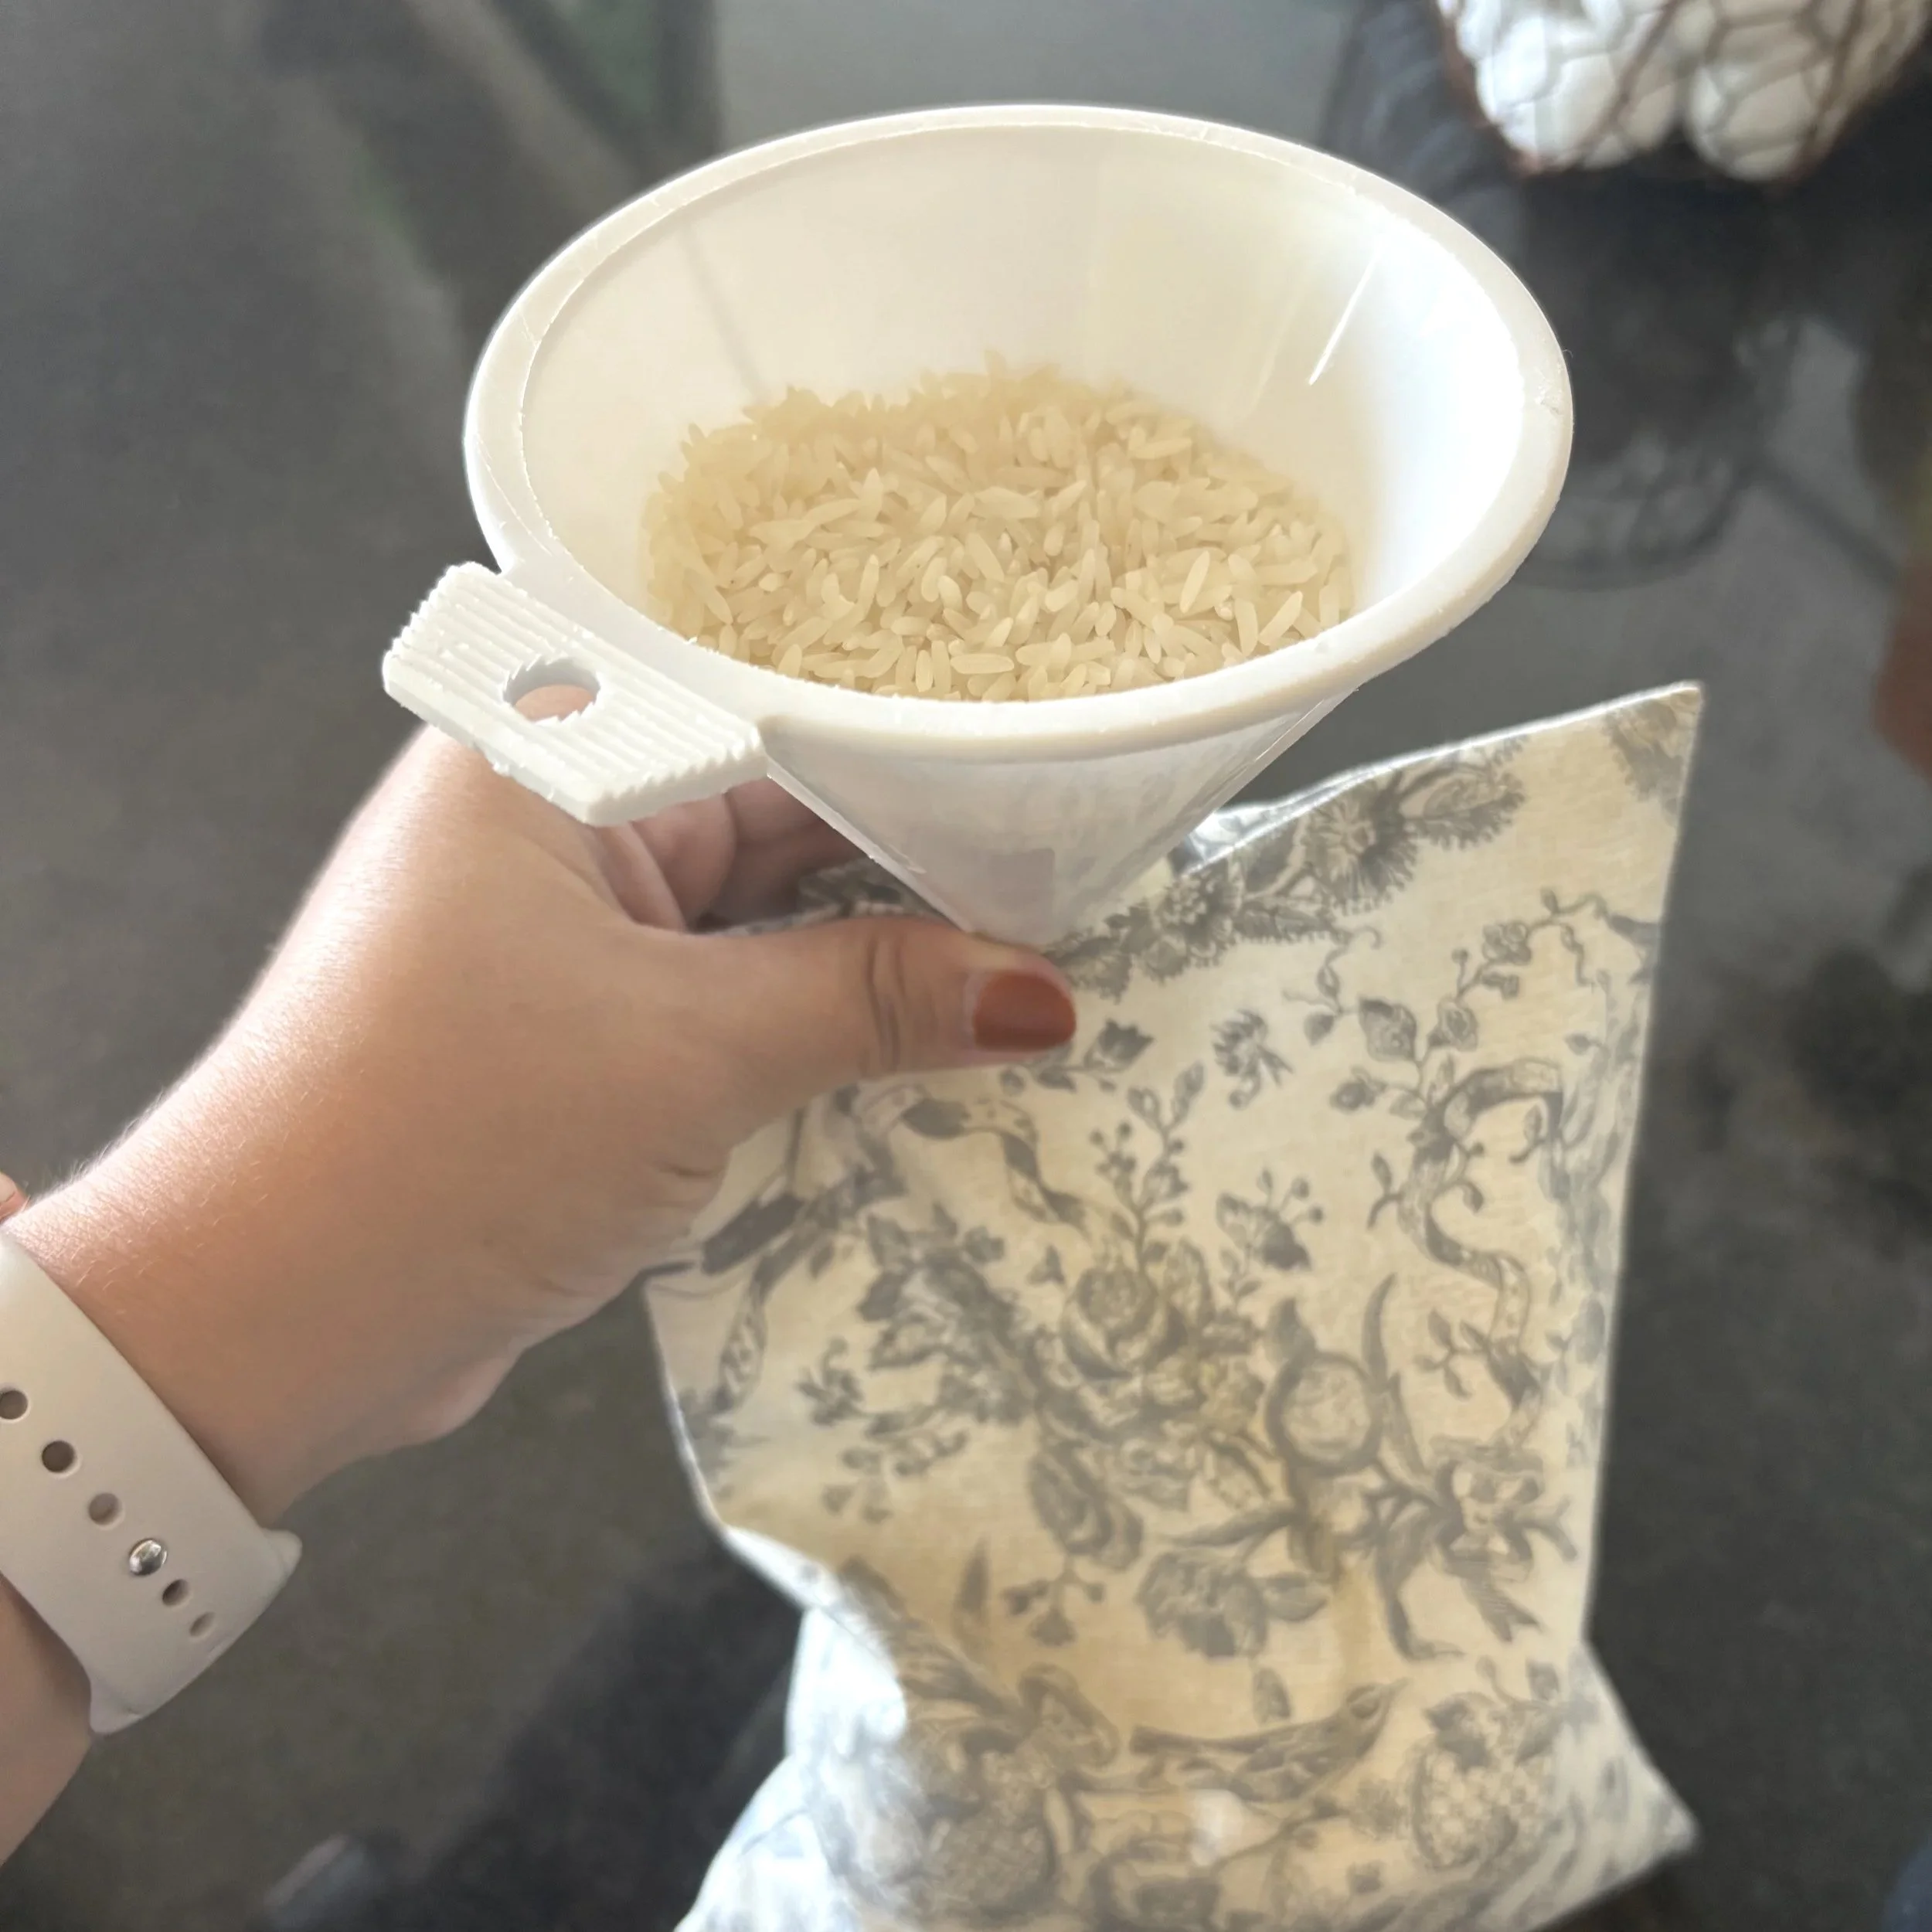
6. Fill your rice pack 1/2 to 2/3 of the way full with rice. If your opening happens to be a bit too small to fit a measuring cup, a funnel will work great! I added a few tablespoons of some lavender from my garden to mine.
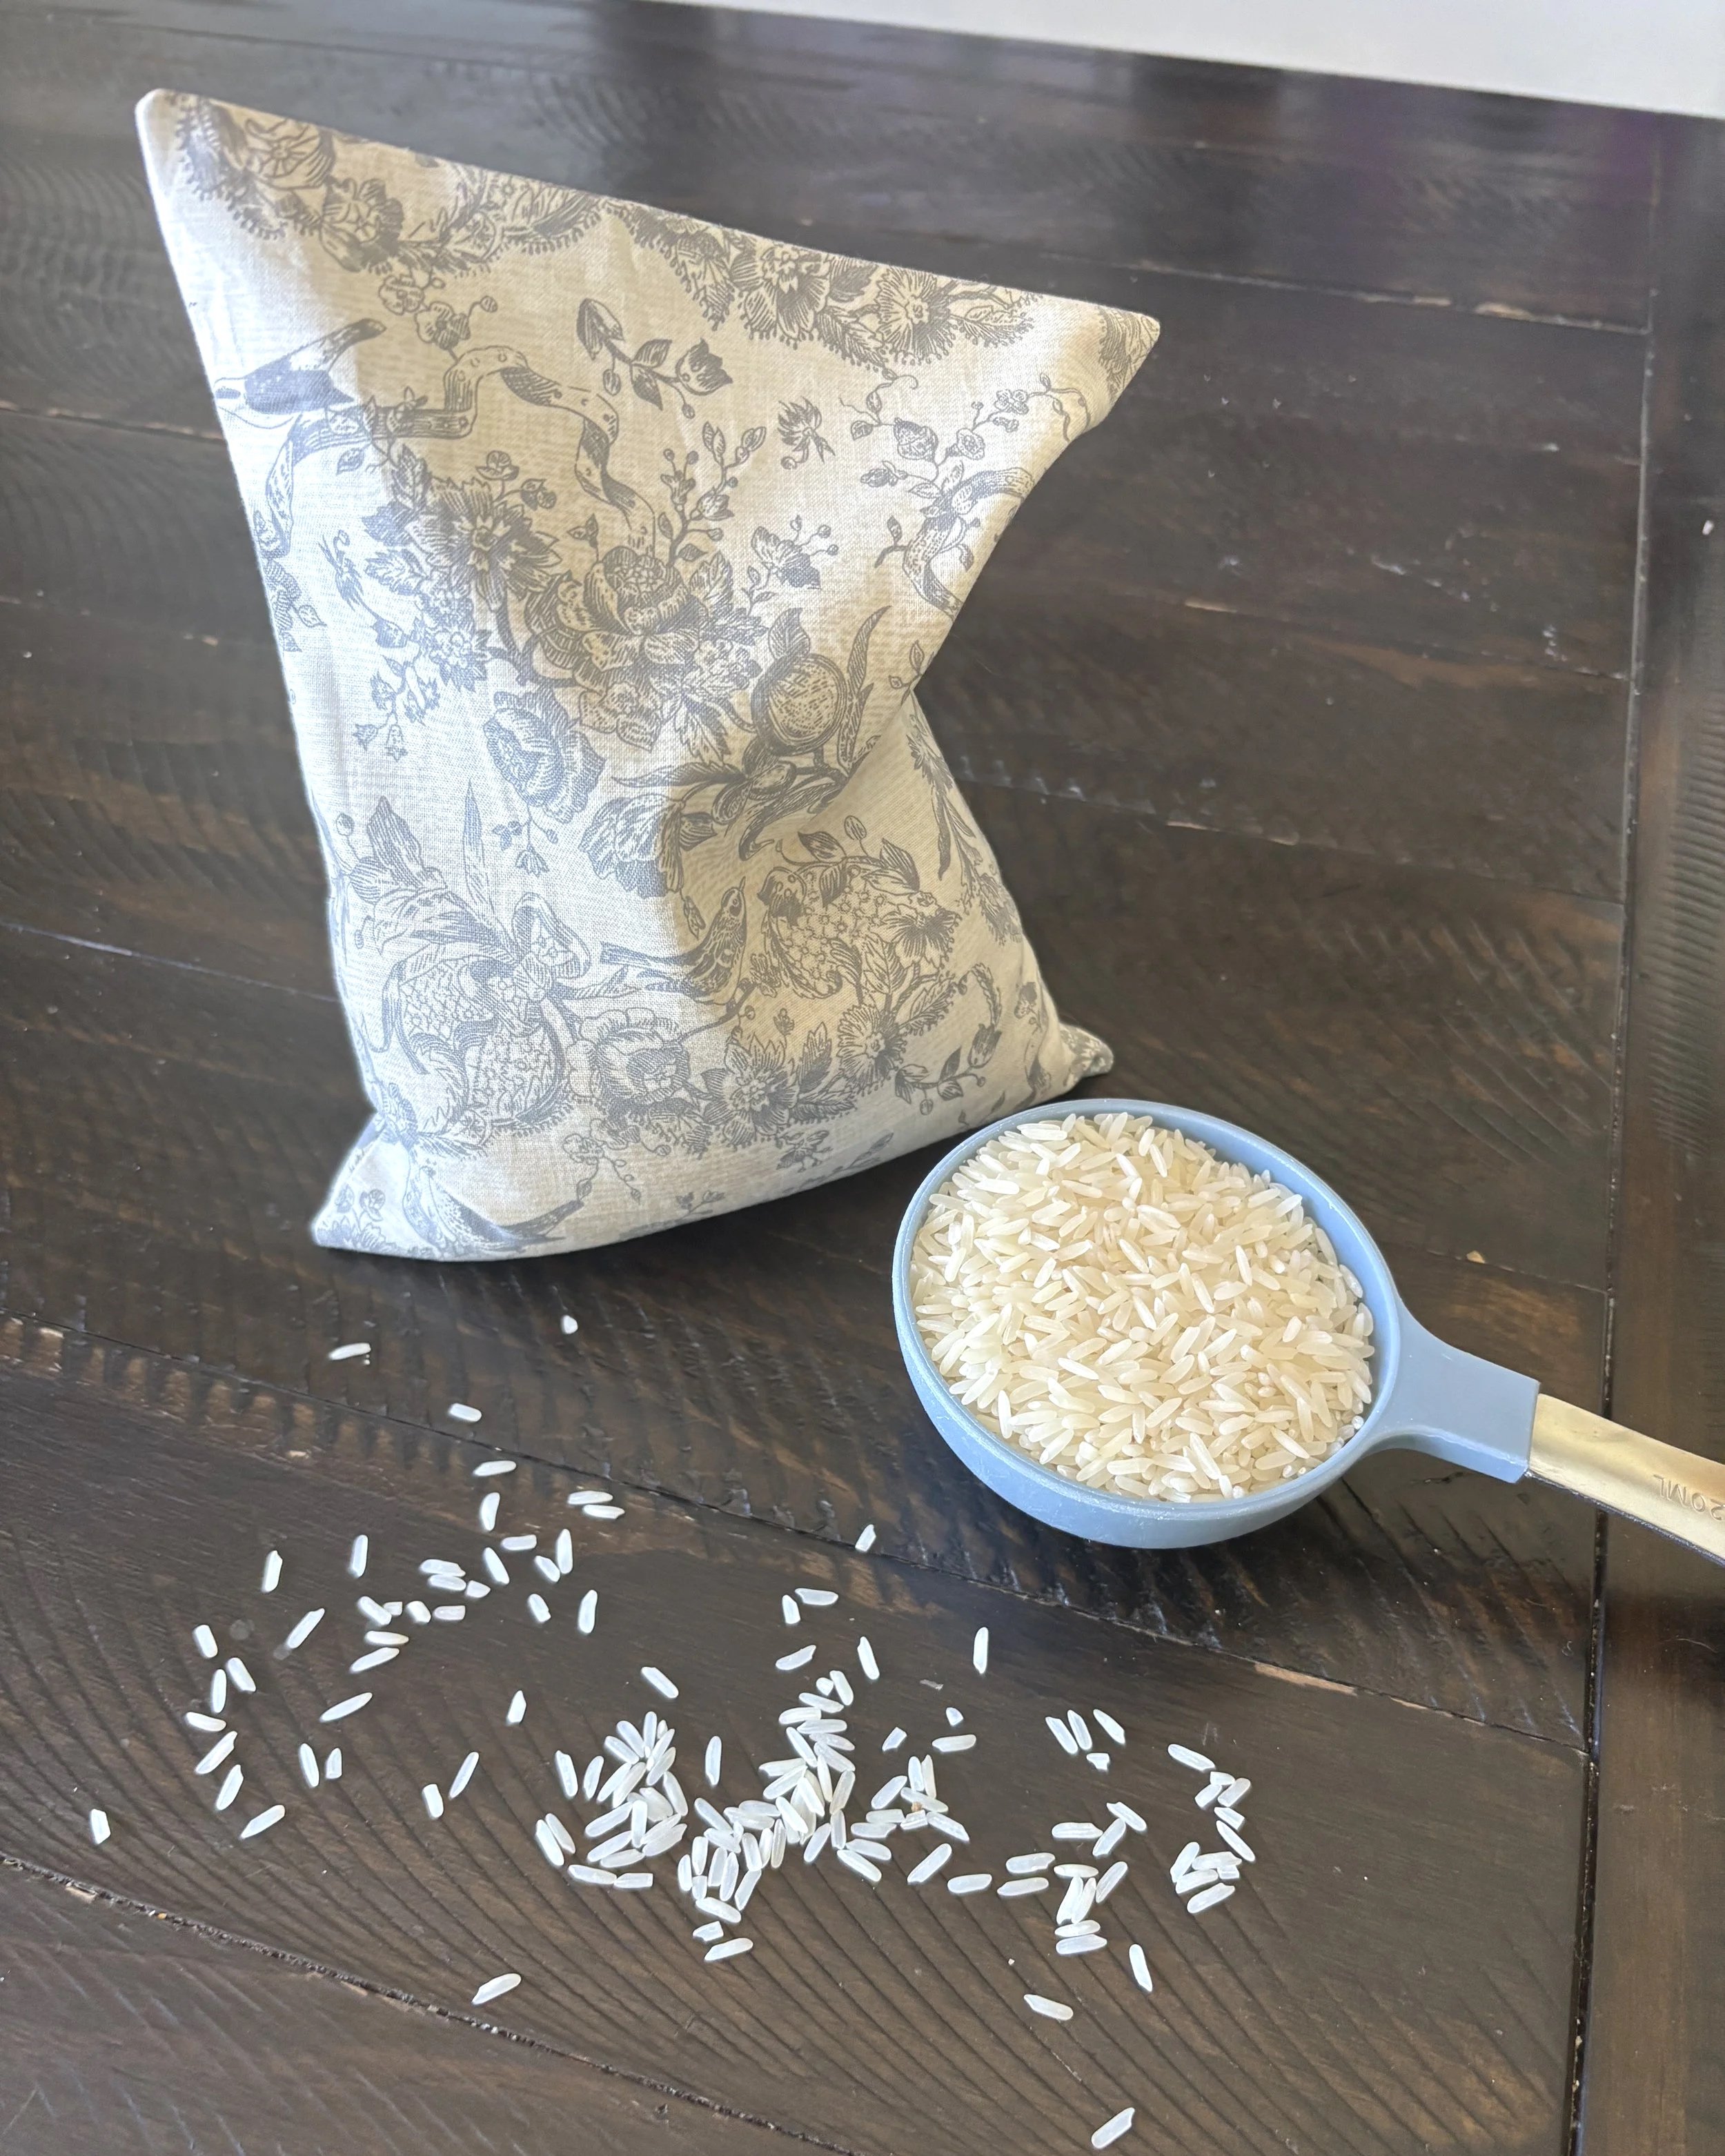
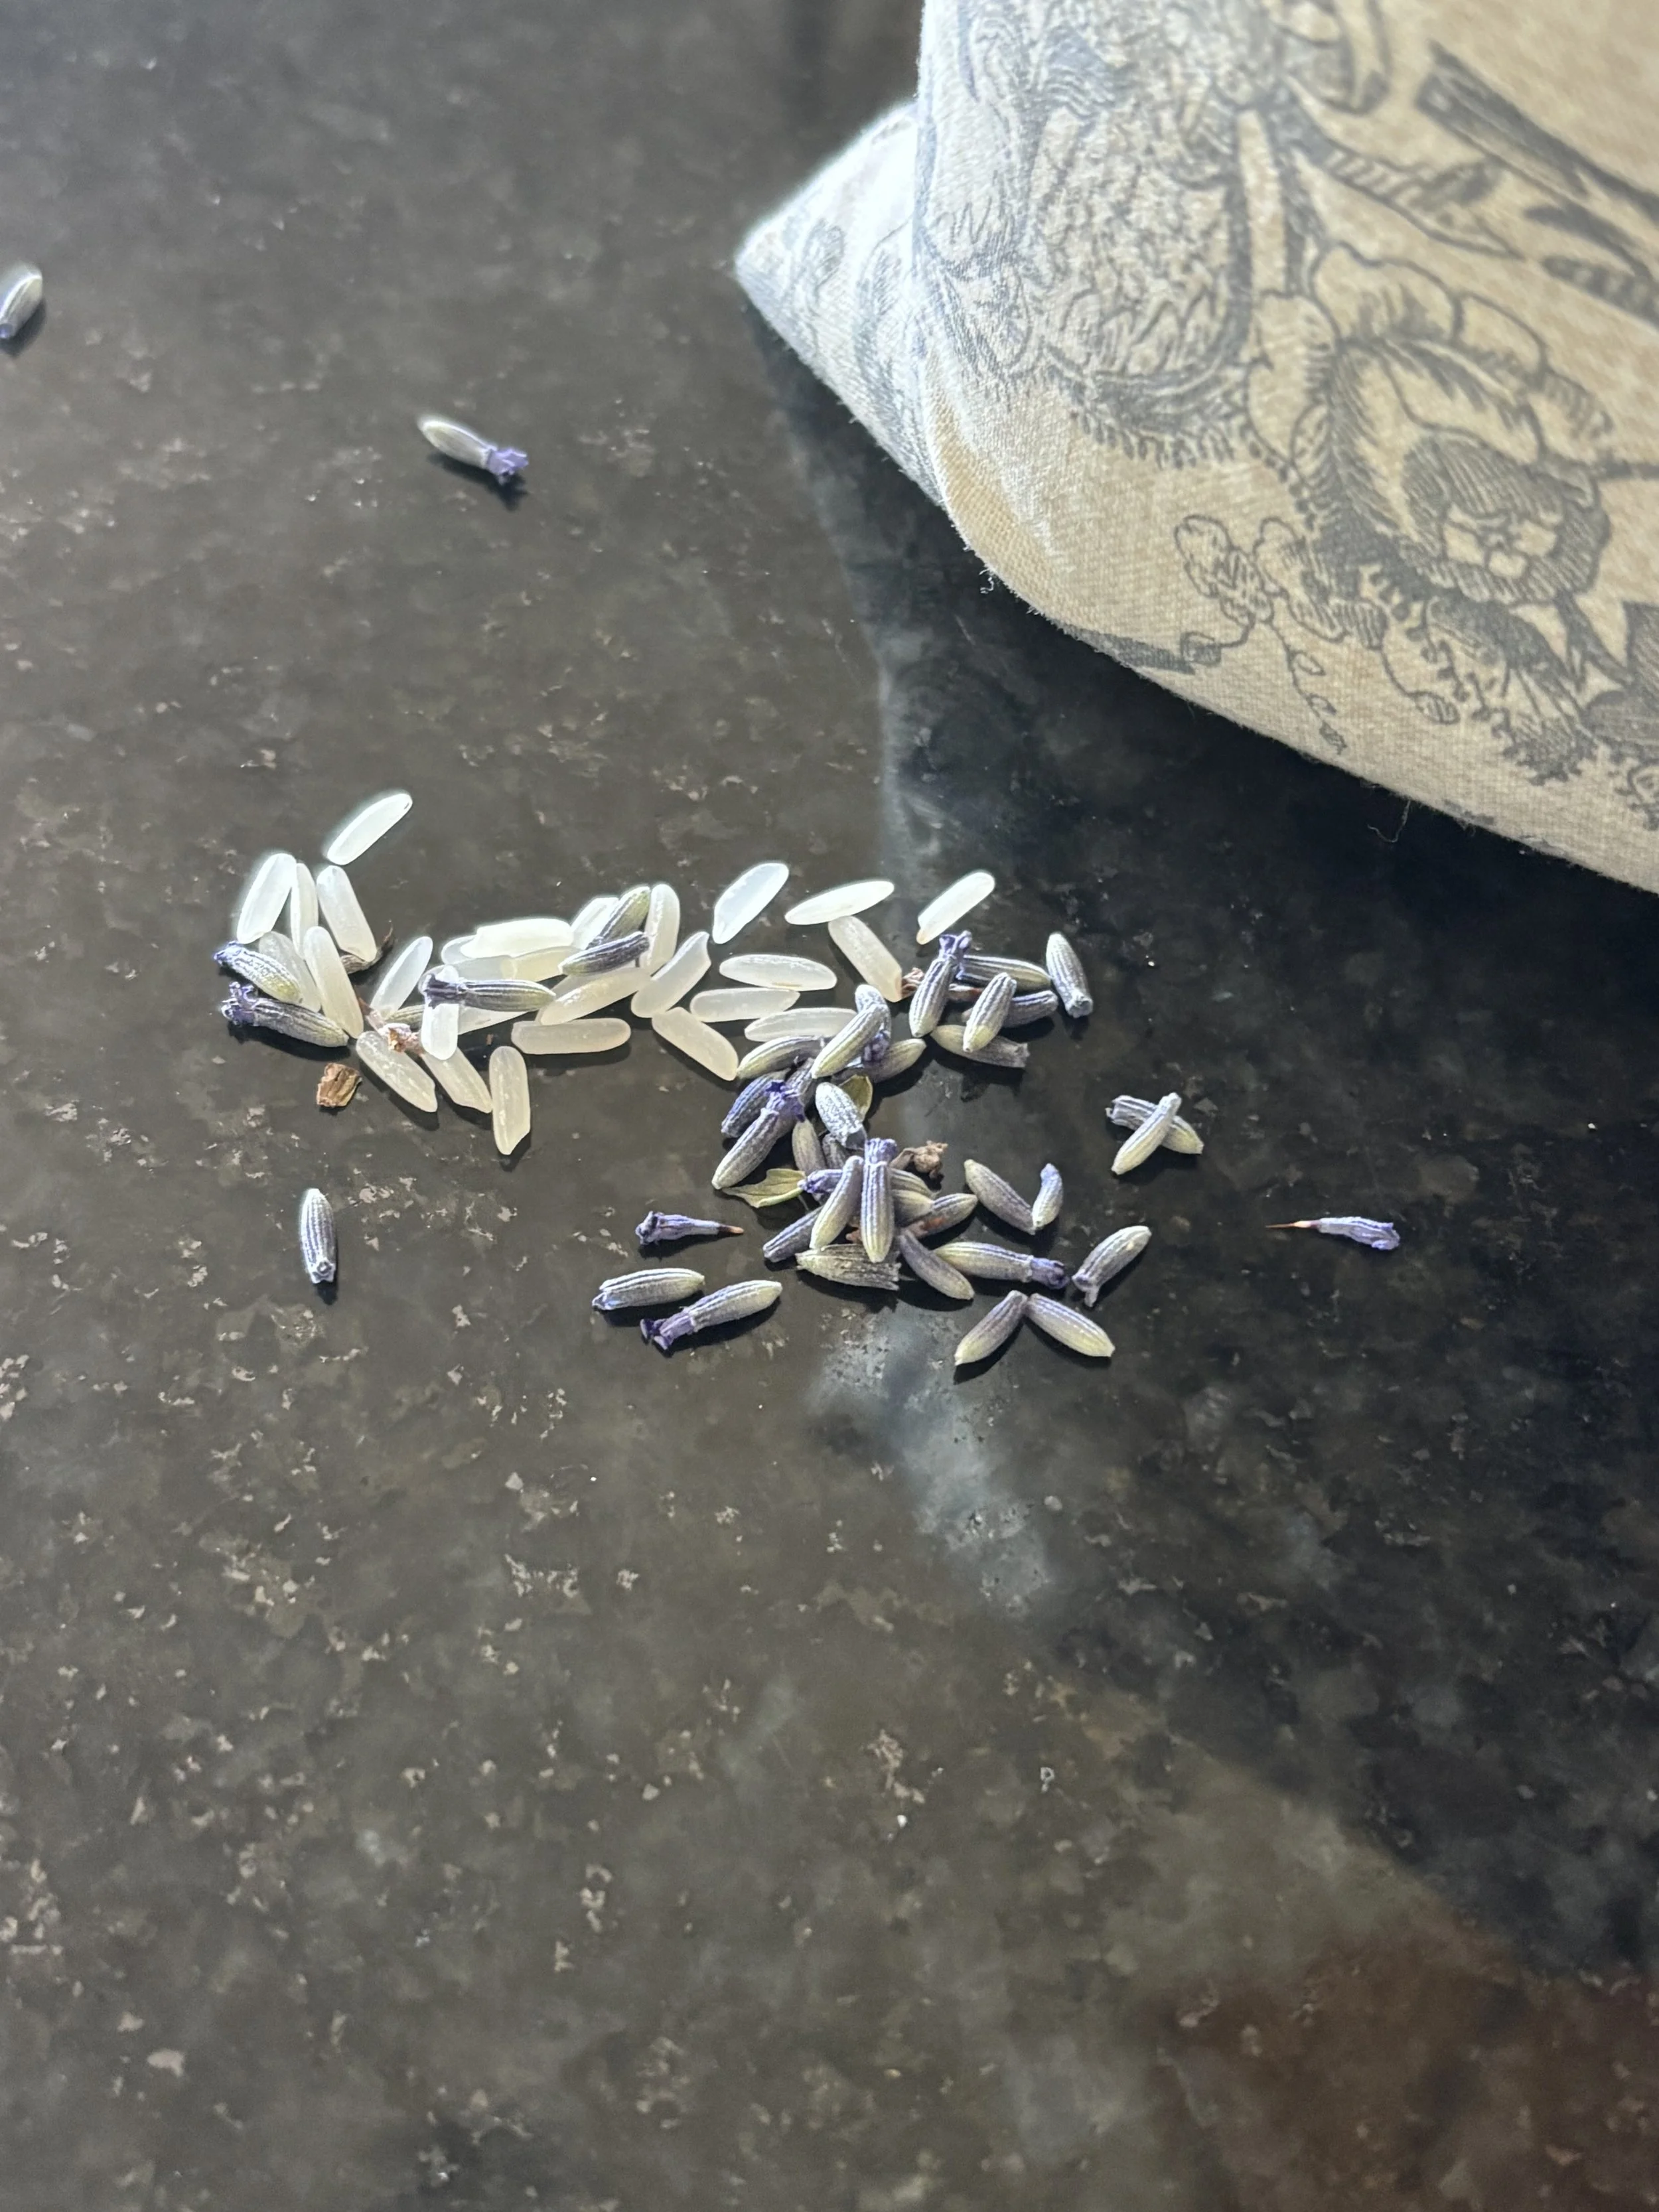
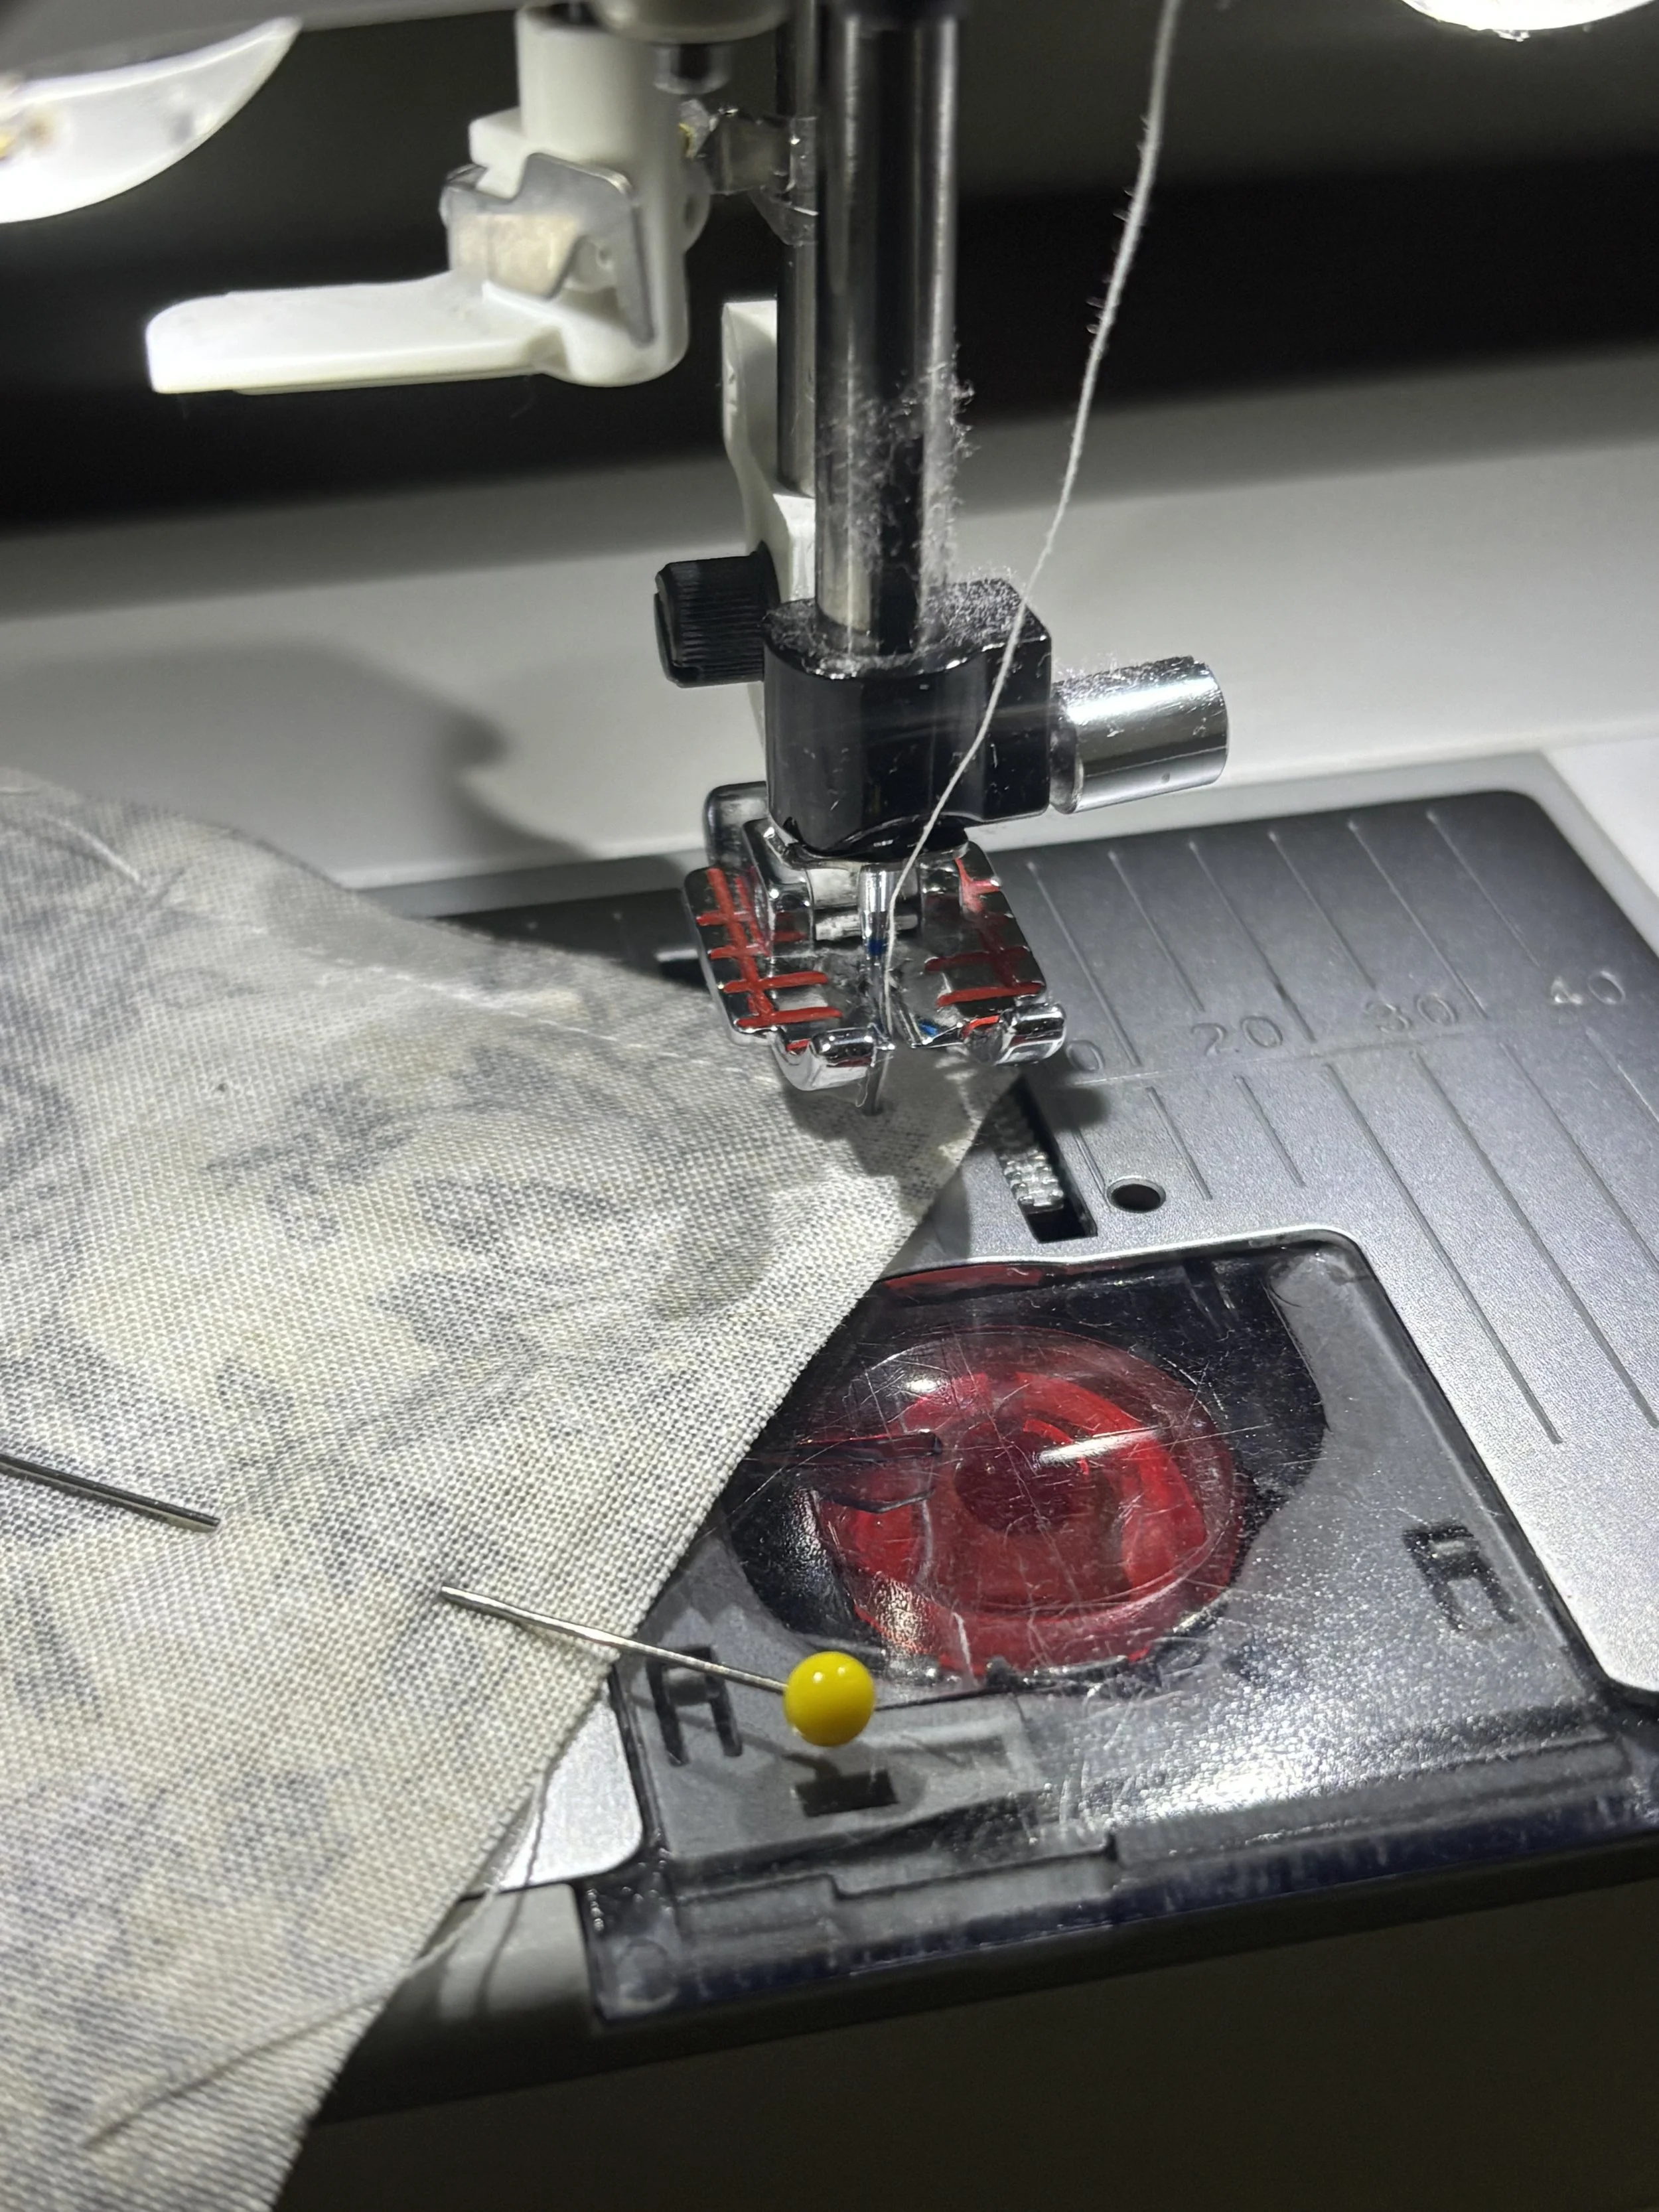
7. Using clips or pins, close the opening on the rice pack. Sew along the short edge with the opening from one corner to the other, using a seam allowance of 1/8”.
**Optional, for extra reinforcement, sew around the entire rice pack 1/4” seam allowance from the edge or use a zigzag stitch along the edge with the opening.
TIP: When sewing the opening closed, the rice may try to slip out as you sew it closed. To address this hold the rice pack with the opening on the top. Press all the rice downward toward the bottom. Using 2-3 long straight pins, pin across the rice pack left to right between the fabric and the rice, creating a sort of barricade for the rice. Sew the opening closed, remove the straight pins and Voila!